PyCharm Configuration for Windows OS

For installing PyCharm in your System go through the following steps:

  • Open a web browser (e.g., Google Chrome, Firefox, or Edge).1 2
  • Click on first link as shown in web browser ,go to the official JetBrains PyCharm website,or click Here .2 2
  • Visit the official PyCharm website at JETBRAINS and this web page will appear3 2
  • Once the page loads, you’ll see options for different editions of PyCharm.
    • Professional Edition: Paid version with advanced features.
    • Community Edition: Free version, ideal for Python programming.4 2
  • Click the Download button under the Community Edition section.5 2
  • You’ll be redirected to the download page.The website should automatically detect your operating system (Windows) and provide the correct installer.
    • If not, ensure Windows is selected in the operating system dropdown or button.
    • Click the Download button to start downloading the PyCharm Community Edition .exe installer.6 2
  • The installer file will begin downloading. Its name will look something like pycharm-community-<version>.exe.Wait for the download to finish. The file size is usually around 300–400 MB.
    • Locate the downloaded .exe file (usually in your Downloads folder).
    • Double-click the file to start the installation process.7 2
  • A setup wizard will appear. Follow these steps:
    • Welcome Screen: Click Next.
    • Choose Installation Path: Select or confirm the default location where PyCharm will be installed (e.g., C:\Program Files\JetBrains\PyCharm Community Edition). Then, click Next.8 2
  • Installation Options:
    • Check Create Desktop Shortcut (optional).
    • Check Update PATH variable (optional but recommended for easy access to PyCharm from the command line).
    • Check Add Open Folder as Project (optional).
    • Click Next.9 2
  • Choose Start Menu Folder: Leave the default or choose a custom folder for shortcuts. Click Install.
    • 10 2The installation will begin. This might take a few minutes.
    • 11 2
  • Once the installation is complete, check Run PyCharm Community Edition if you want to open it immediately.12 2
  • Open desktop and click on PyCharm Logo.13 2
  • This Dialogue Box will appear, when you click on desktop Shortcut .14 2
  • After PyCharm opens, create a new project:
    • Click New Project.
    • Choose a location and name for the project.15 1
  • If everything works as expected, your PyCharm setup is complete.16 1
  • Right Click on your project name and select new.17
  • In New select for New file Python file.18
  • Name your Python file , here “Trial”.19
  • Write a Trial program of printing a “Hello World” ,and to run that script right click on screen & select Run and Debug.22
  • This Will be the output of the “Trial”. # printing “Hello World “23

Python installation in Windows OS:

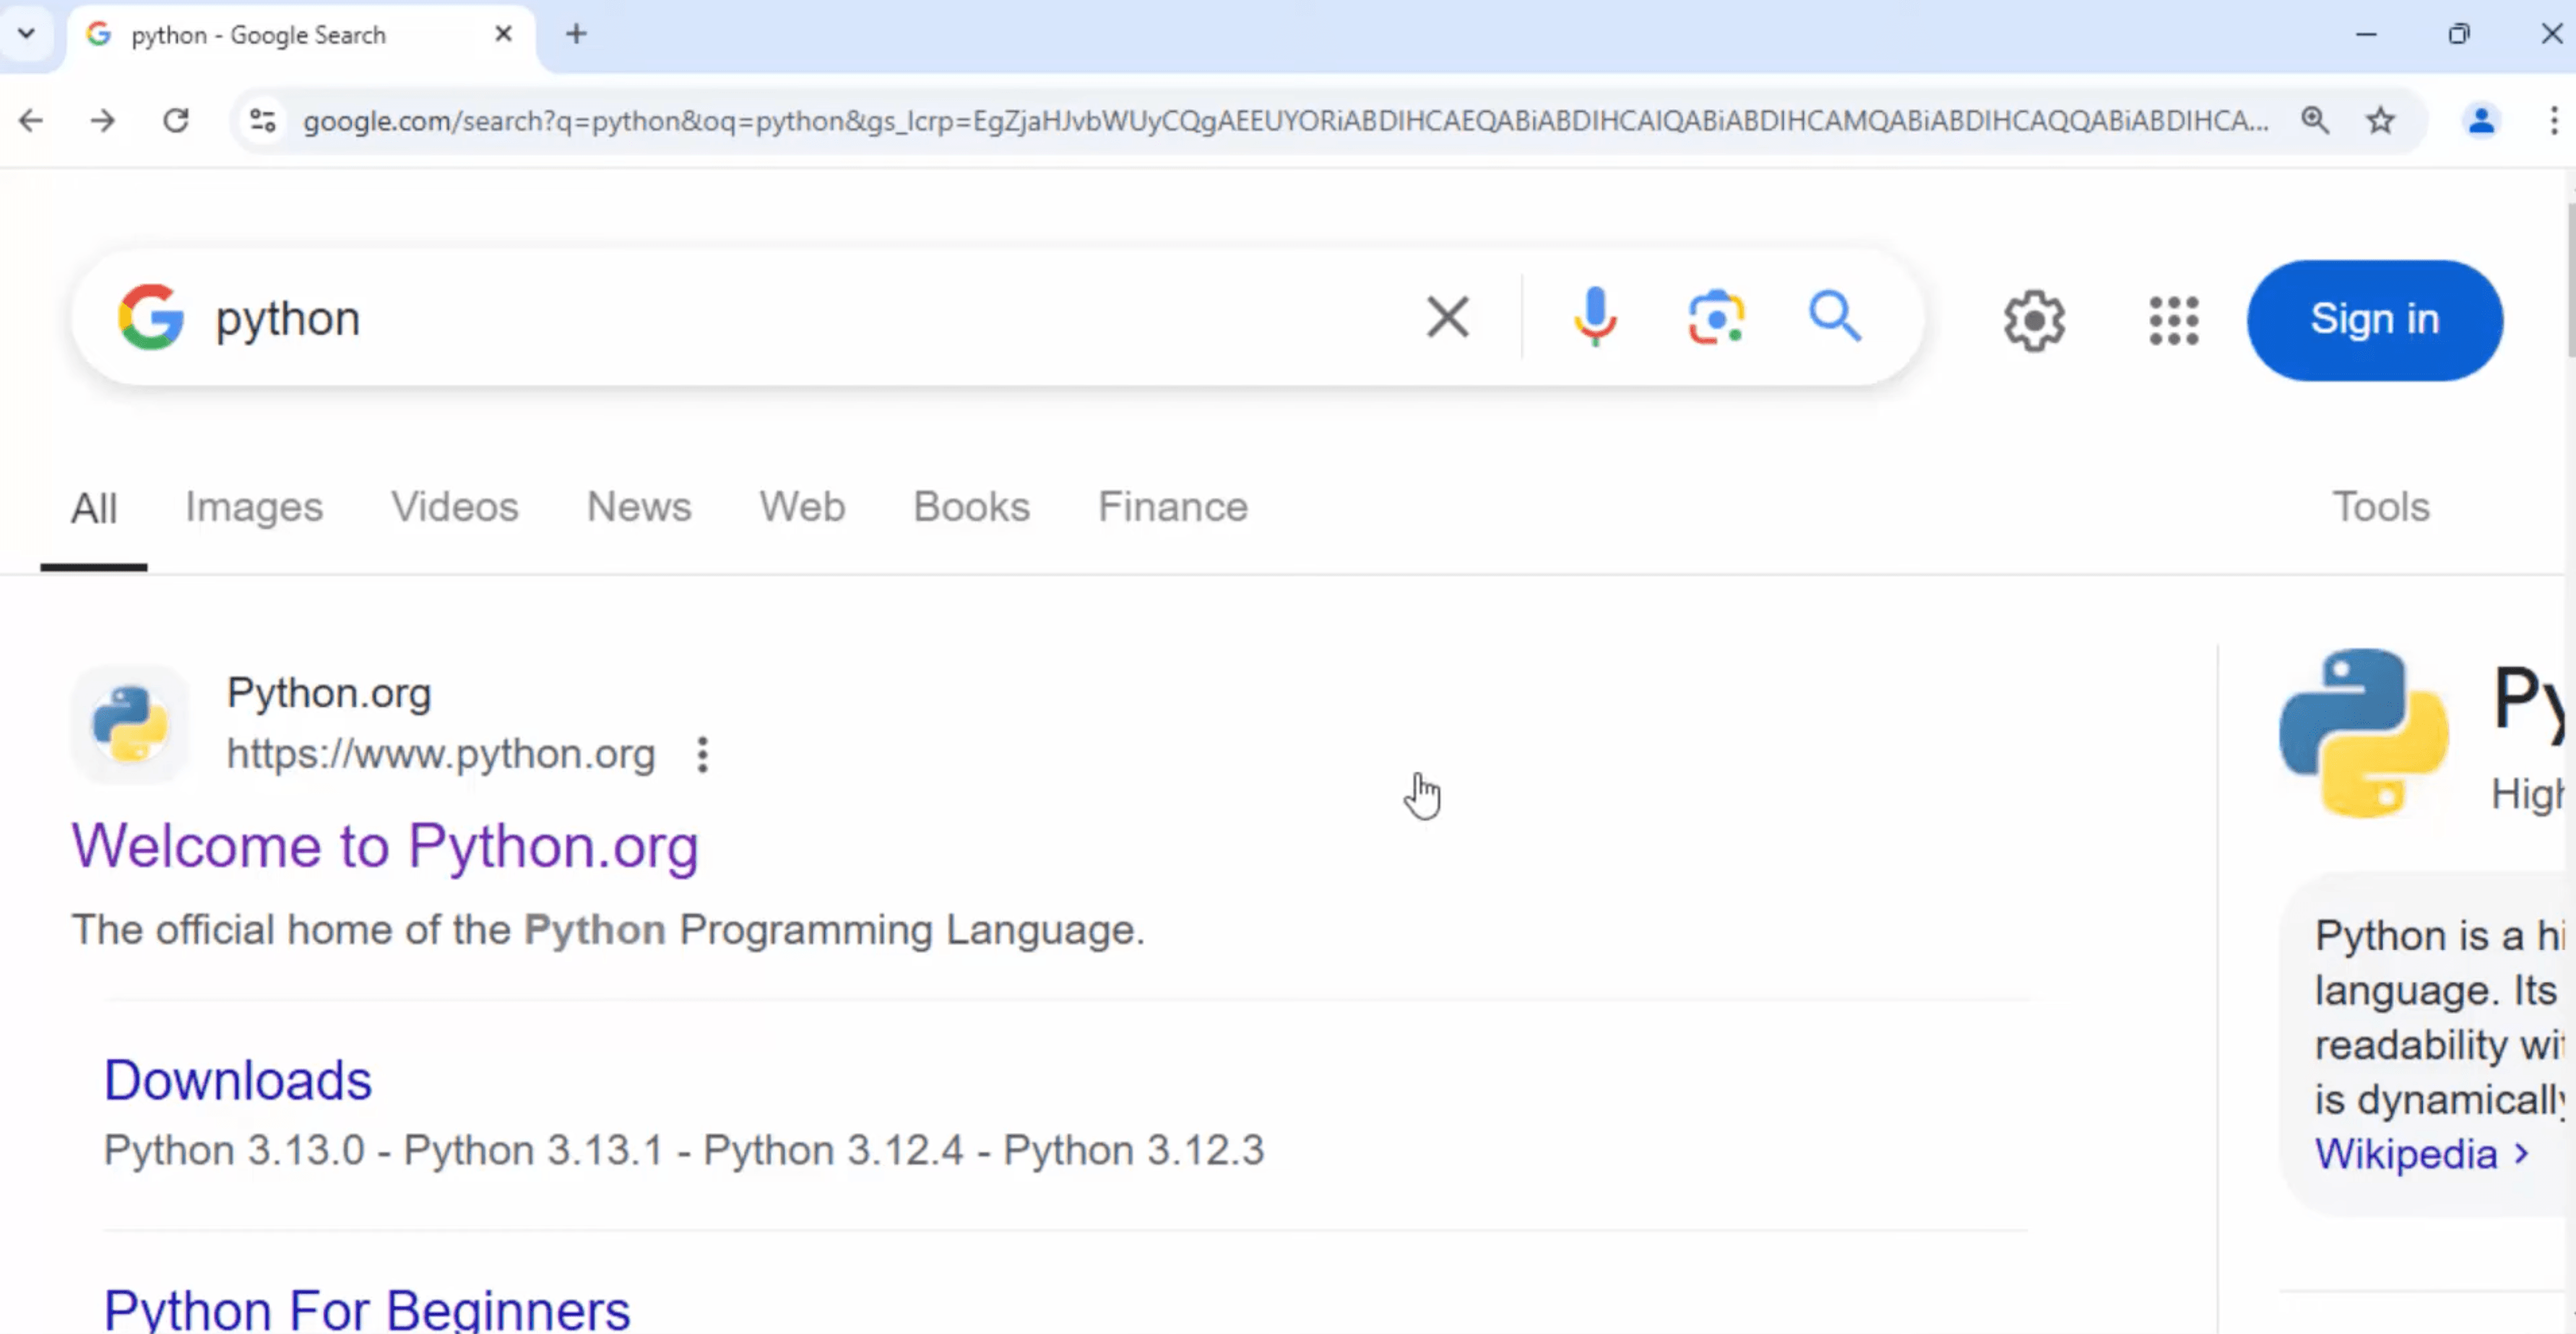
  • Open Google Chrome or any other web browser and search for Python. 1 1 e1737919354722
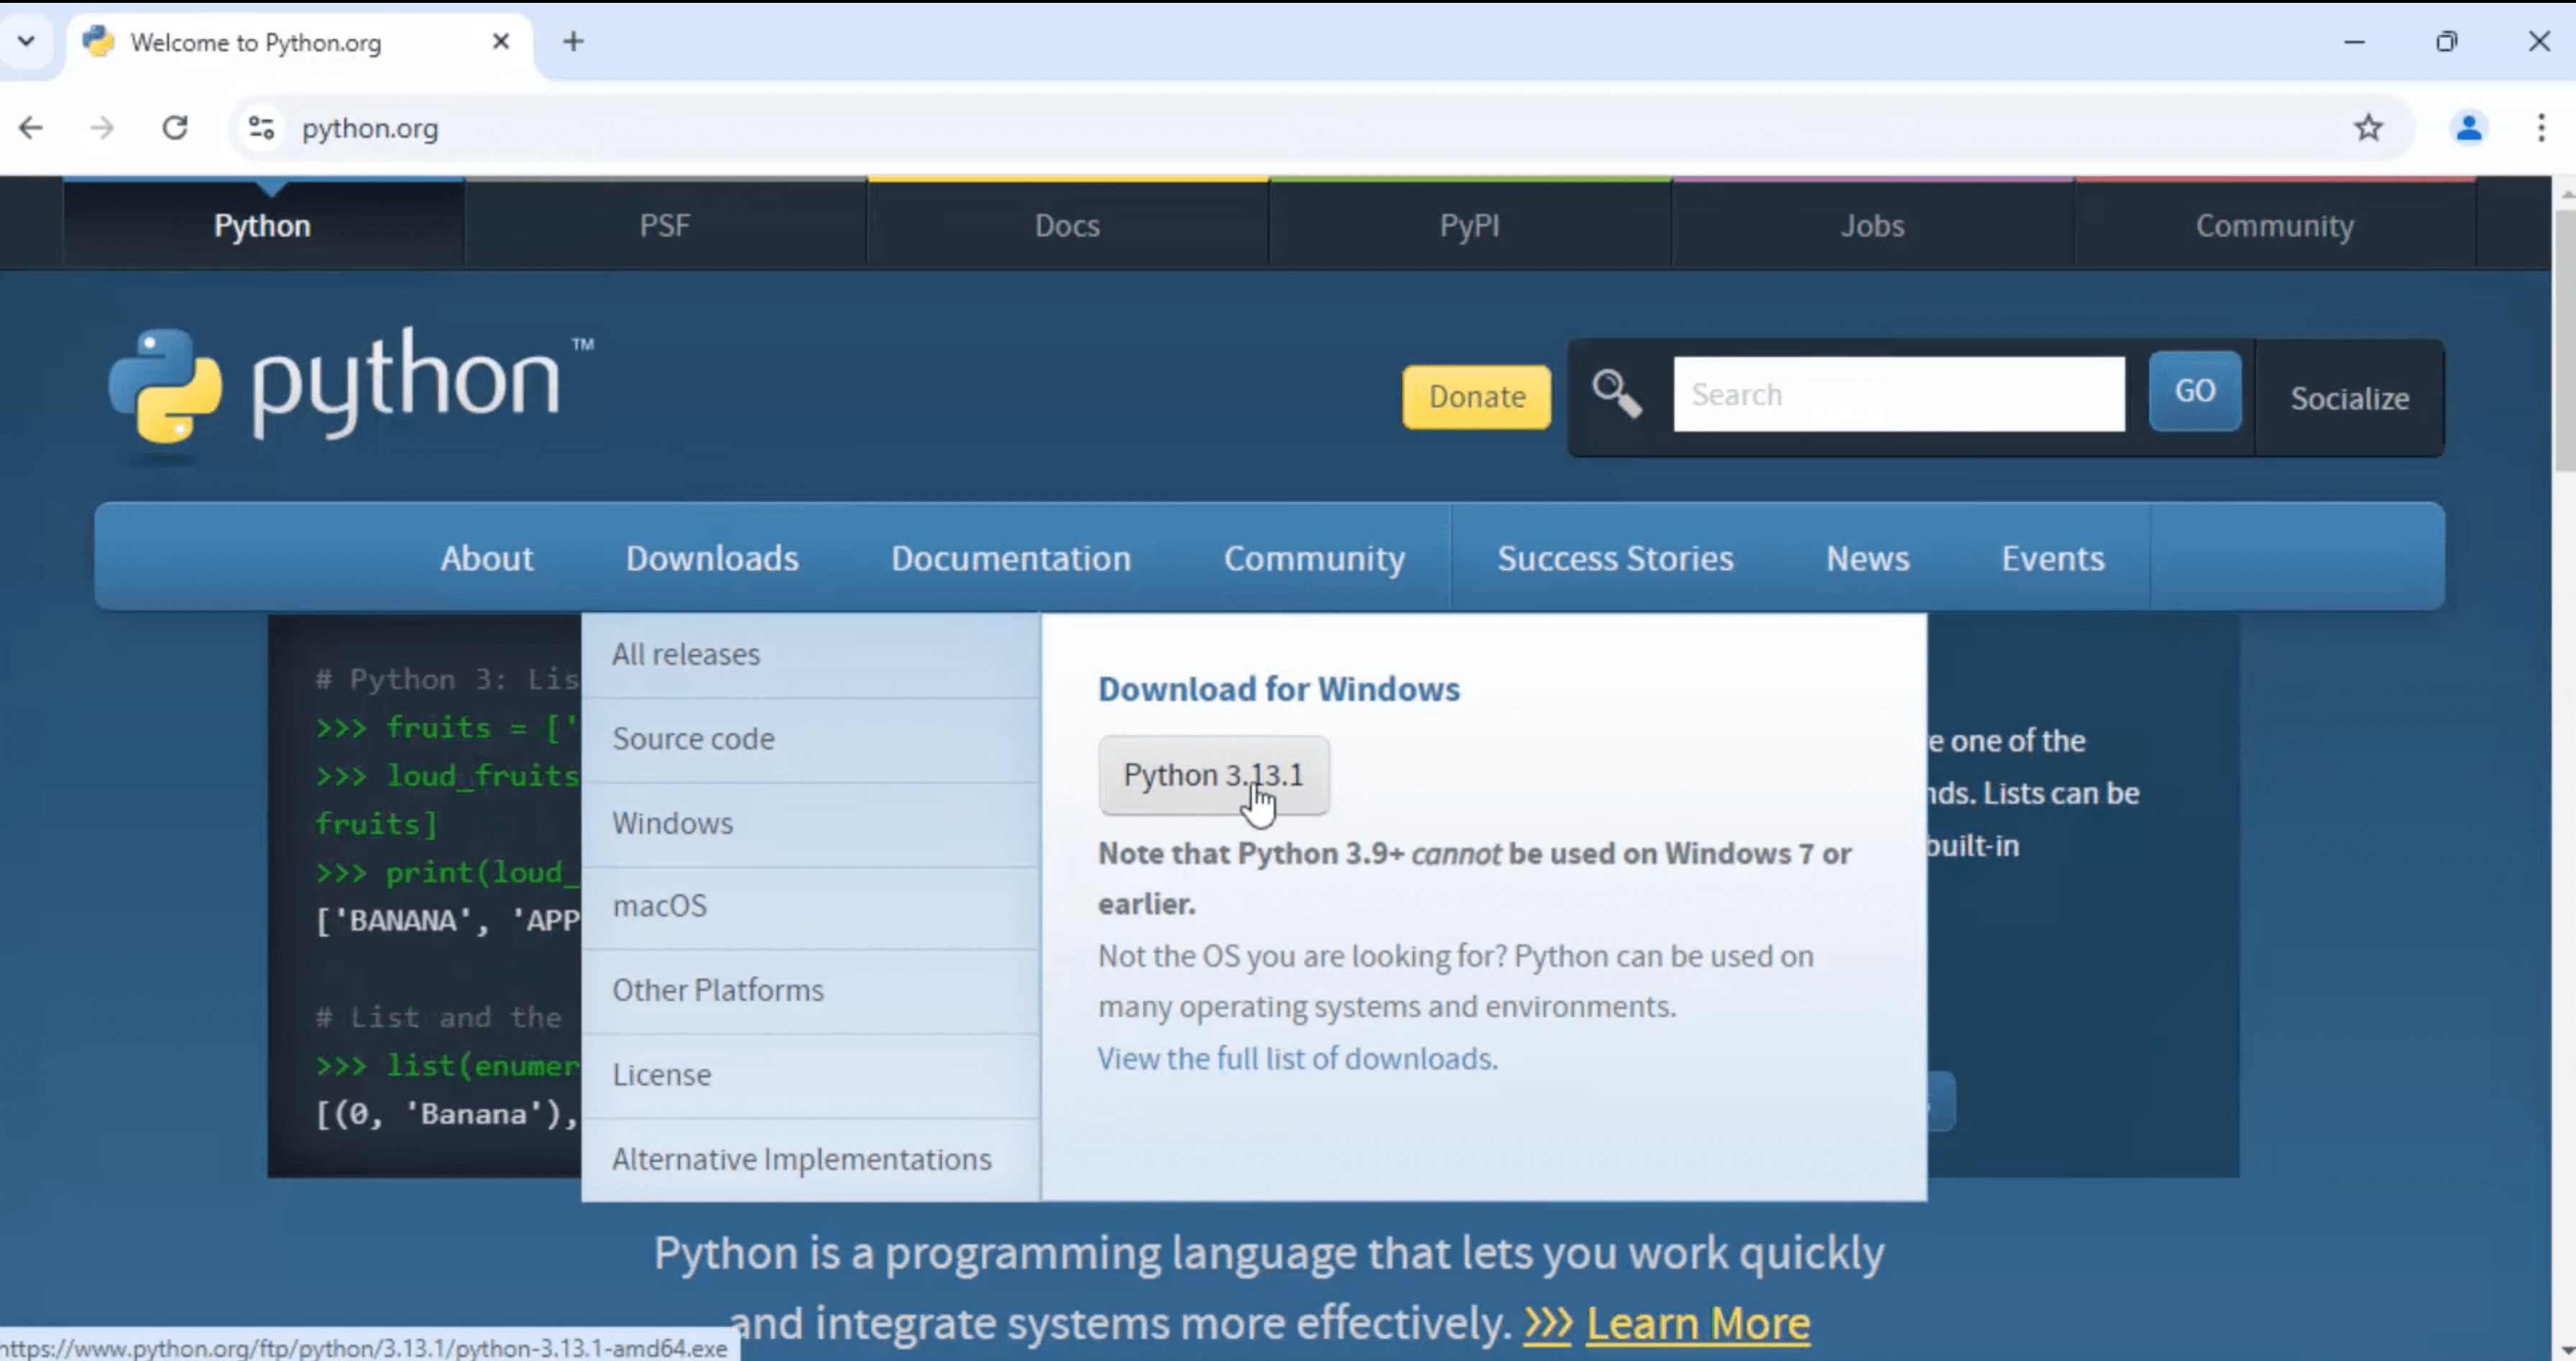
  • Visit the official Python website at python.org.2 1 e1737960267614
  • Navigate to the Downloads section and select the latest stable release for Windows.Choose the appropriate installer based on your system architecture:
  • For 64-bit systems: “Windows installer (64-bit)”
  • For 32-bit systems: “Windows installer (32-bit)”3 1 e1737960433455
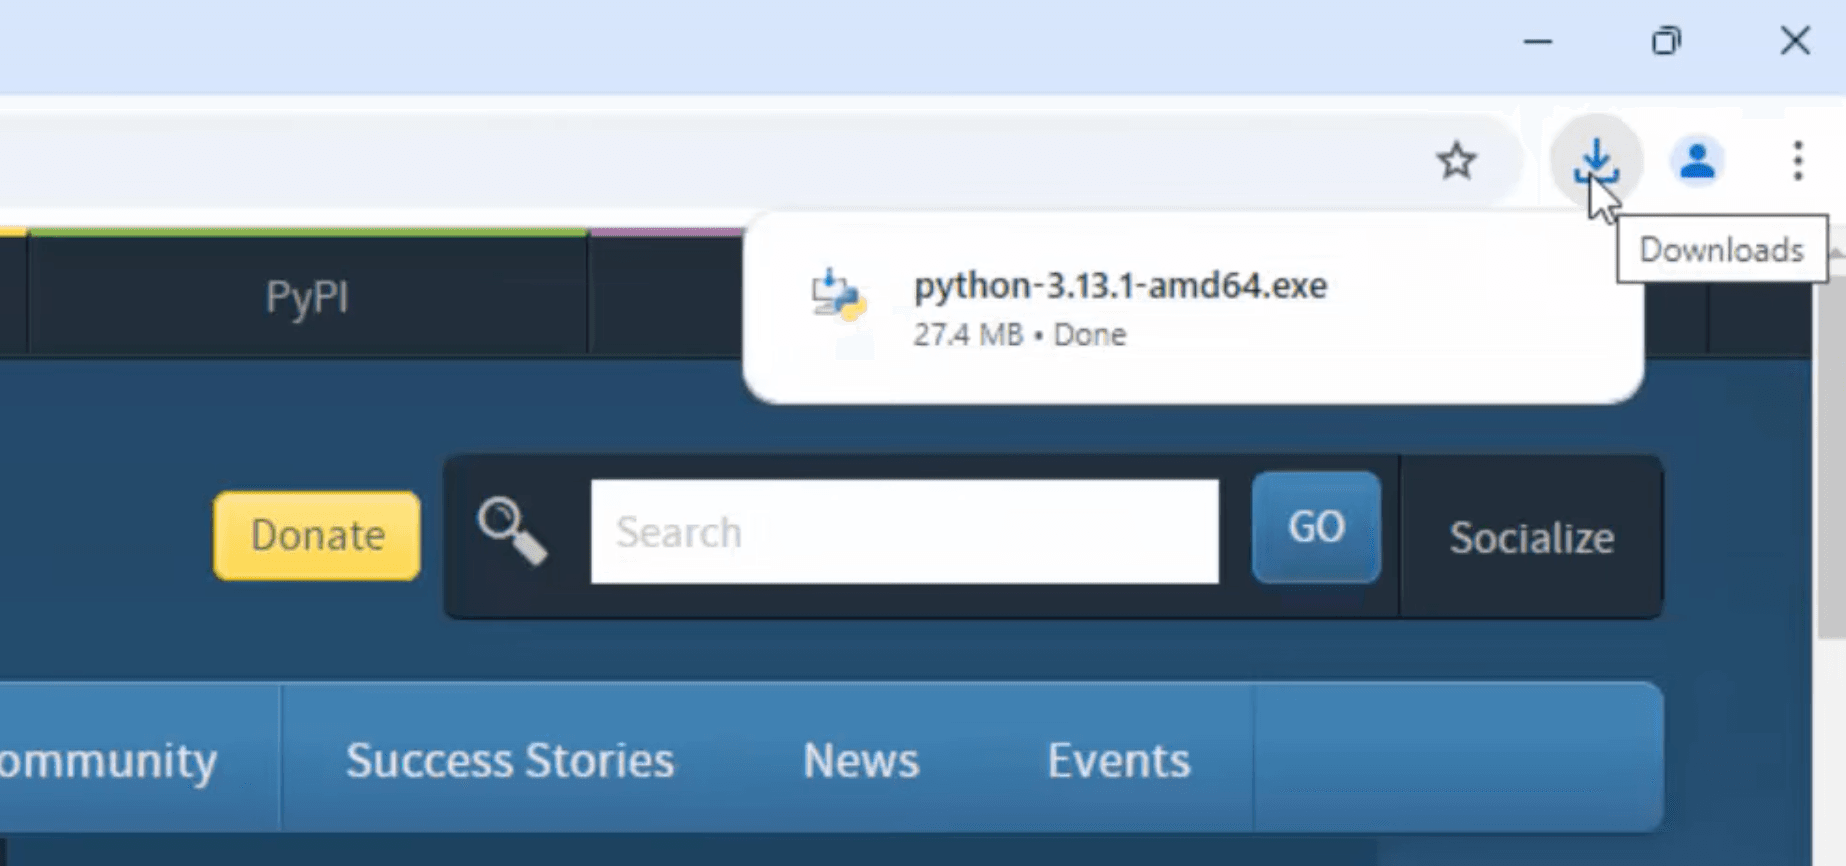
  • Locate the downloaded installer file (e.g., python-3.x.x-amd64.exe) and double-click to run it.4 1
  • Check the box labeled “Add Python to PATH” to ensure you can run Python from the command line.Click on “Install Now” to proceed with the default installation.5 1
  • In the “Optional Features” section, you can select additional components like:
    • Documentation
    • pip (Python package installer)
    • tcl/tk and IDLE (Python’s Integrated Development and Learning Environment)
    • Python test suite
    • py launcher6 1
  • Click “Next” and in the “Advanced Options” section, you can:
    • Choose the installation location
    • Add Python to environment variables
    • Install for all users7 1
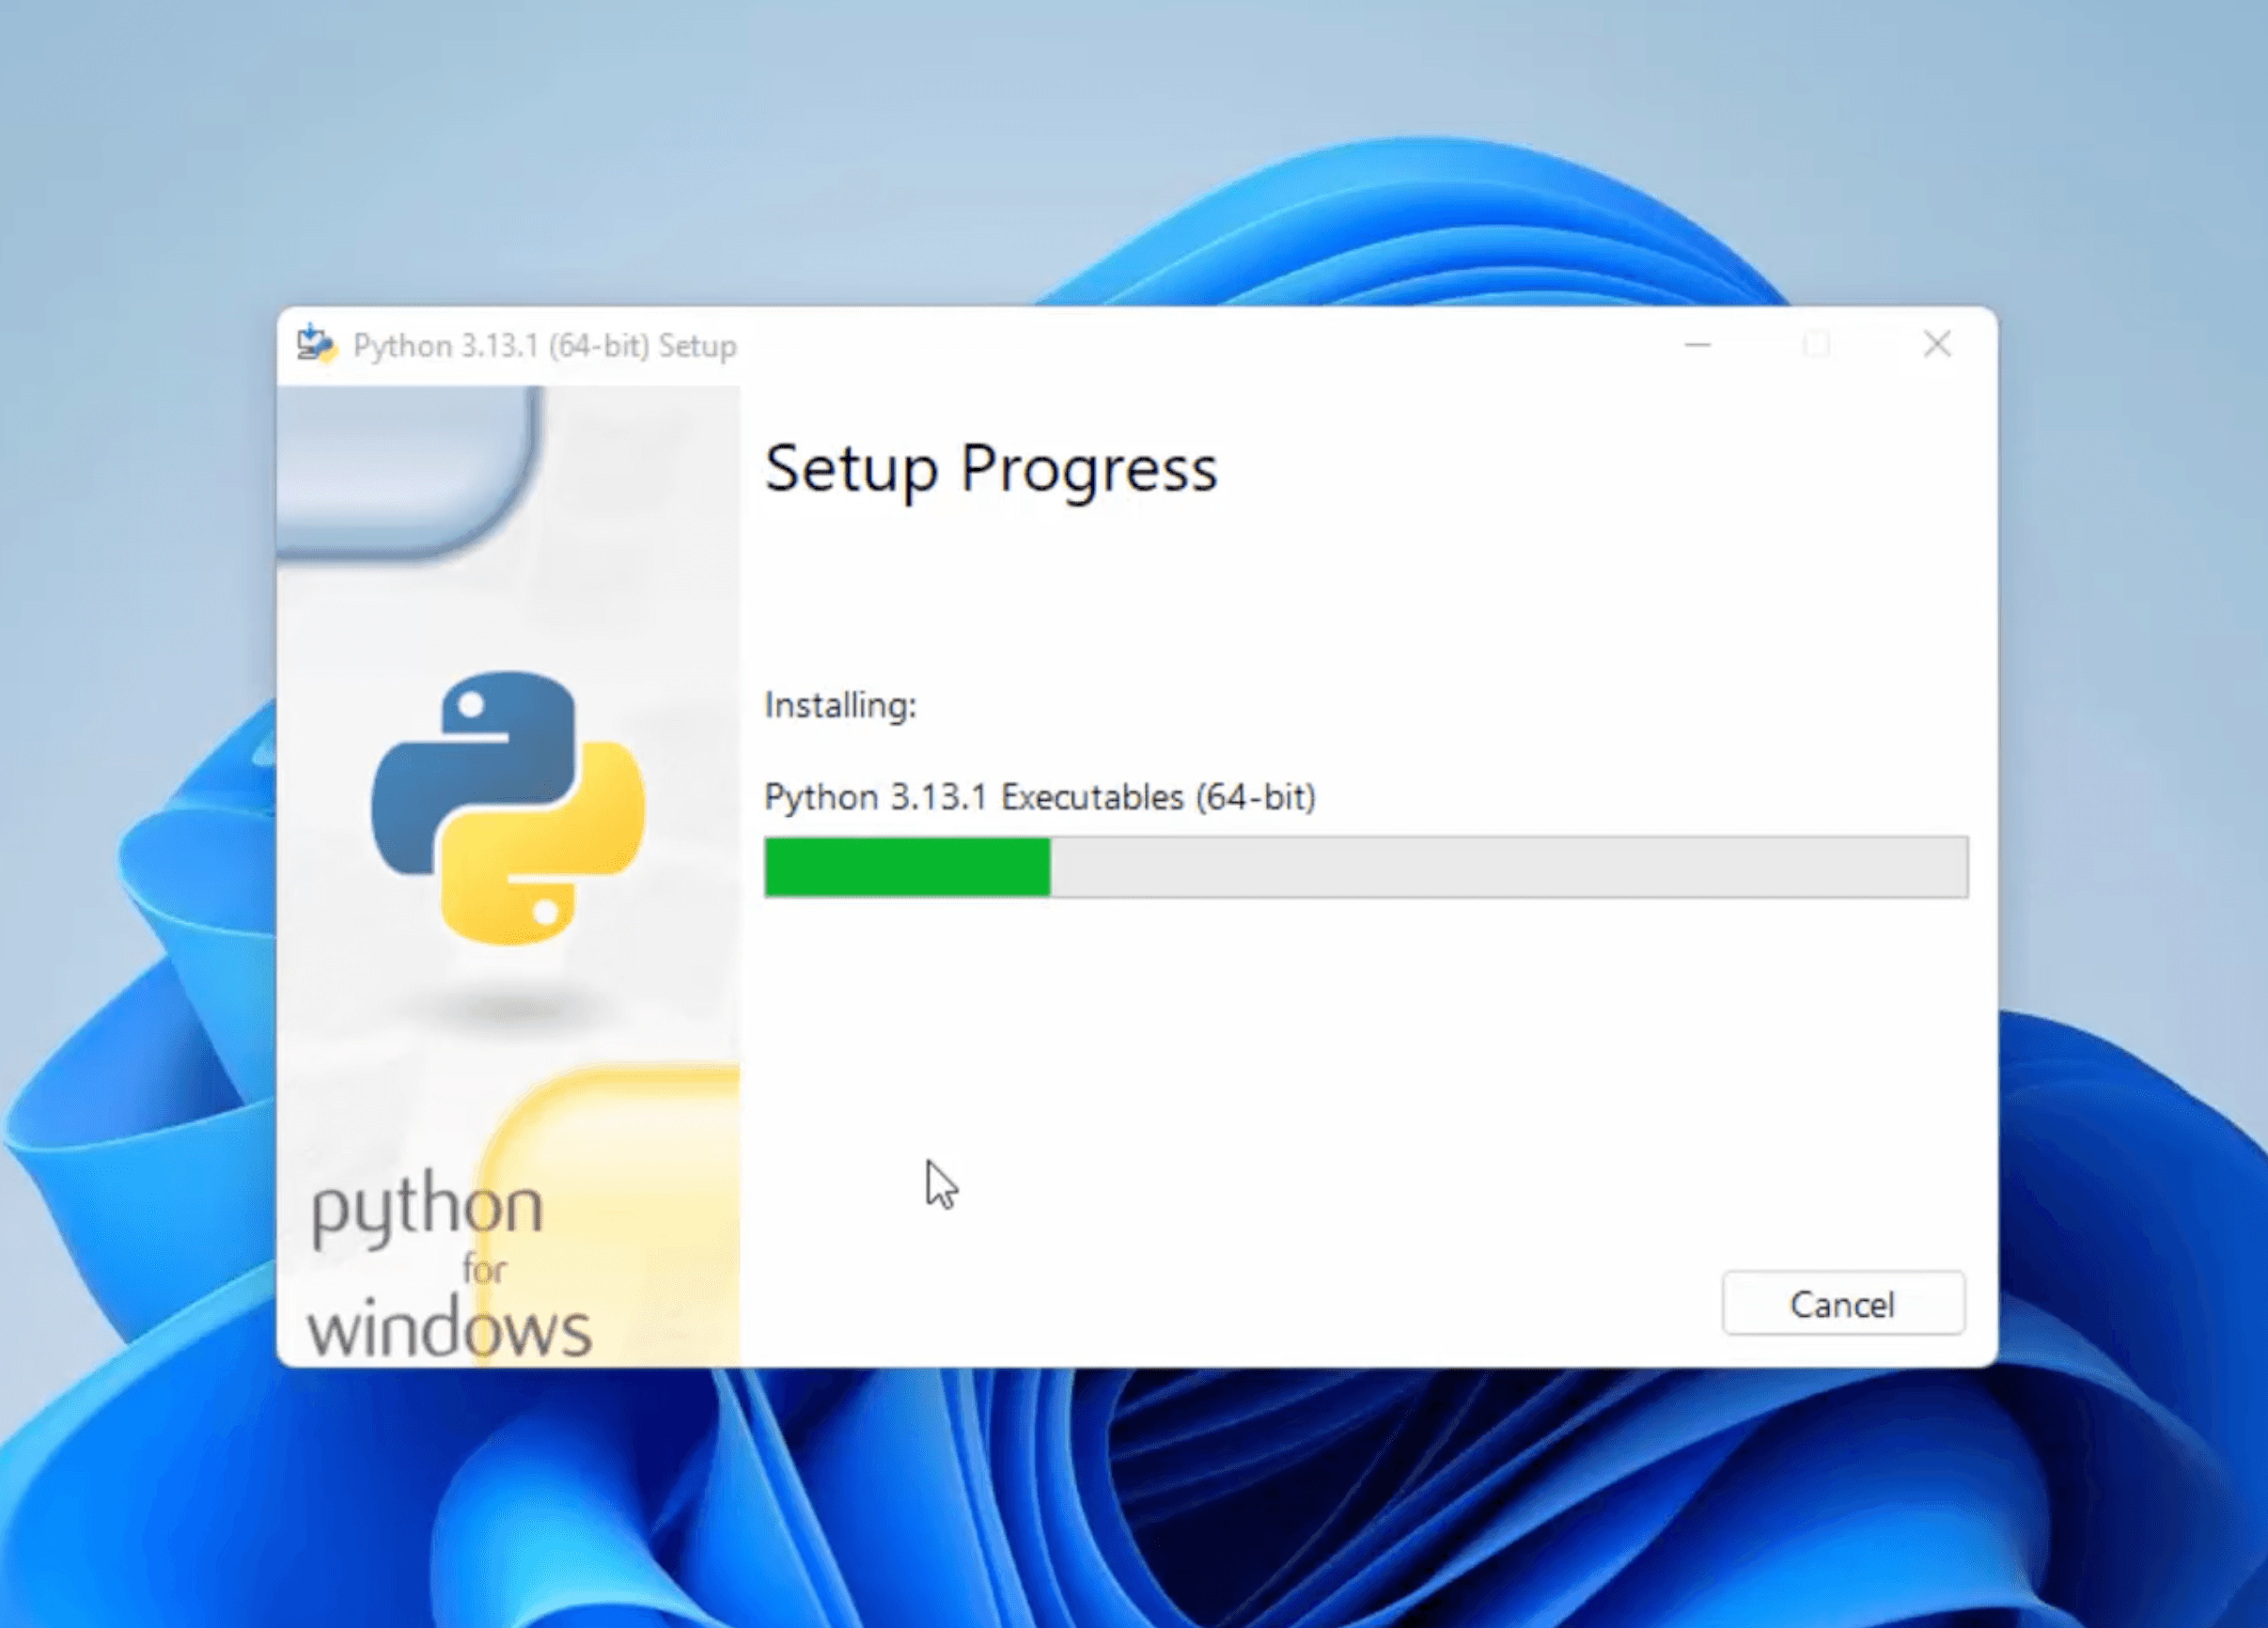
  • After selecting the desired options, click “Install” to begin the installation.8 19 1 e1737960510964
  • Verify the Installation:
    • Open the Command Prompt:
    • Press Win + R, type cmd, and press Enter.
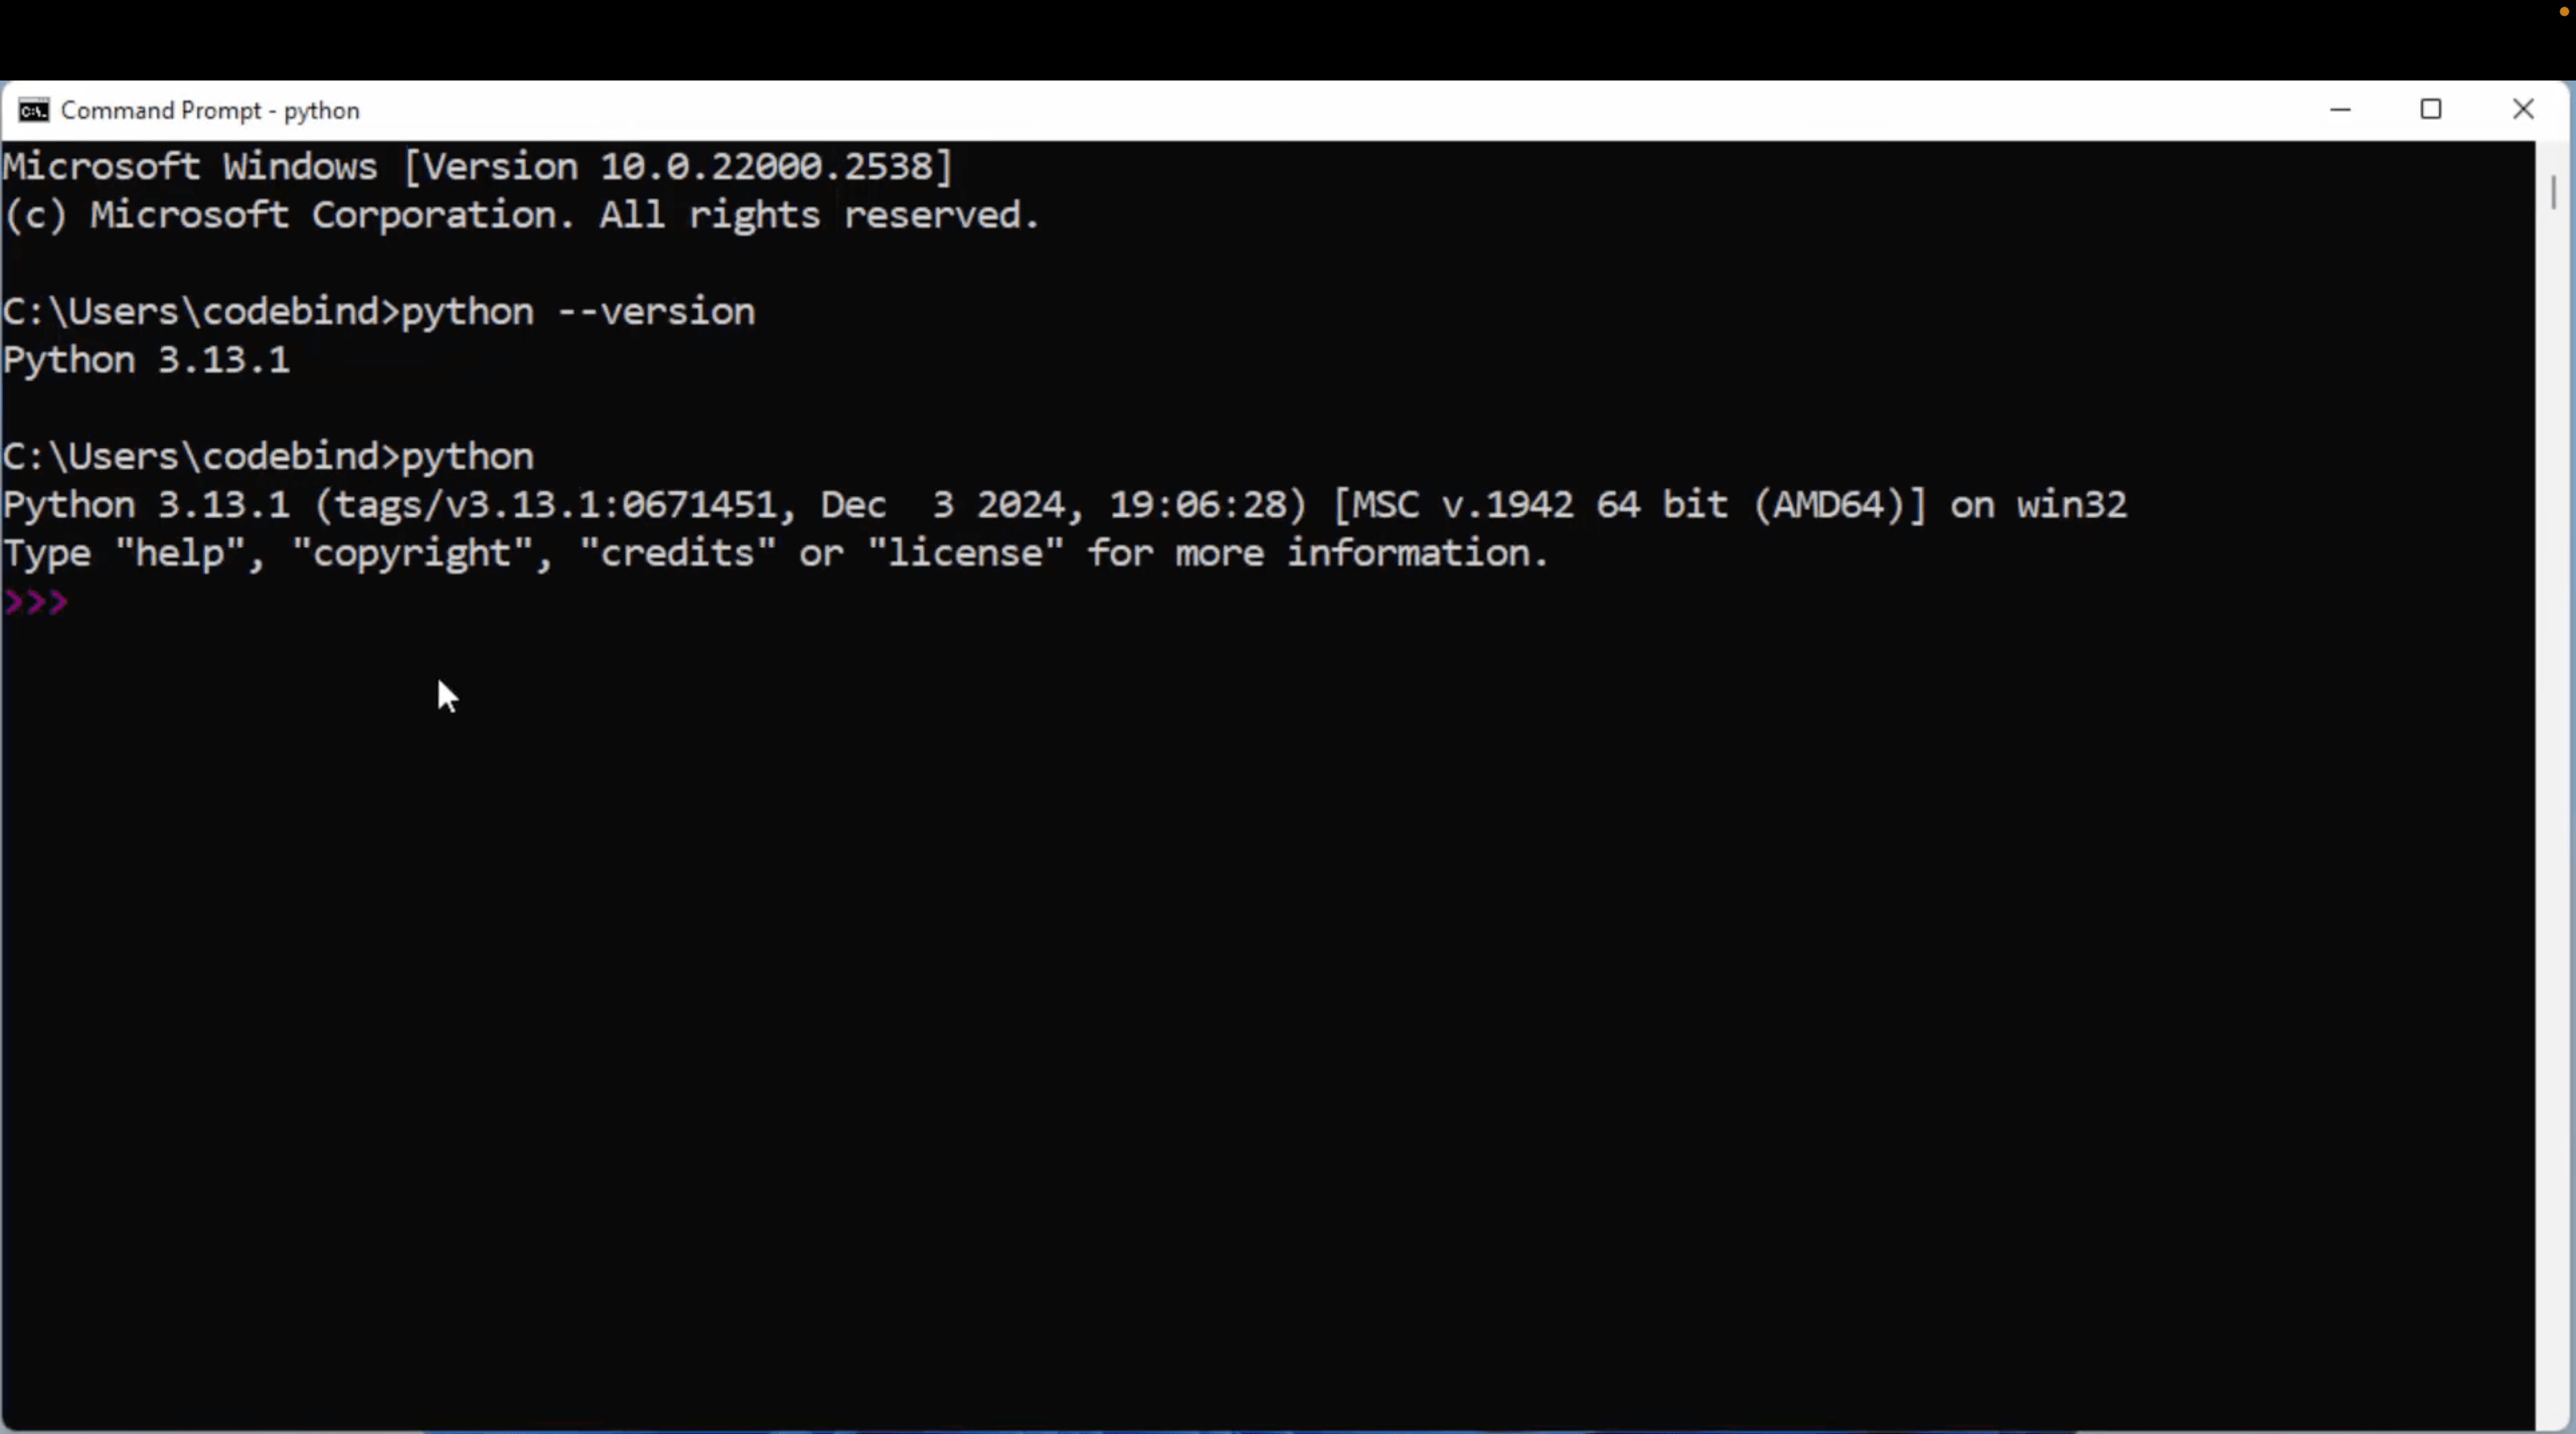
  • pip --version run in command prompt and python --version.14 1 e1737961172208

Python Installation for MacOS:

  • Check System Requirements: Ensure your macOS version is 10.9 or later.
  • Go To google chrome and search python

seach on google

  • Visit Python’s Official Website: Open https://www.python.org and navigate to the “Downloads” section. The website will auto-detect the appropriate version for macOS.irst page for python
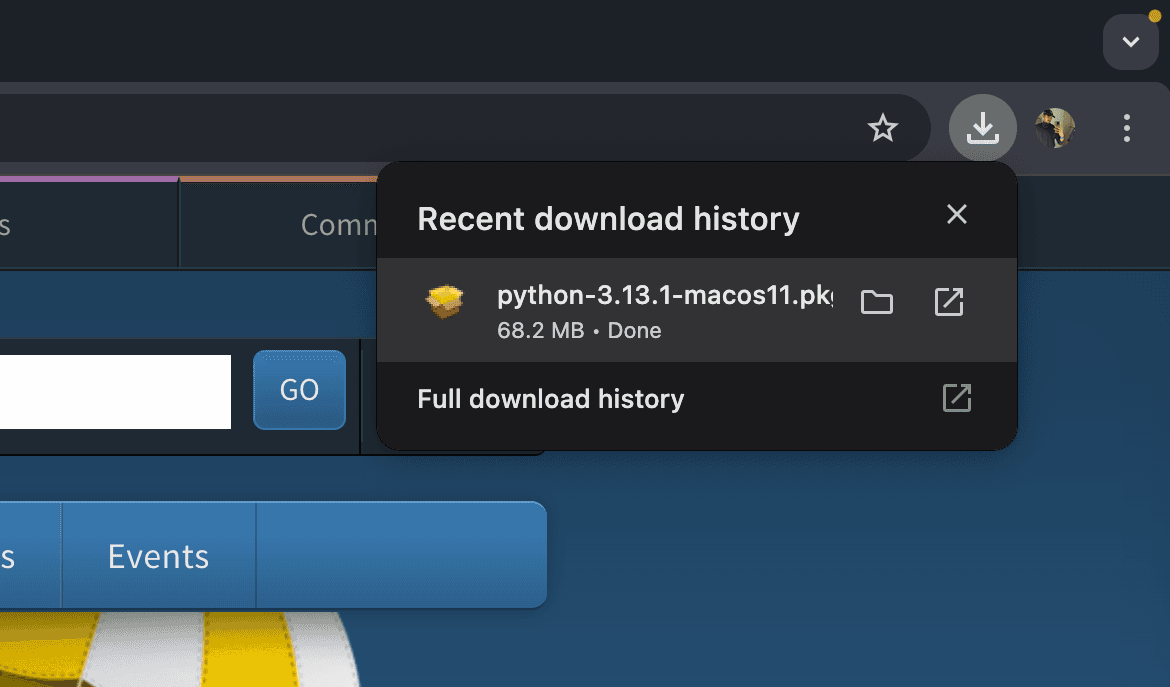
  • Wait until the installation take place & navigate in download bar. 4 e1737897166784
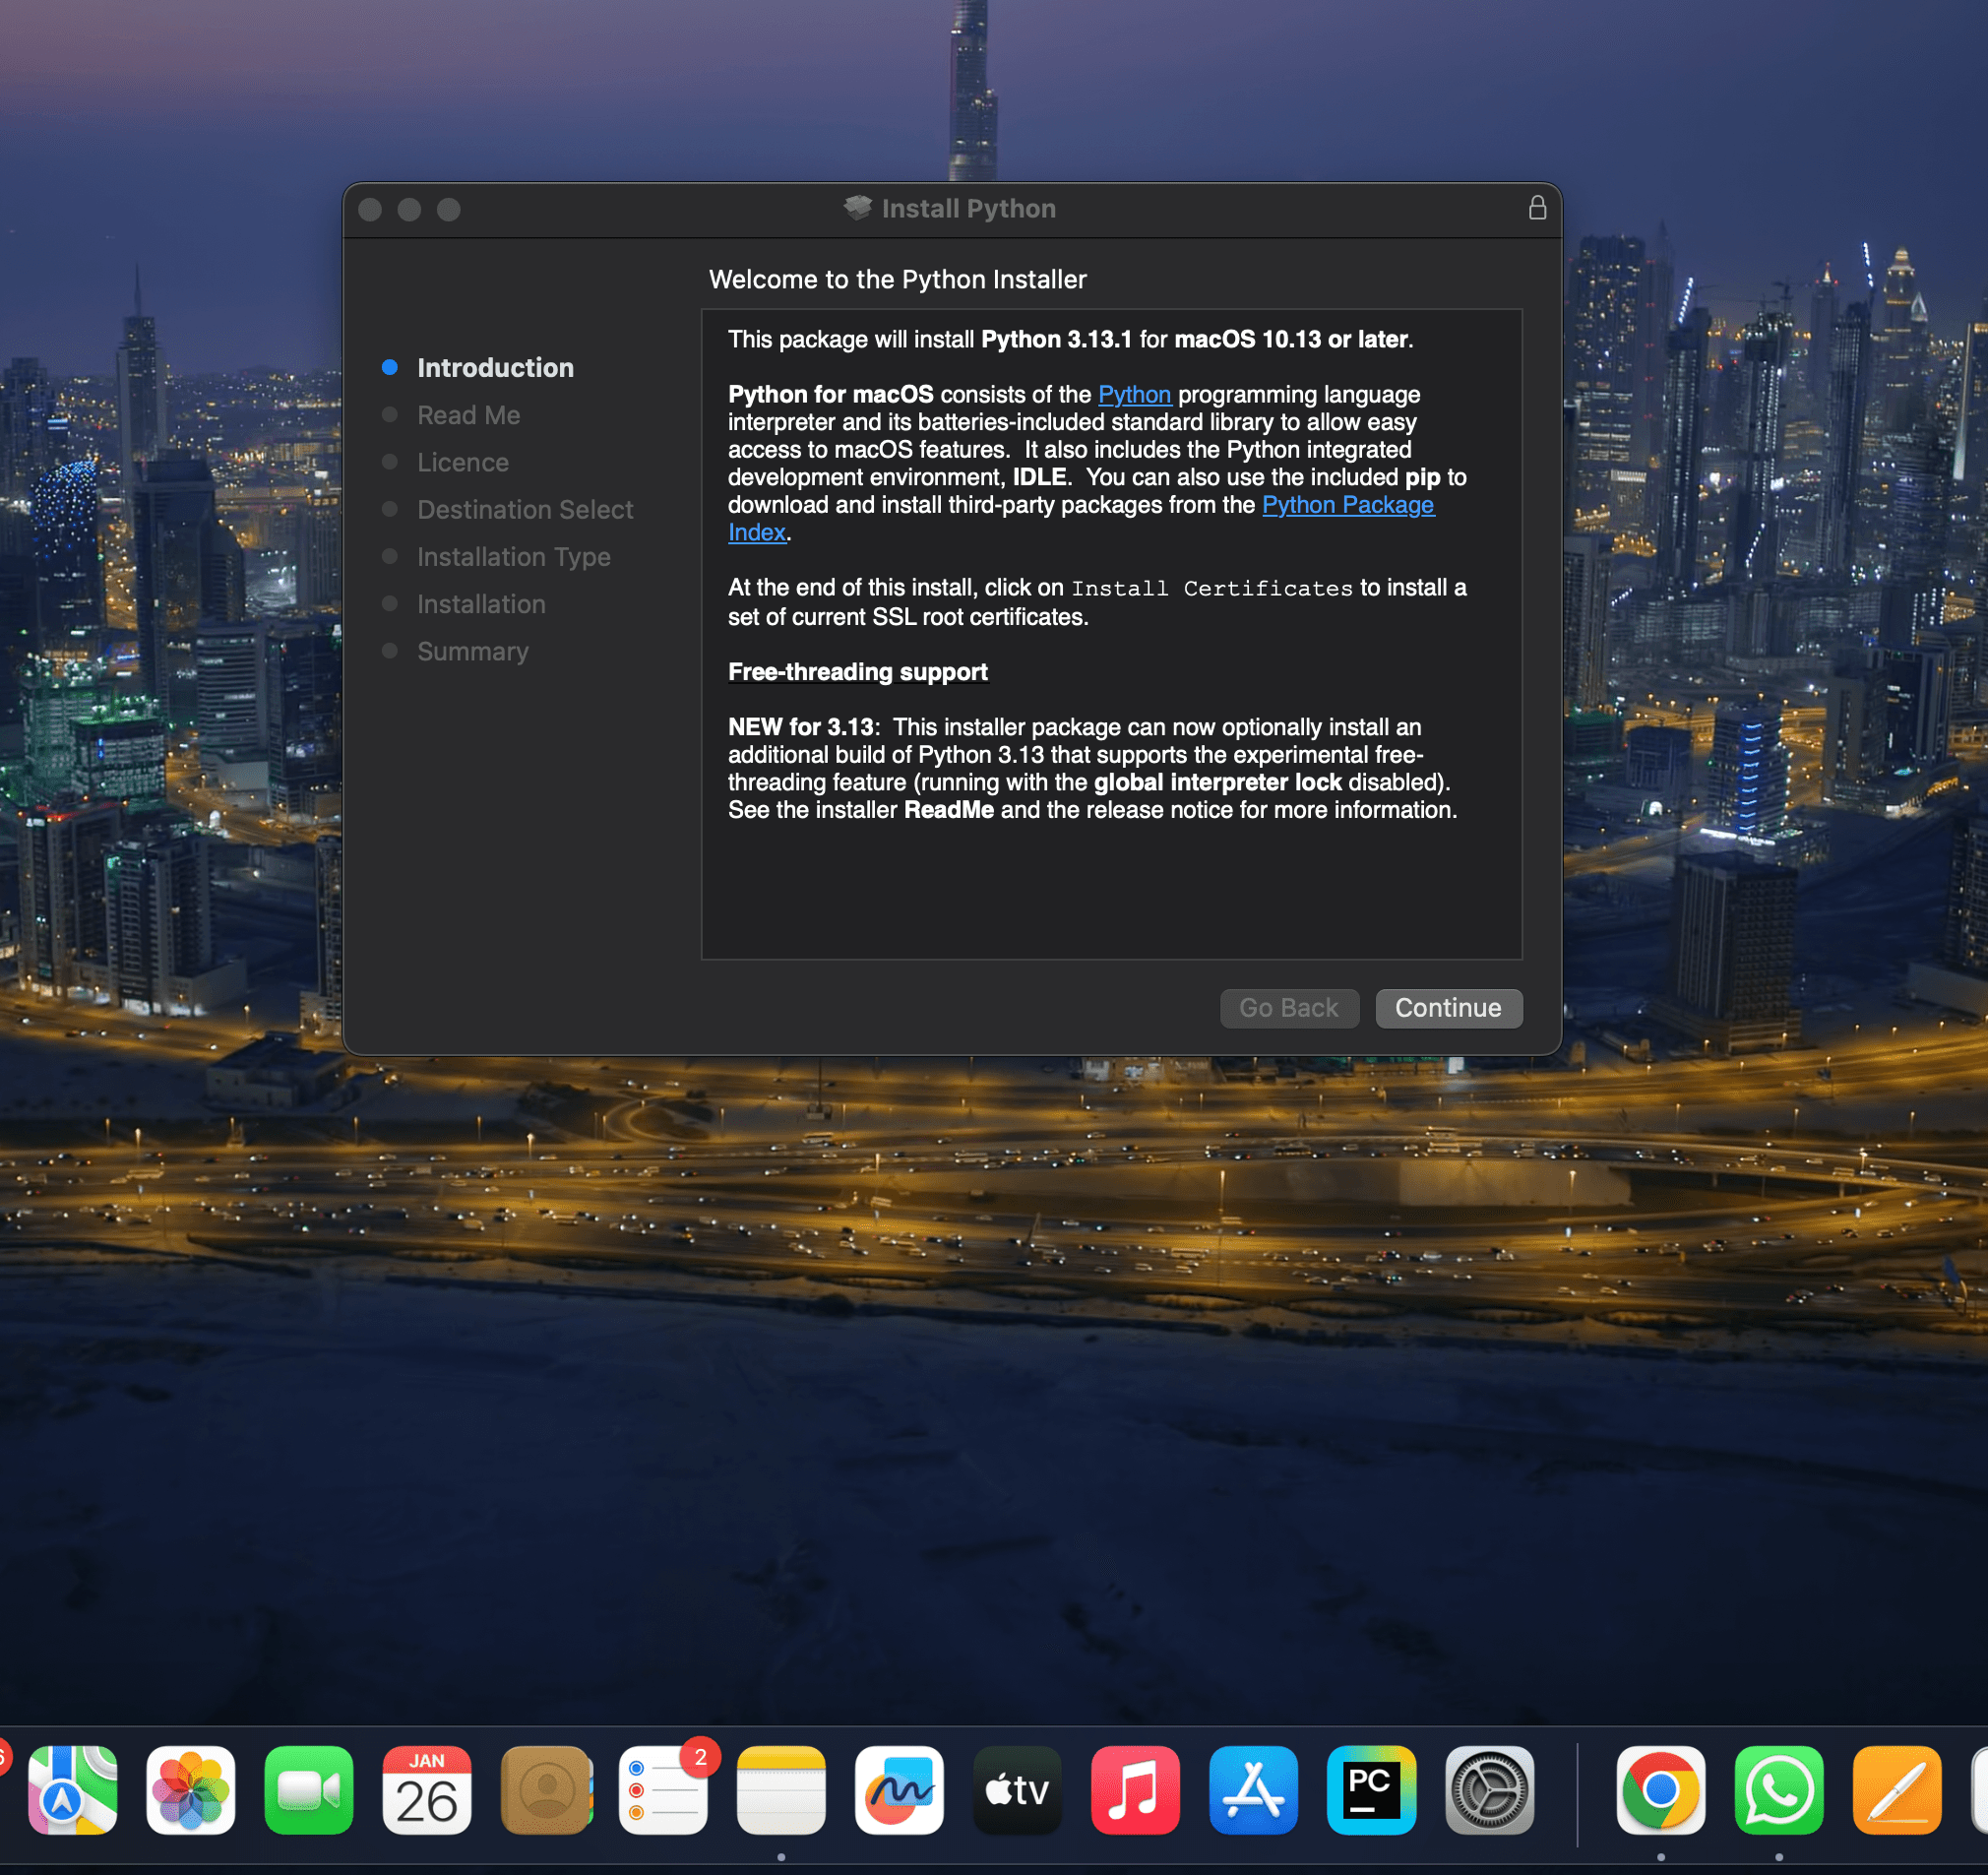
  • Open the .pkg file.5 e1737900198771
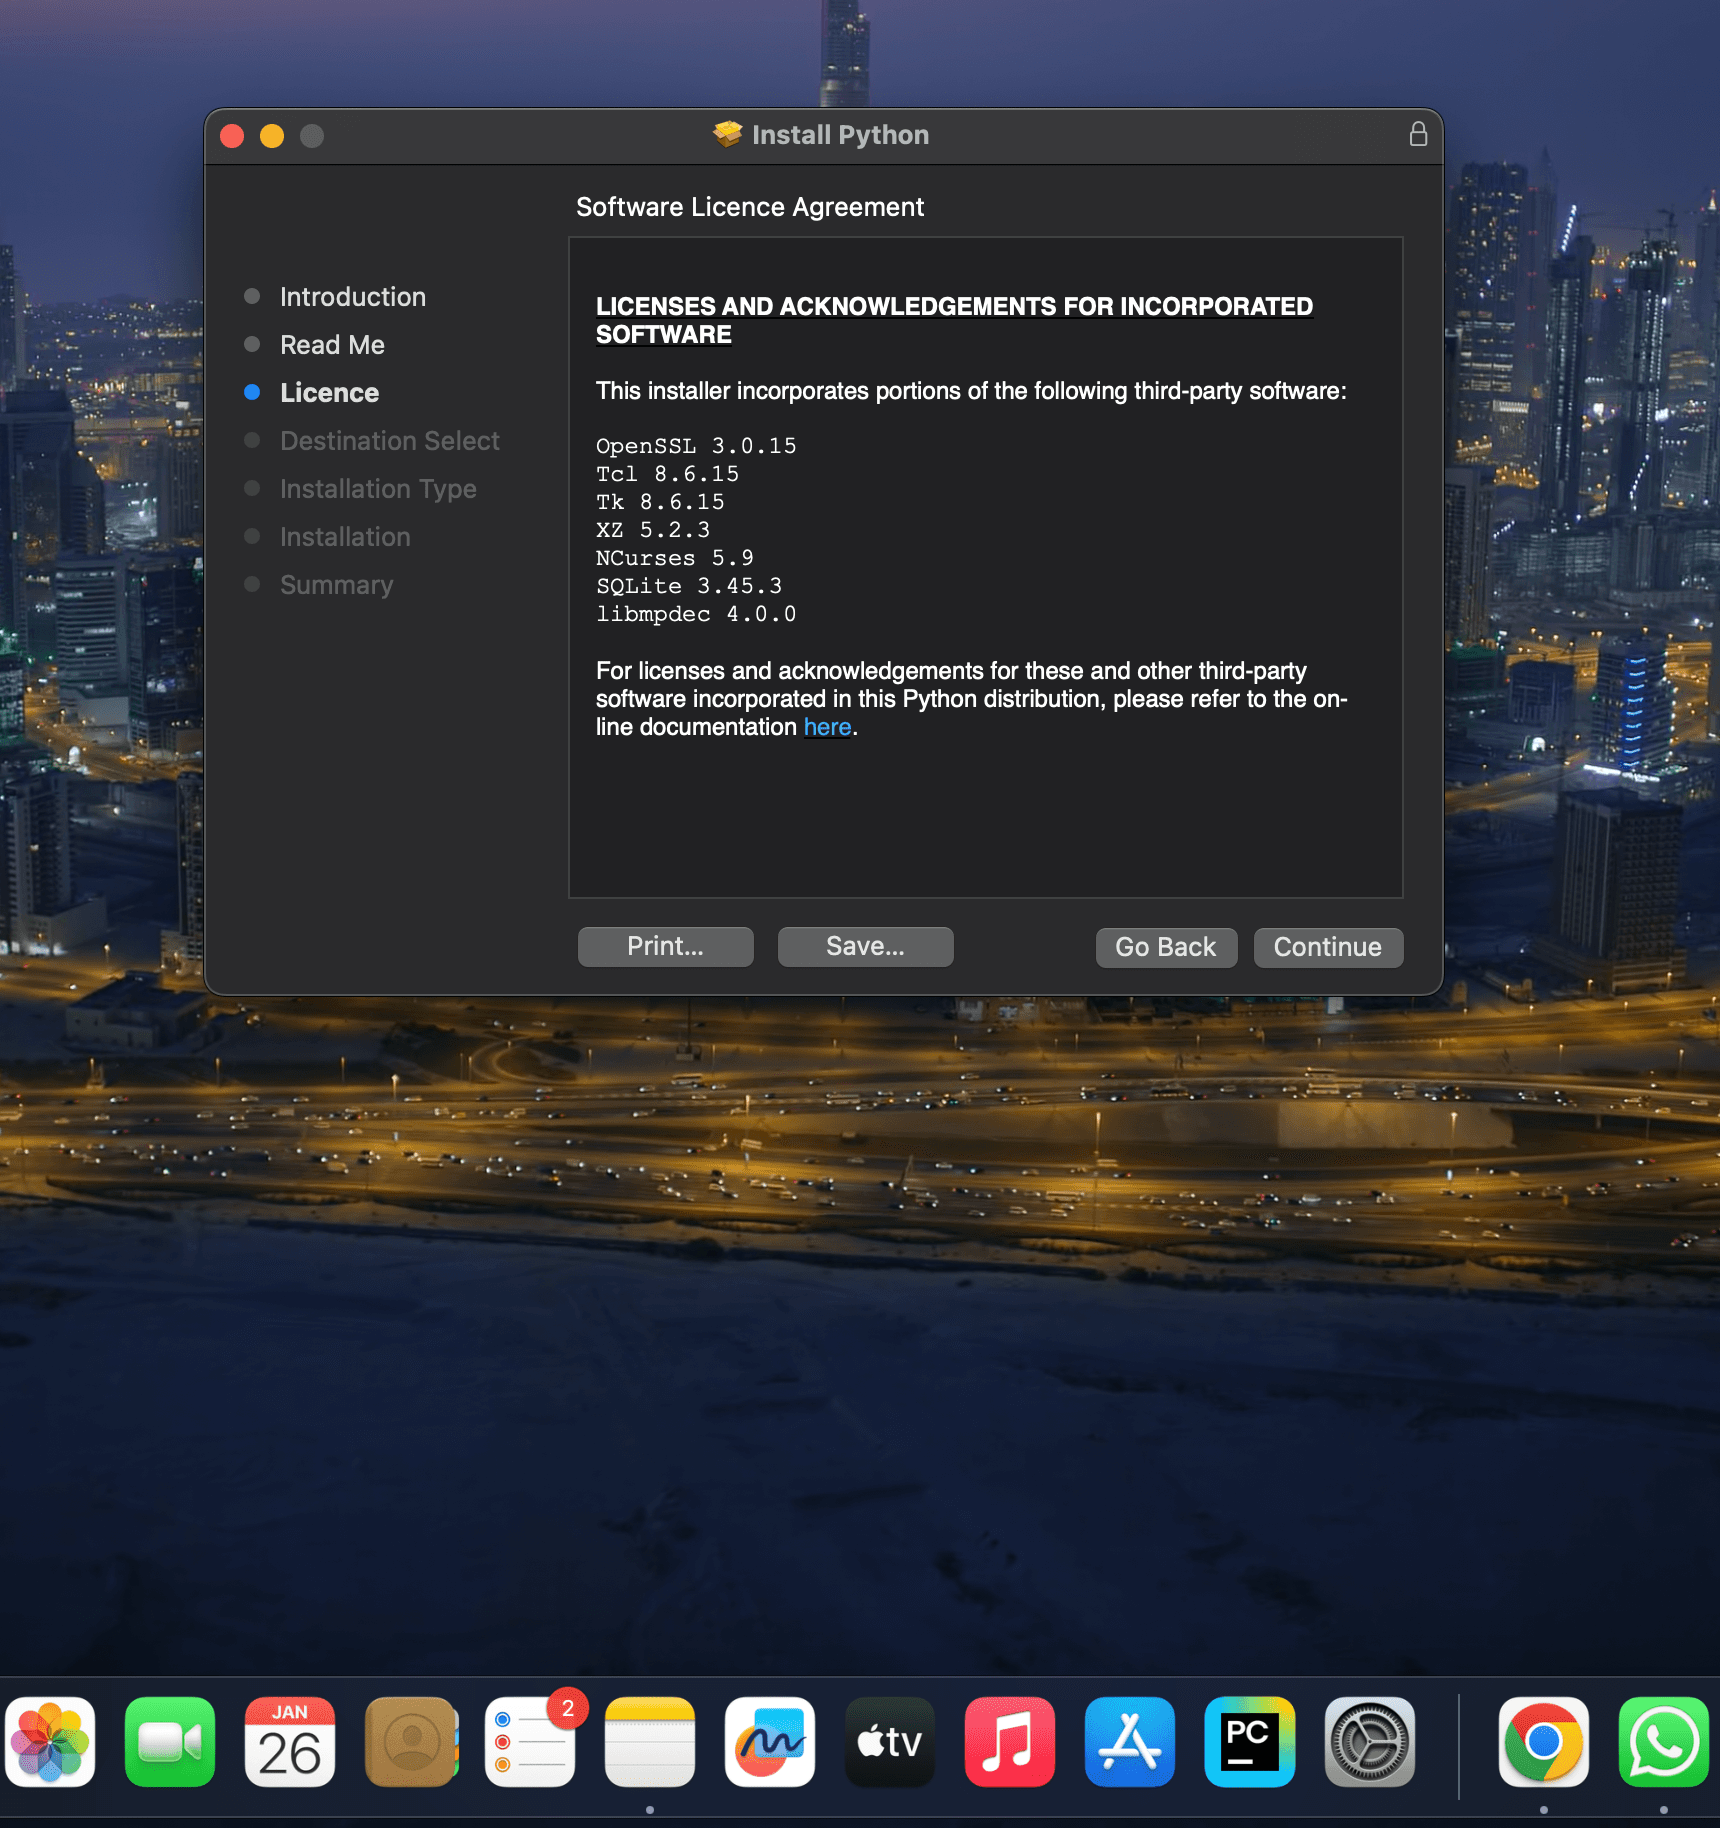
  • Click to continue.6 e1737900590266
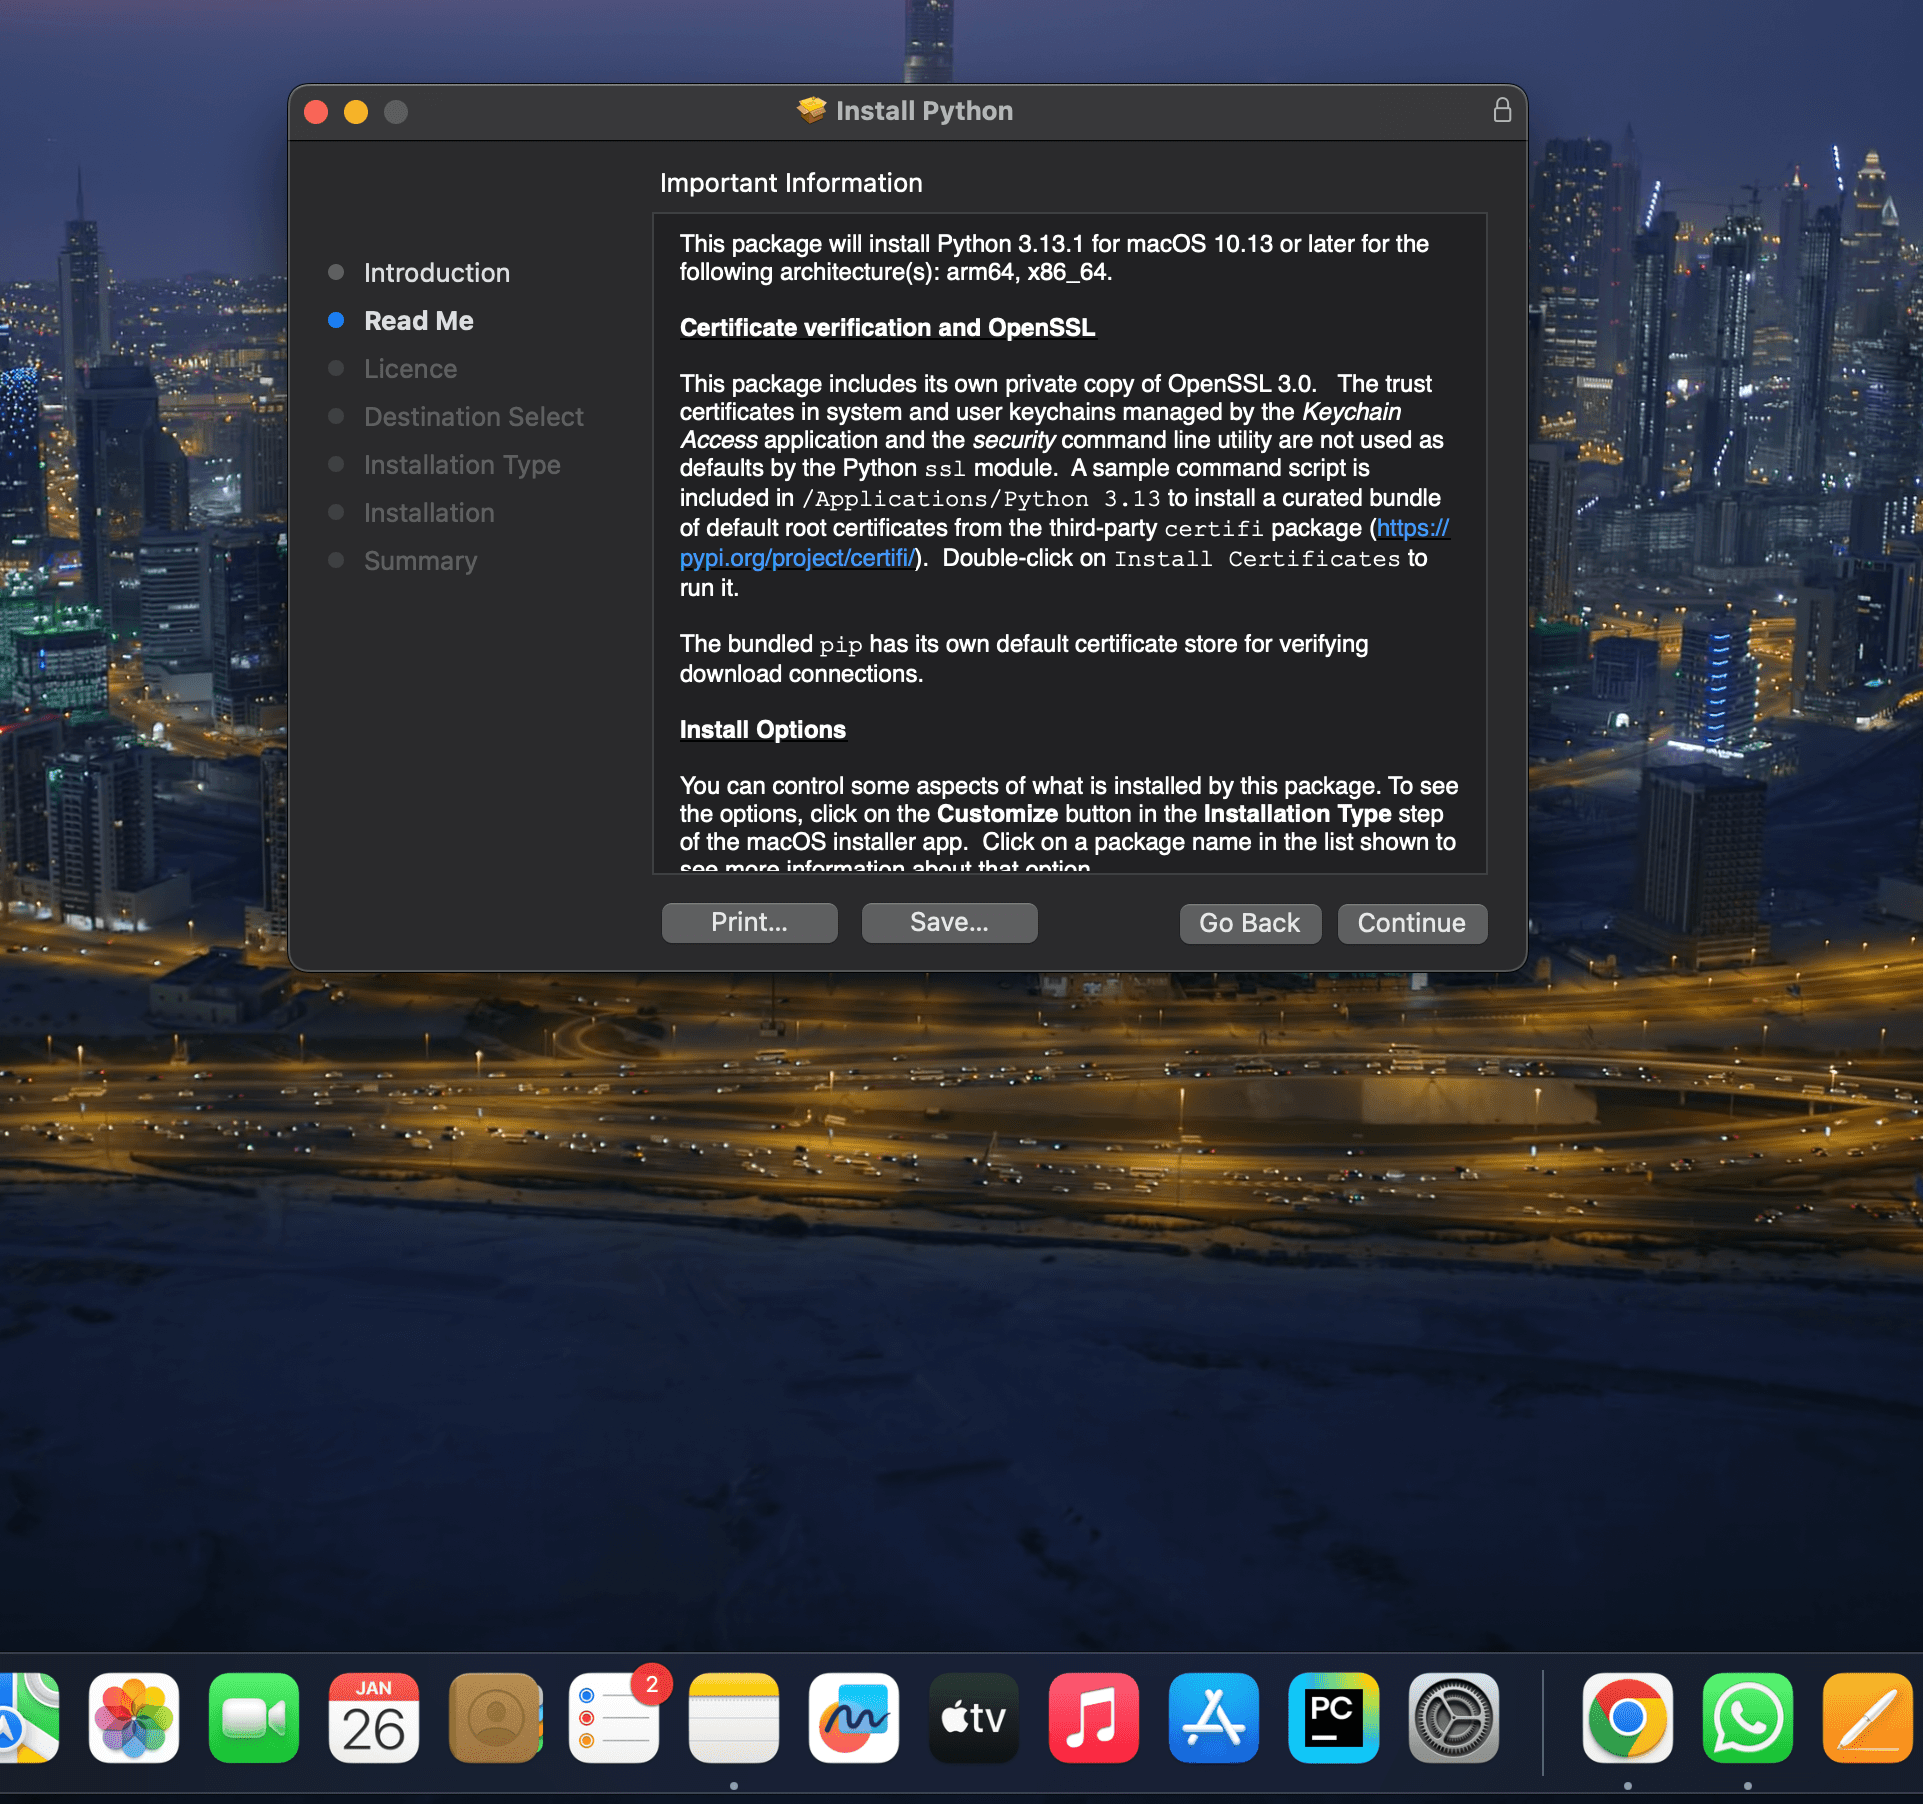
  • Again click on continue.7 e1737900689287
  • Now click on Agree.8
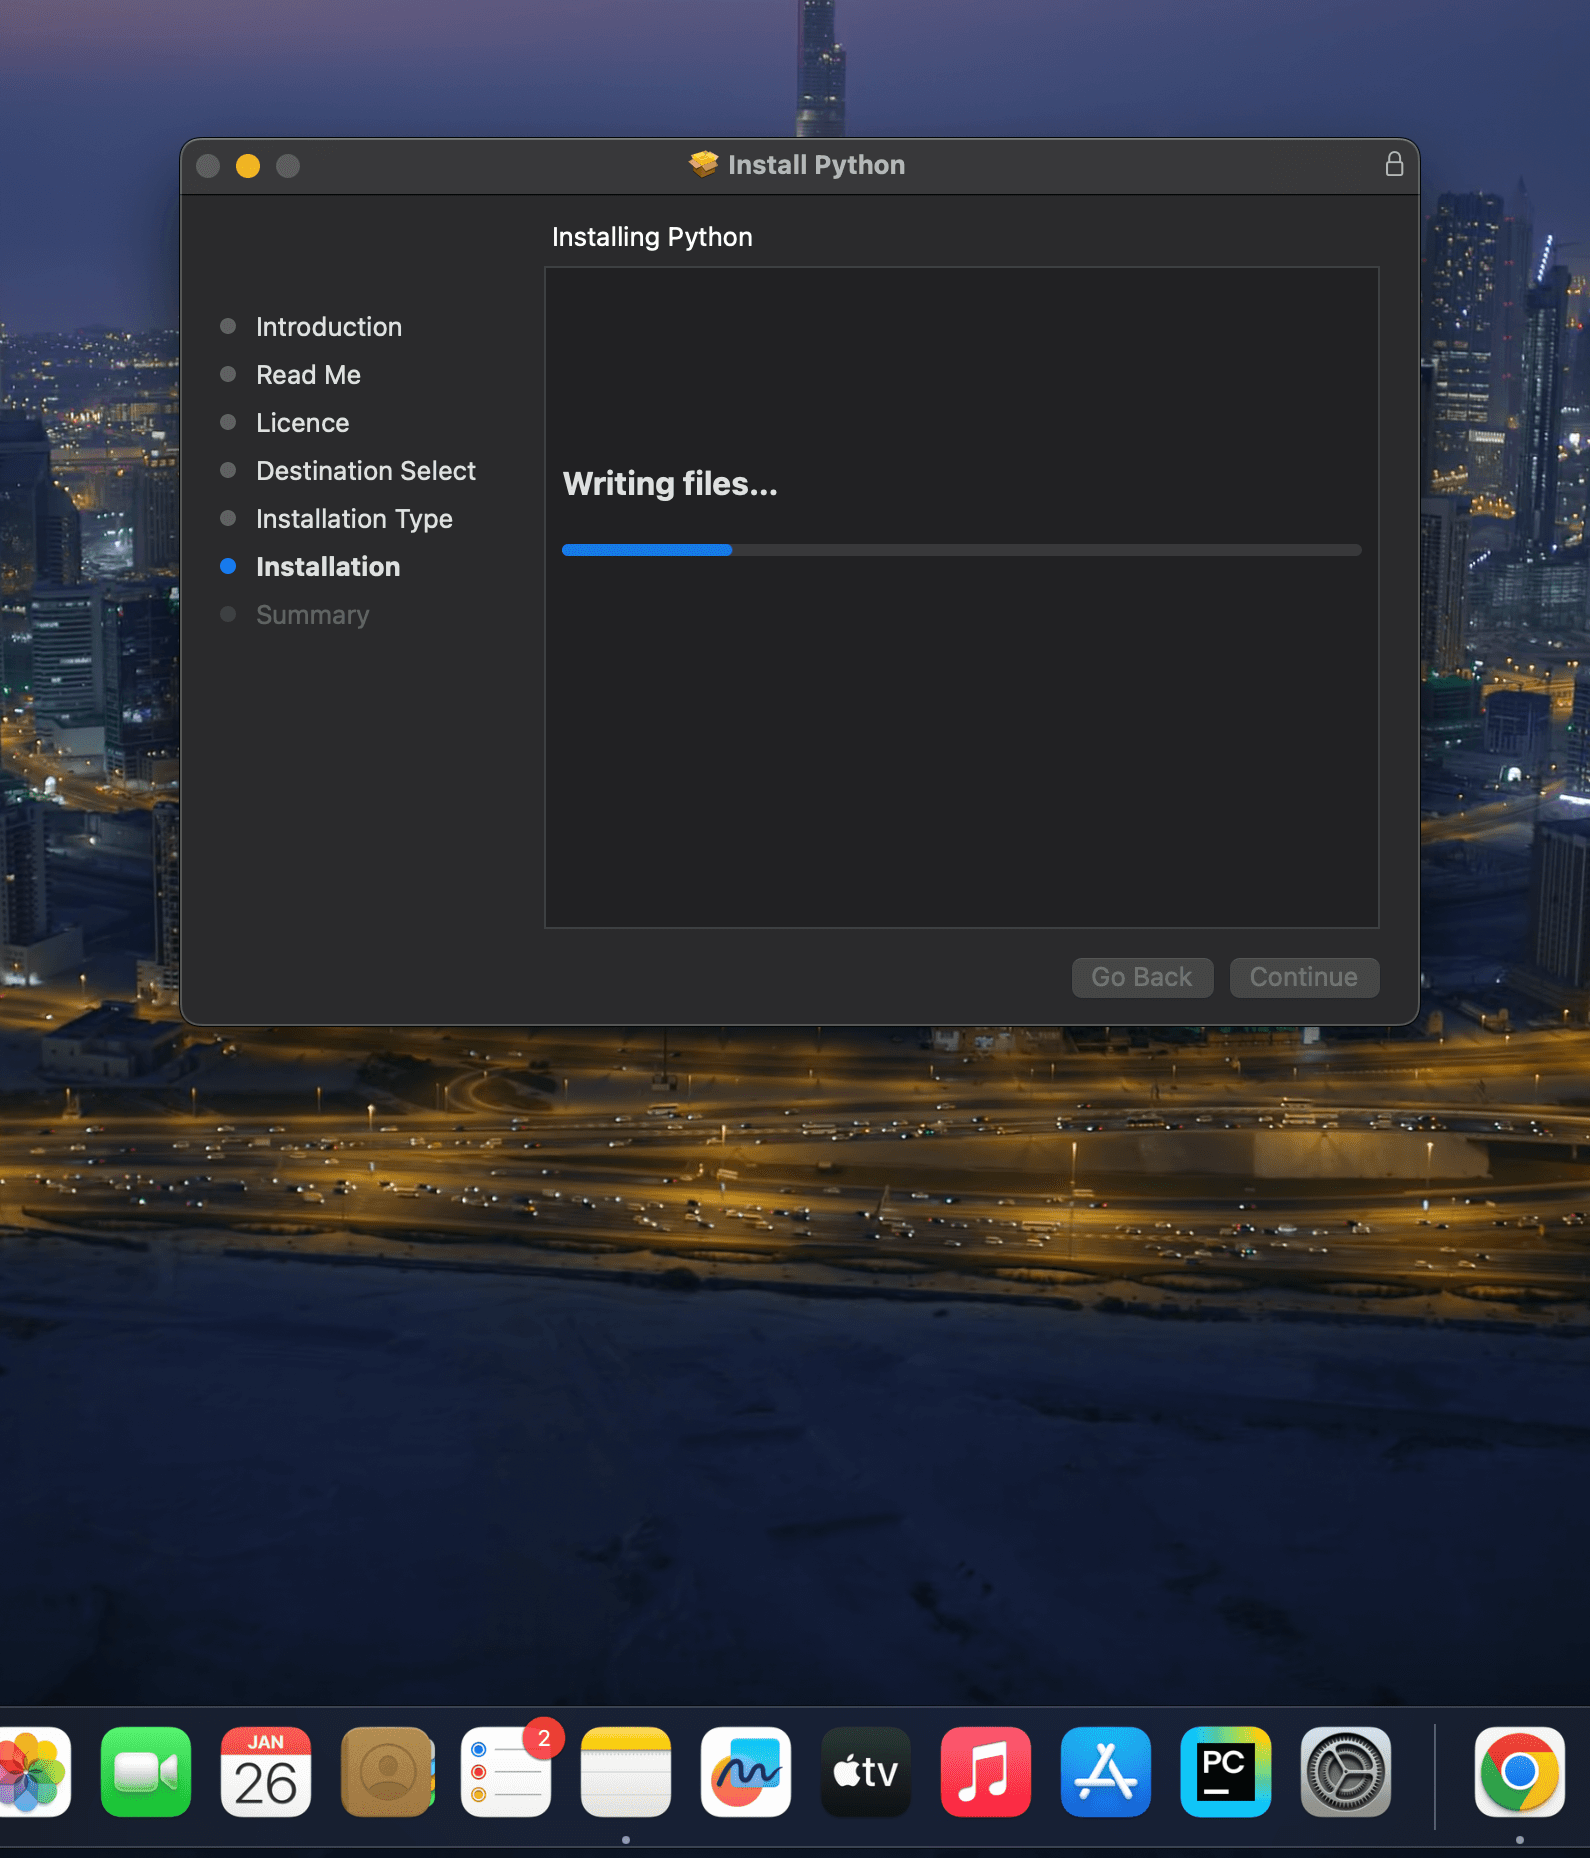
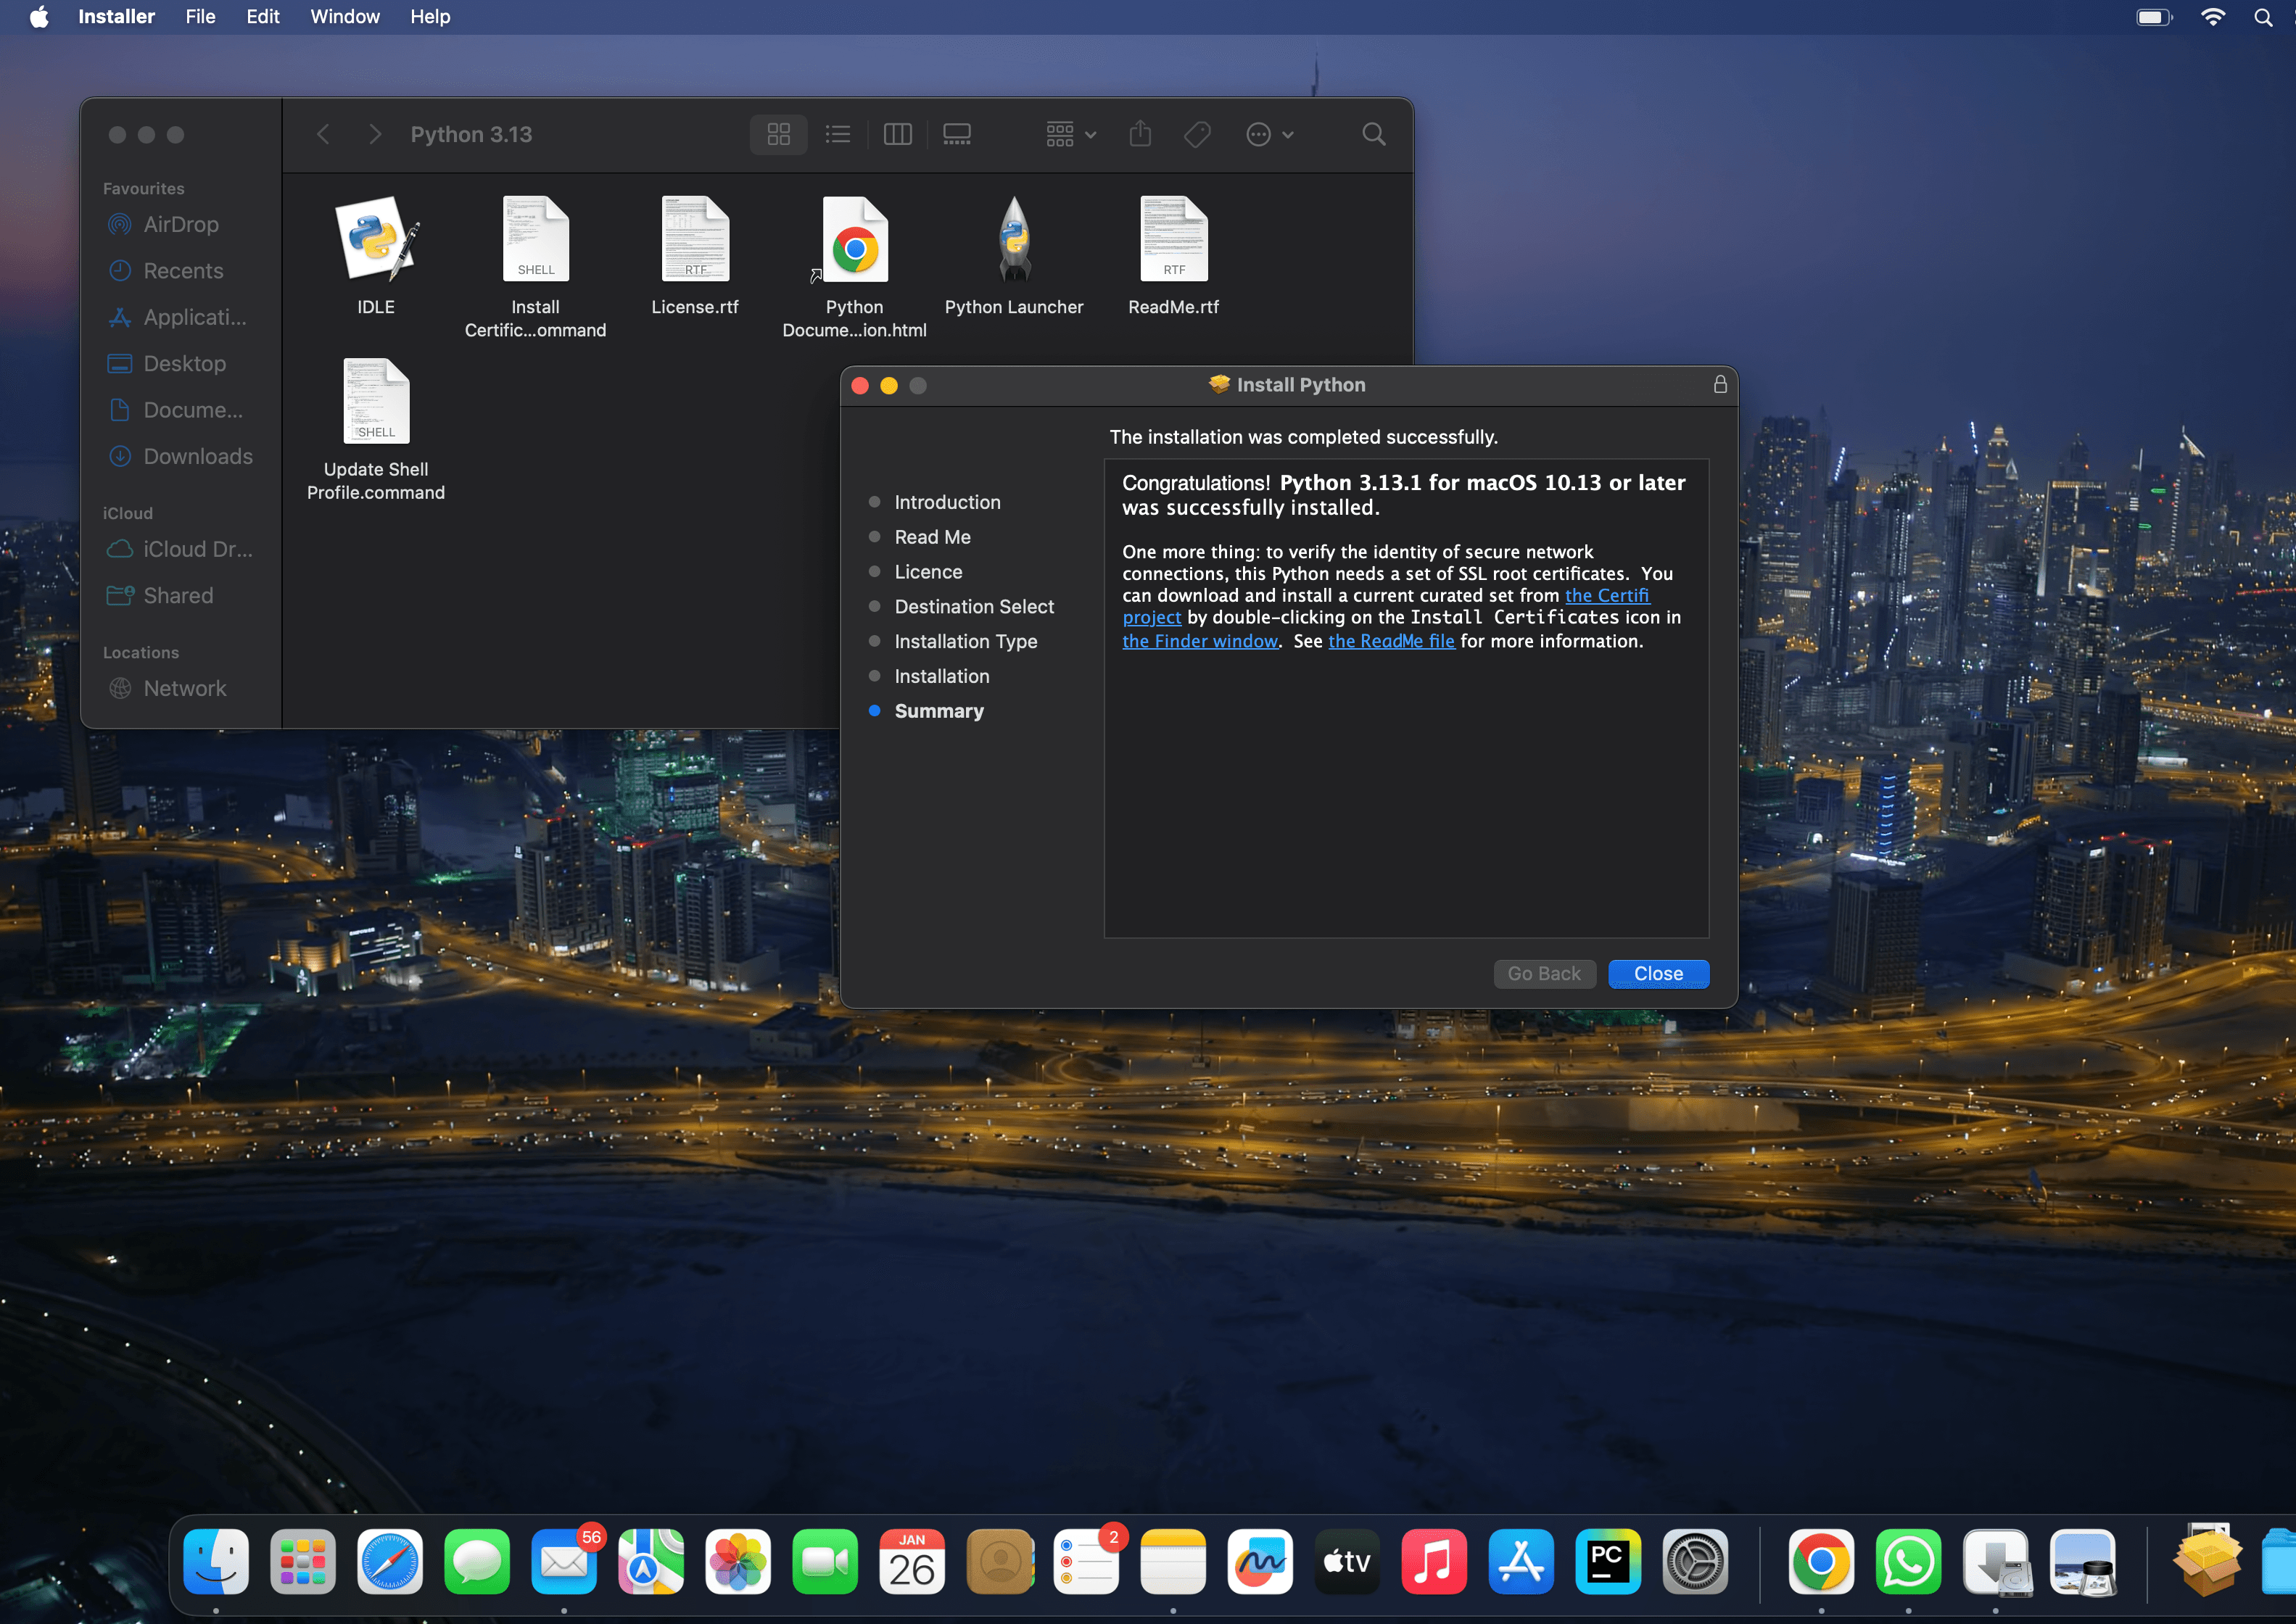
  • Now complete the processing and click on Install Button.10 e1737901071202And move the python installer package to bin12 e1737902387634
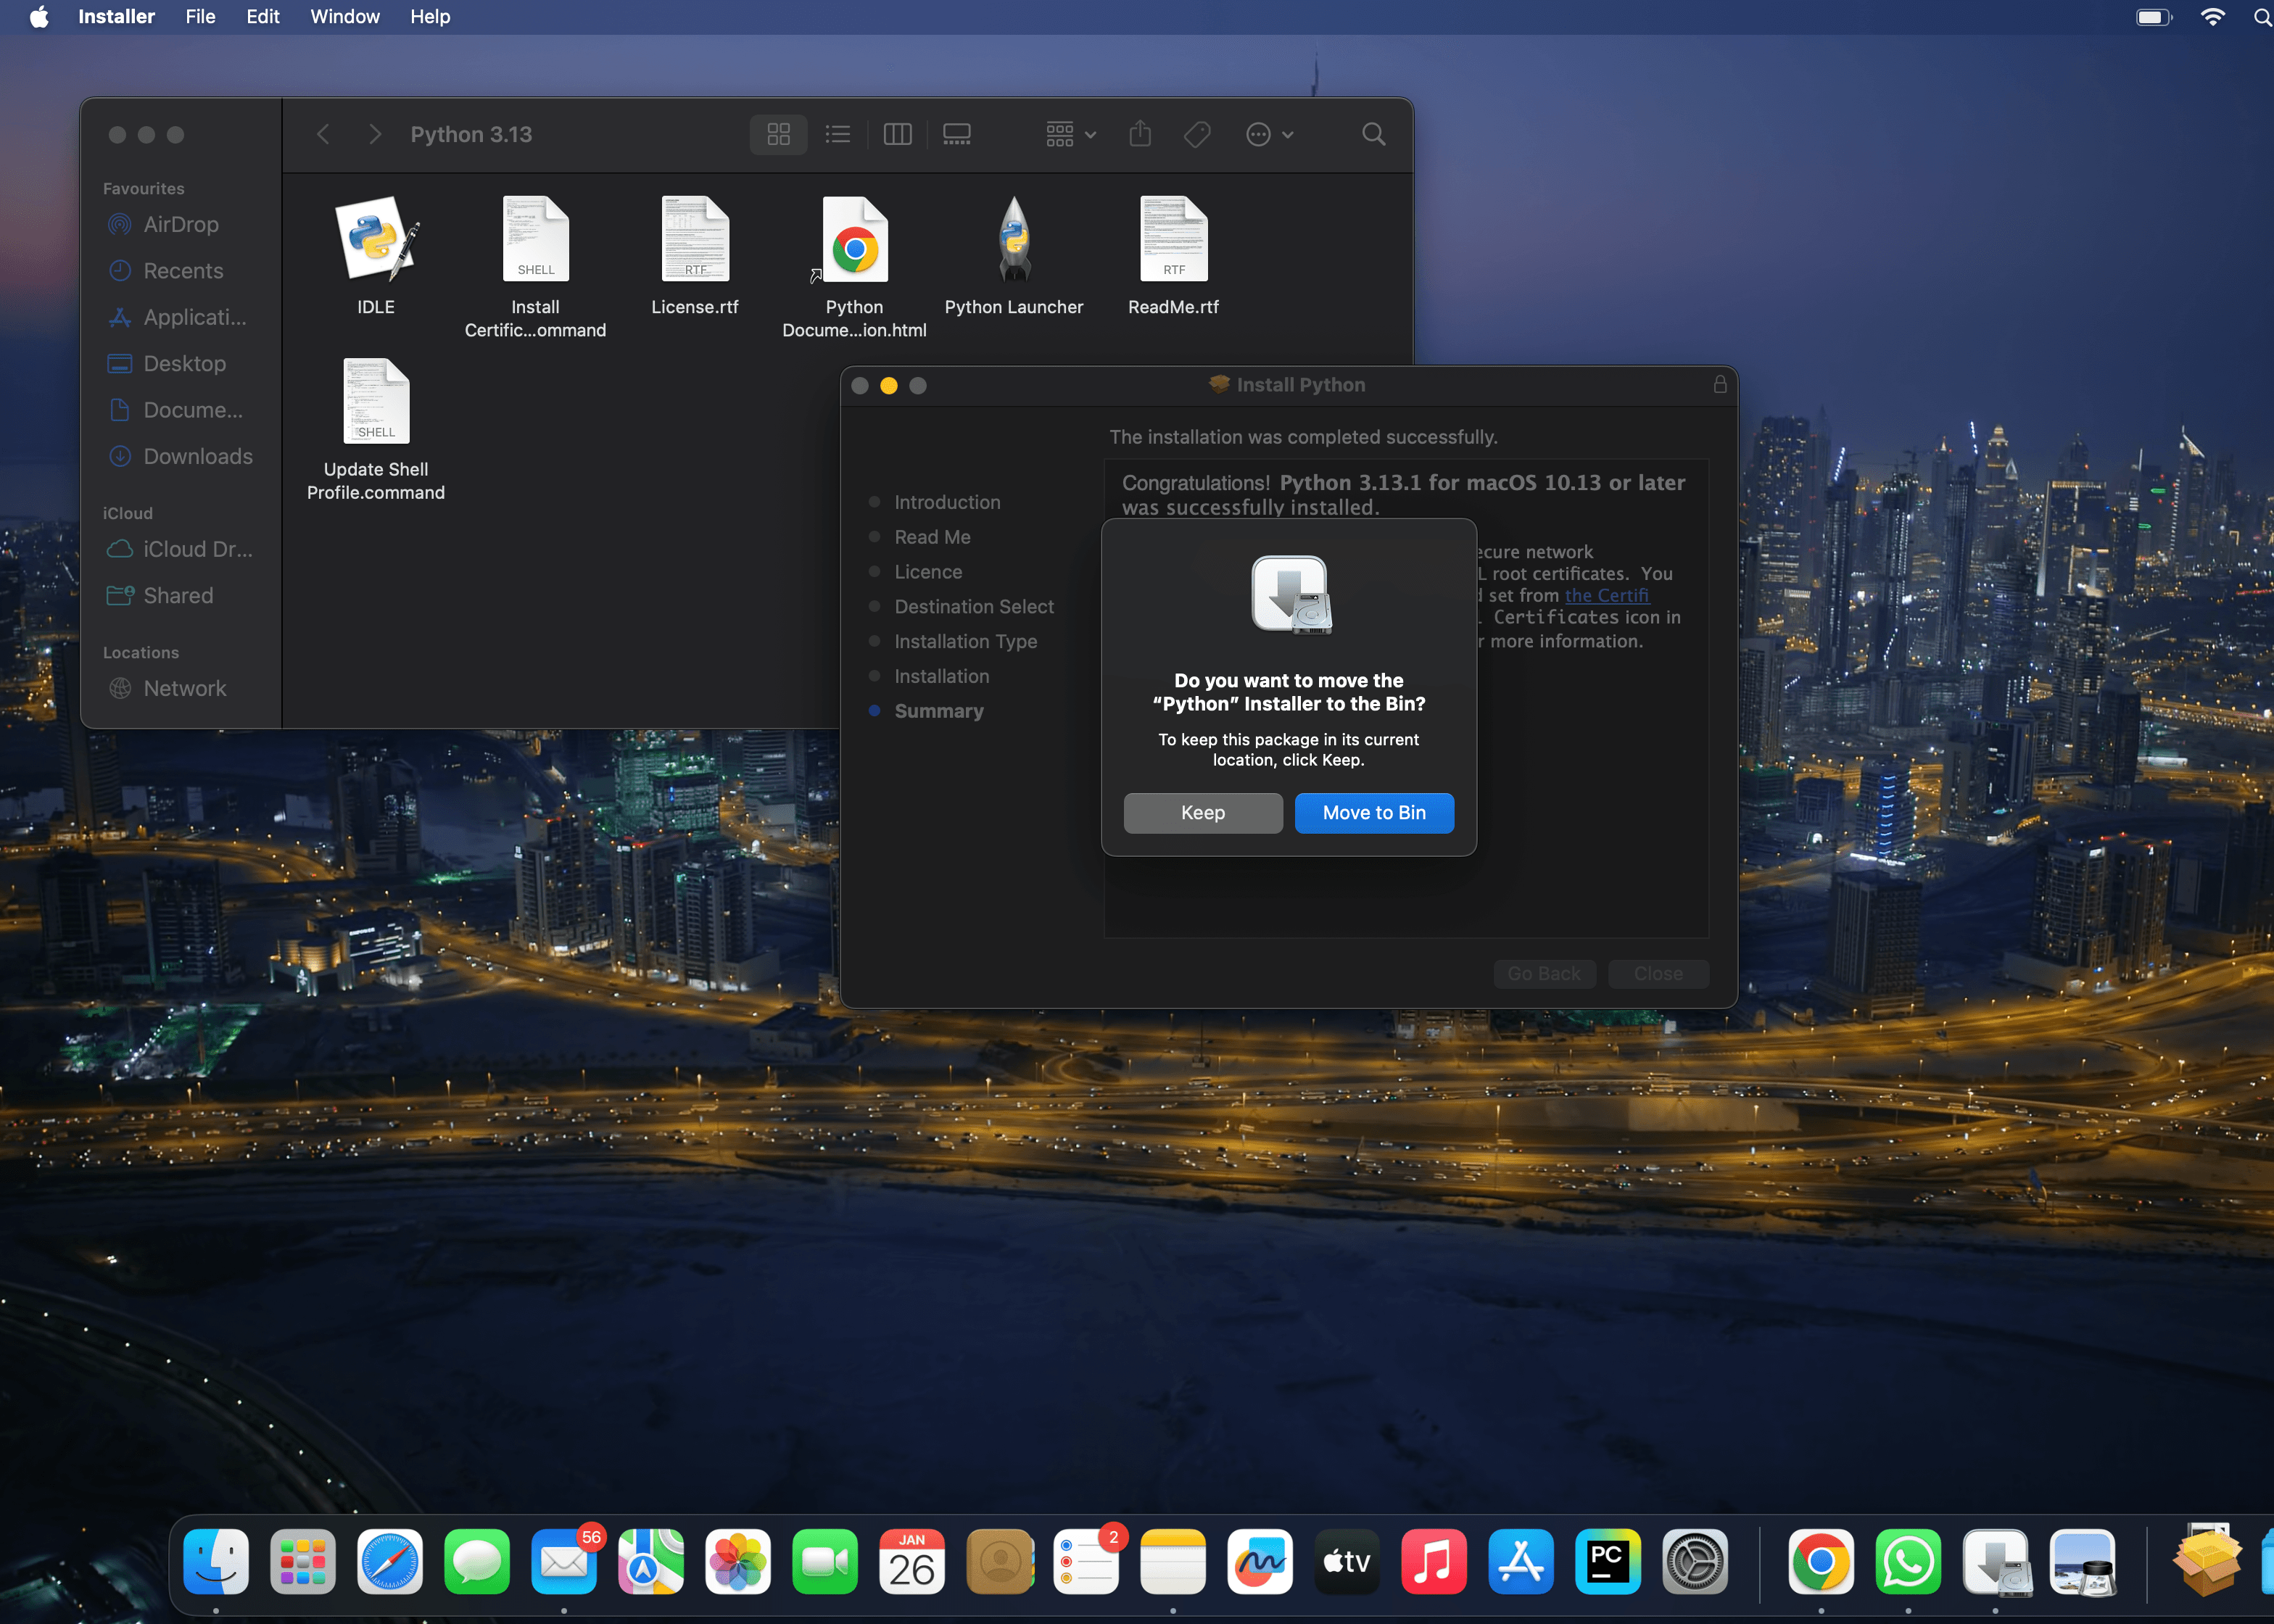
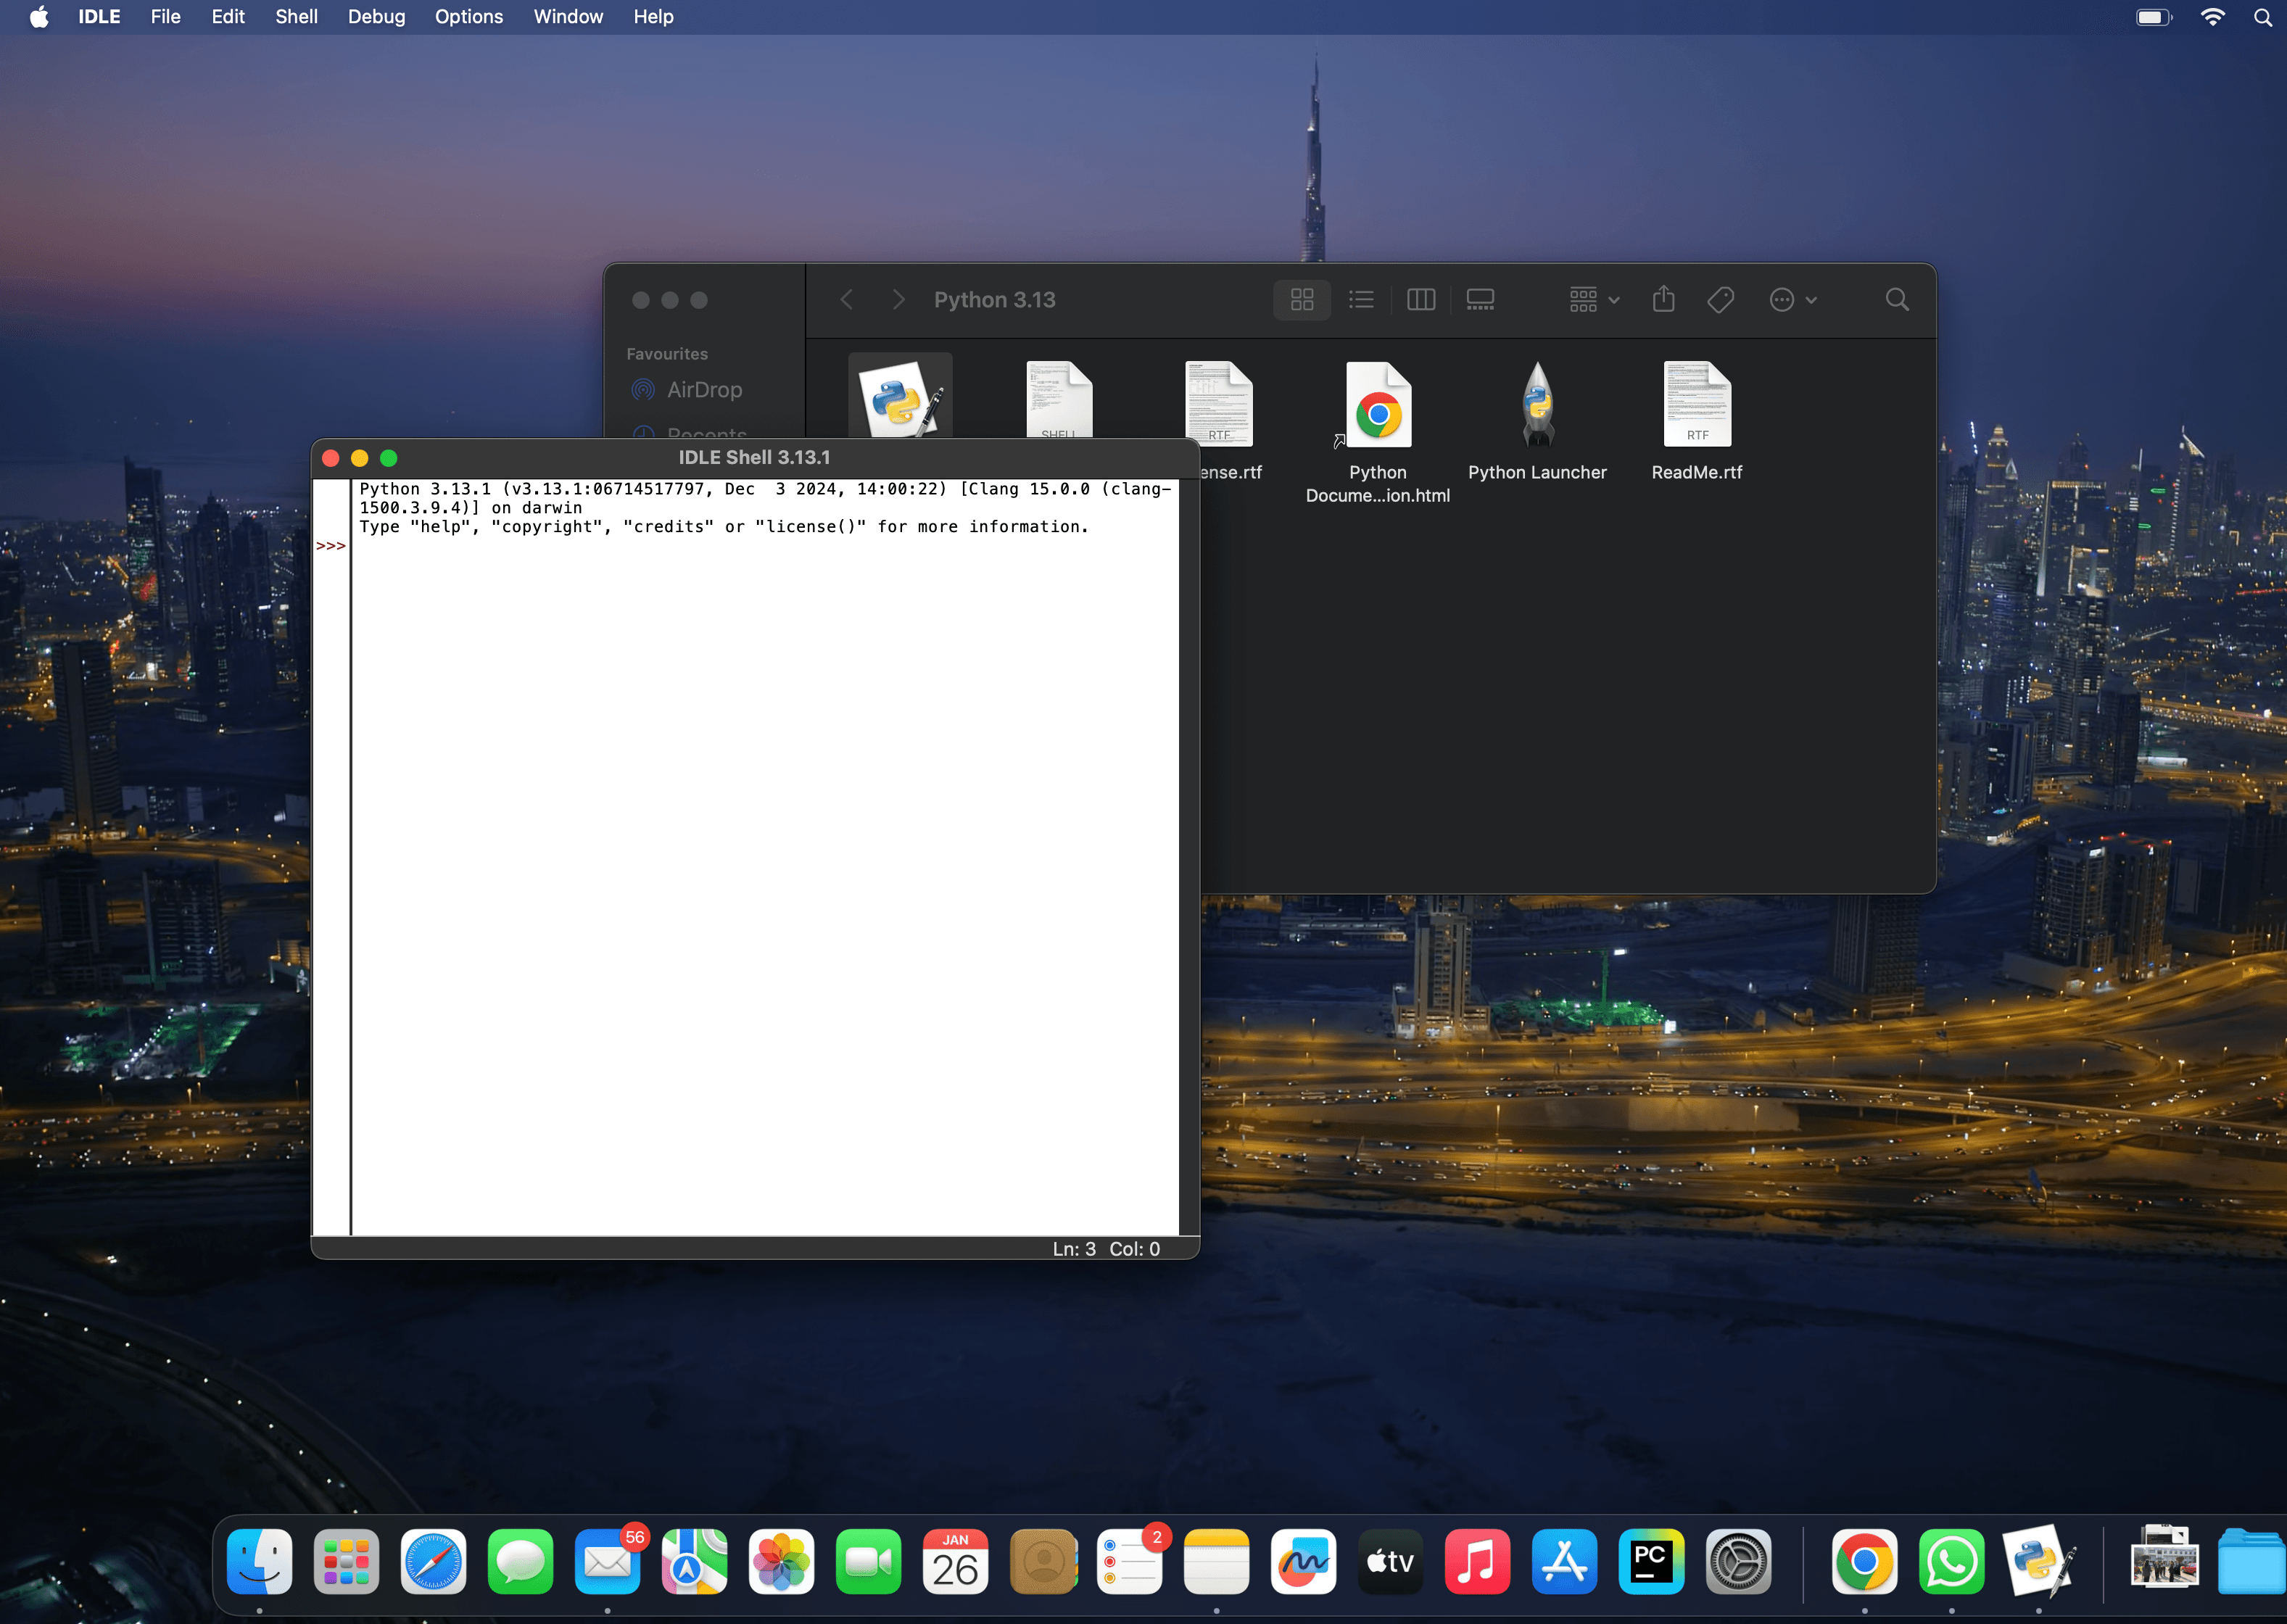
  • Now close all the tabs and open IDLE python.11 e1737902149333
  • Open IDLE shell and try a hello world Program.14 e1737902564954
  • Simple “Hello World” program.16You can also check version in Terminal by giving the following command to check the version of python.
    python3 –versionScreenshot 2025 01 26 at 11.38.27 PM

    Python List Vs Tuple

    Python List Vs Tuple Tutorial

    Introduction

    Python offers a wide range of data structures to store and manipulate collections of data. Two commonly used data structures are lists and tuples. Both lists and tuples are sequences that can hold multiple elements, but they have distinct characteristics and use cases. This tutorial will explore the main differences between lists and tuples, highlight functions unique to each, and provide examples to illustrate their usage.

    List

    In Python, a list is a versatile and fundamental data structure that serves as a collection of elements in a specific order. It allows you to store multiple values of different data types, such as numbers, strings, or even other lists, within a single container. Lists are enclosed within square brackets [ ] and elements inside the list are separated by commas.

    One of the most distinctive features of lists is their mutability, meaning you can modify, add, or remove elements after the list is created. This makes lists dynamic and flexible for various programming tasks. You can change individual elements, append new elements to the end, insert elements at specific positions, and even delete elements from the list.

    Lists support various built-in methods and functions, making it convenient to manipulate and work with the data they contain. You can access elements by their index, perform slicing to extract sub-lists, iterate over the elements using loops, and perform various list operations like concatenation and repetition.

    Examples of a List:

    numbers = [1, 2, 3, 4, 5]
    #Example 2: A list of strings
    fruits = ["apple", "banana", "cherry", "date"]
    #Example 3: A mixed list containing different data types
    mixed_list = [42, "hello", 3.14, True]
    

    Tuple

    In Python, a tuple is an ordered and immutable collection of elements. It is a data structure that allows you to store multiple items of different data types within a single object. Tuples are defined using parentheses () and can hold elements separated by commas. Once a tuple is created, its elements cannot be changed or modified, making it an immutable data type.

    Unlike lists, which are mutable and enclosed in square brackets [], tuples are designed to hold data that should remain constant throughout the program’s execution. This immutability ensures data integrity and prevents accidental changes to the tuple’s elements.

    Tuples are often used to represent fixed collections of related values, such as coordinates, RGB color codes, database records, or configuration settings. Their ability to store elements of various types in a specific order makes them versatile for organizing and accessing data in a structured manner.

    Example of a Tuple:

    # Example 1: A tuple of integers
    numbers = (1, 2, 3, 4, 5)
    
    # Example 2: A tuple of strings
    fruits = ("apple", "banana", "cherry", "date")
    
    # Example 3: A mixed tuple containing different data types
    mixed_tuple = (42, "hello", 3.14, True)

    Main Differences between Lists and Tuples:

    1. Mutability:

    List: Lists are mutable, meaning you can modify their elements after creation. You can add, remove, or change elements within a list.

    Tuple: Tuples, on the other hand, are immutable. Once a tuple is created, its elements cannot be modified. You cannot add, remove, or change elements in a tuple.

    # List example
    my_list = [1, 2, 3]
    my_list[0] = 10  # Modify an element
    my_list.append(4)  # Add an element
    my_list.remove(2)  # Remove an element
    print(my_list)  # Output: [10, 3, 4]
    ------------------------------------------------------
    # Tuple example
    my_tuple = (1, 2, 3)
    # my_tuple[0] = 10  # This will raise a TypeError
    # my_tuple.append(4)  # This will raise an AttributeError
    print(my_tuple)  # Output: (1, 2, 3)
    1. Syntax:

    List: Lists are enclosed in square brackets [ ]. Elements inside the list are separated by commas.

    Tuple: Tuples are enclosed in parentheses ( ). Elements inside the tuple are separated by commas.

    # List Example
    my_list = [10, 20, 30, 40]  # A list of integers
    names = ["Alice", "Bob", "Charlie"]  # A list of strings
    mixed_list = [1, "hello", 3.14]  # A mixed list
    -------------------------------------------------------------
    # Tuple Example
    my_tuple = (10, 20, 30, 40)  # A tuple of integers
    names_tuple = ("Alice", "Bob", "Charlie")  # A tuple of strings
    mixed_tuple = (1, "hello", 3.14)  # A mixed tuple
    1. Performance:

    List: Lists might have slightly lower performance compared to tuples due to their mutability. Modifying a list can require resizing and memory allocation.

    Tuple: Tuples, being immutable, have better performance than lists, especially in scenarios where elements remain constant.

    import time
    
    # Creating a list and a tuple
    my_list = [1, 2, 3, 4, 5]
    my_tuple = (1, 2, 3, 4, 5)
    
    # Measuring access time for the list
    start_time = time.time()
    for _ in range(1_000_000):
        _ = my_list[2]  # Accessing the third element
    list_time = time.time() - start_time
    
    # Measuring access time for the tuple
    start_time = time.time()
    for _ in range(1_000_000):
        _ = my_tuple[2]  # Accessing the third element
    tuple_time = time.time() - start_time
    
    # Printing results
    print(f"List Access Time: {list_time:.6f} seconds")
    print(f"Tuple Access Time: {tuple_time:.6f} seconds")
    
    1. Use Cases:

    List: Lists are ideal when you need to store collections of items that can change over time, such as dynamic data or mutable sequences.

    Tuple: Tuples are suitable for situations where you want to ensure data remains constant and unchangeable, like storing coordinates, configuration settings, or database records.

    Similarities Between List and Tuple:

    1. Ordered Collection: Both lists and tuples are ordered collections, meaning the elements are stored in a specific sequence, and the order of elements is preserved.
    2. Indexing: Both lists and tuples use indexing to access individual elements. Indexing starts from 0 for the first element, 1 for the second element, and so on.
    3. Heterogeneous Elements: Both lists and tuples can store elements of different data types, such as integers, floats, strings, or even other lists or tuples.
    4. Iterable: Both lists and tuples are iterable, allowing you to loop over the elements using a `for` loop or perform various operations on each element.

    Examples:

    # List and Tuple with similar data
    my_list = [1, 2, 3, "apple", 3.14]
    my_tuple = (1, 2, 3, "apple", 3.14)
    
    # Accessing elements by index
    print(my_list[1])  # Output: 2
    print(my_tuple[1])  # Output: 2
    
    # Slicing
    print(my_list[1:4])  # Output: [2, 3, 'apple']
    print(my_tuple[1:4])  # Output: (2, 3, 'apple')
    
    # Iteration
    for item in my_list:
        print(item, end=" ")  # Output: 1 2 3 apple 3.14 
    
    print()  # Line break
    
    for item in my_tuple:
        print(item, end=" ")  # Output: 1 2 3 apple 3.14