Python Installation for MacOS:

  • Check System Requirements: Ensure your macOS version is 10.9 or later.
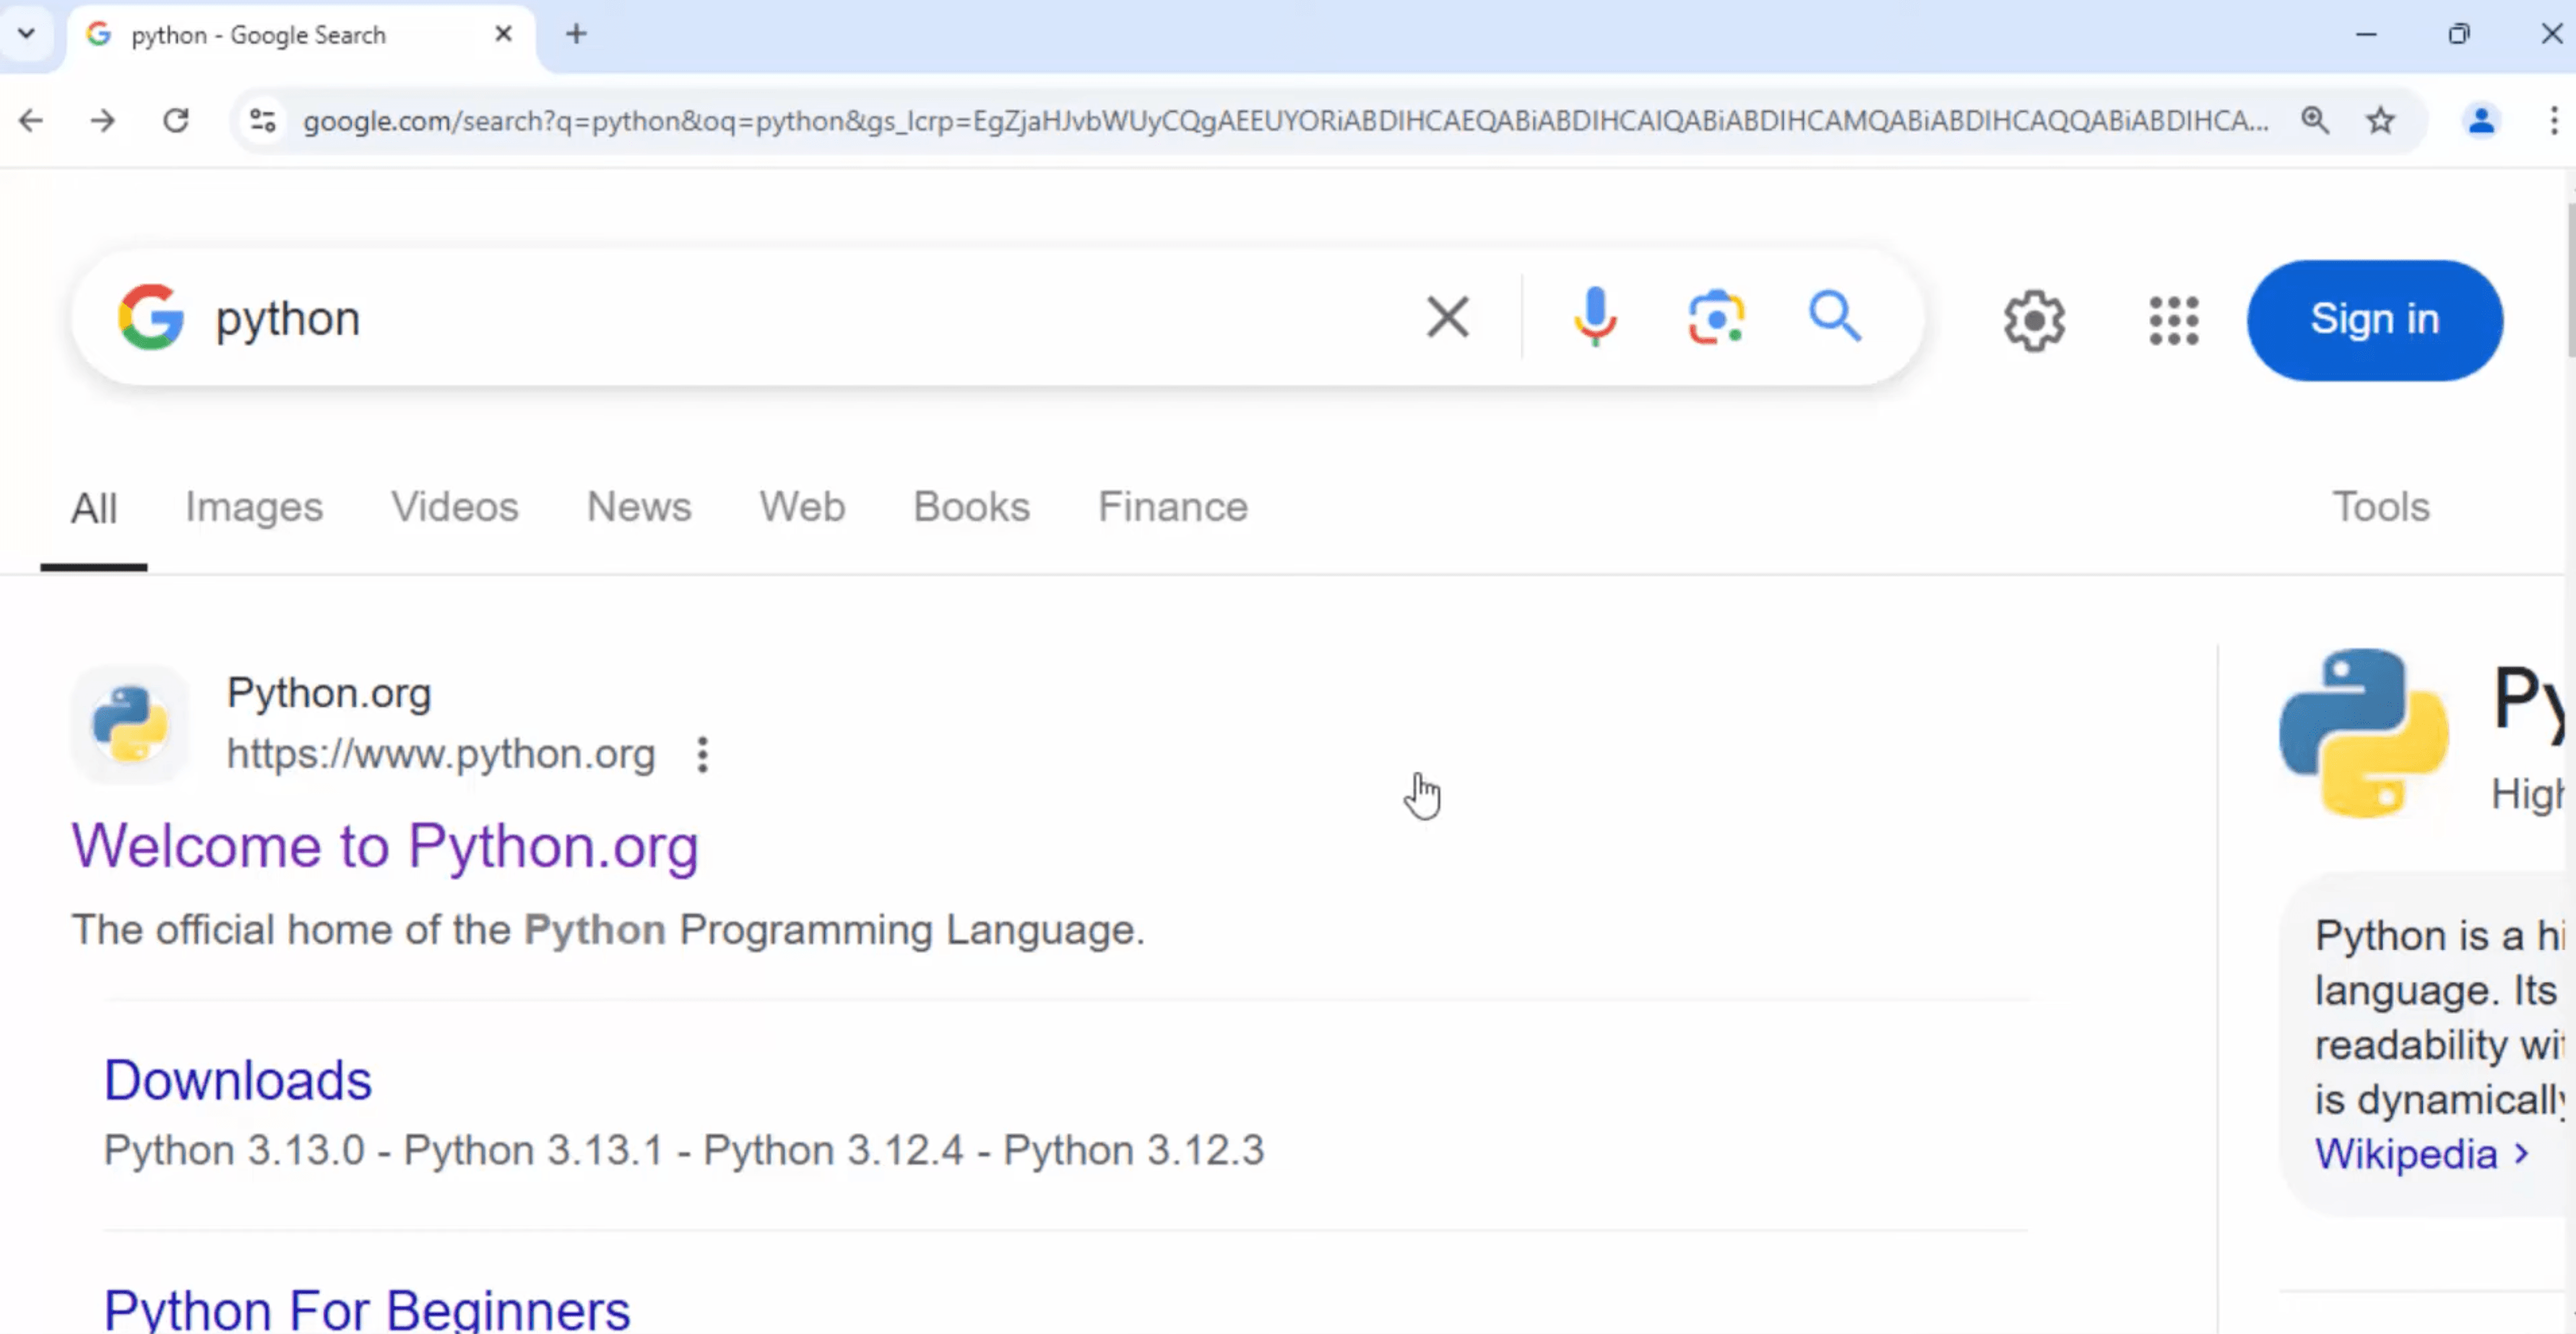
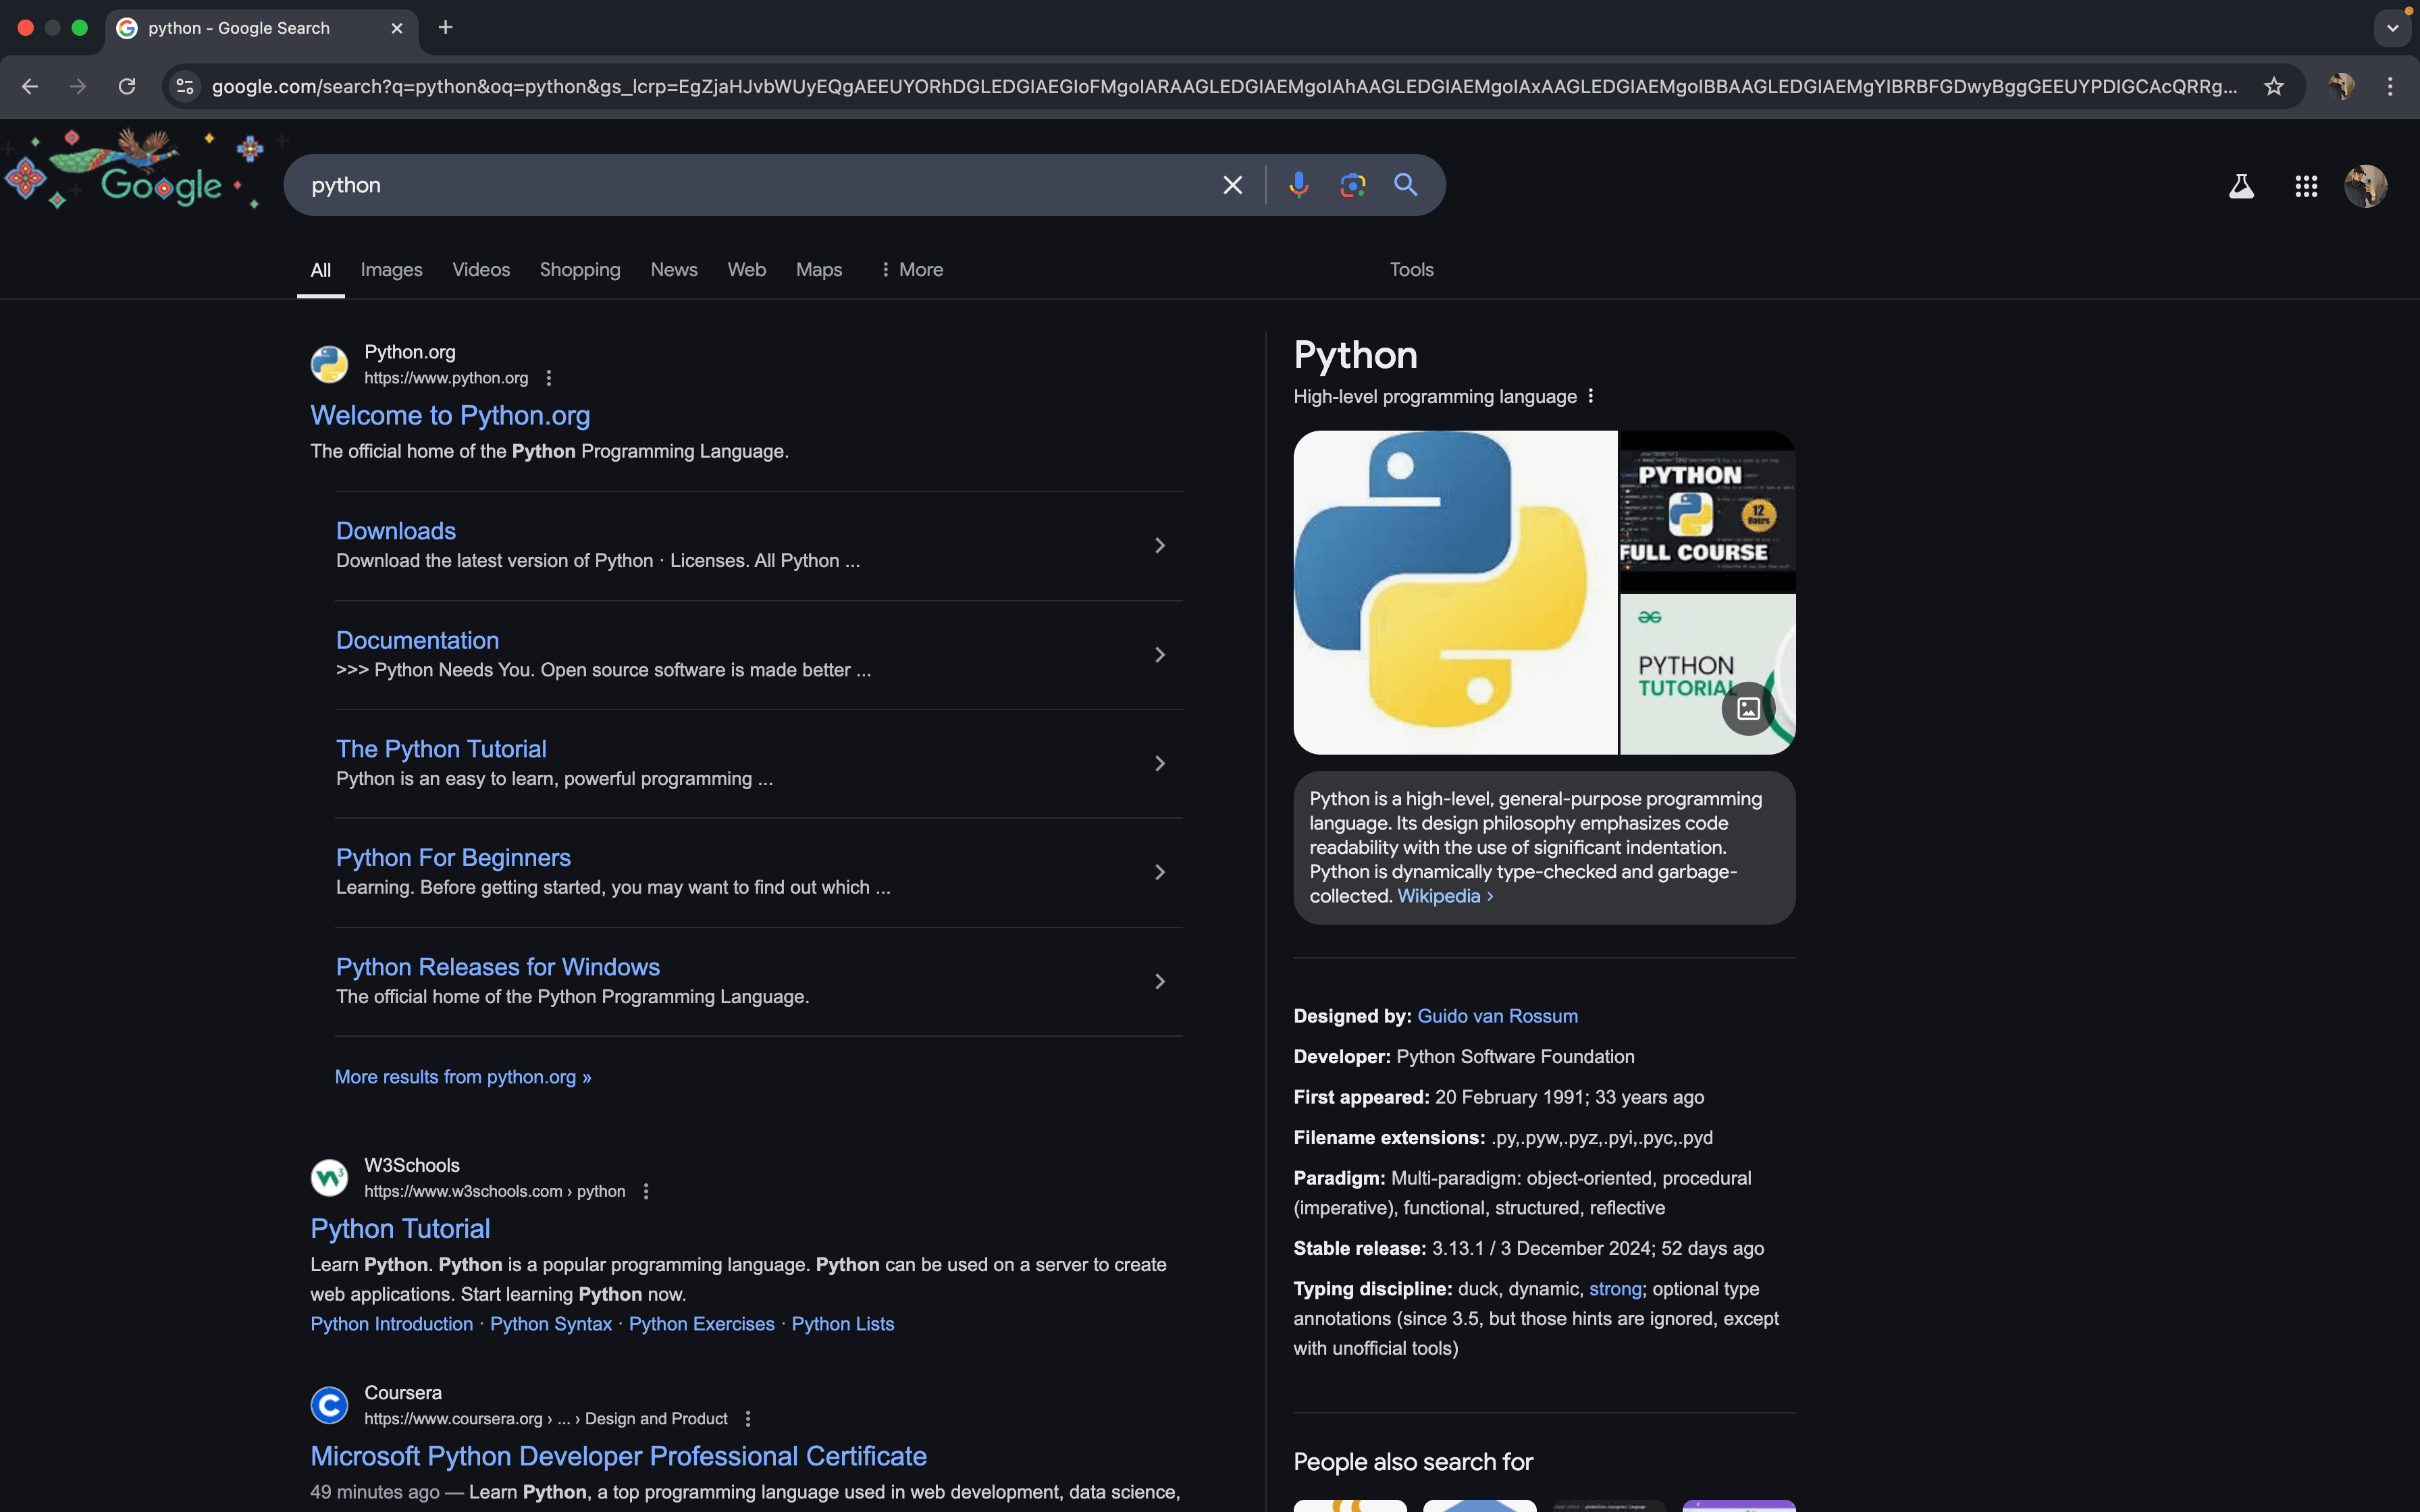
  • Go To google chrome and search python

seach on google

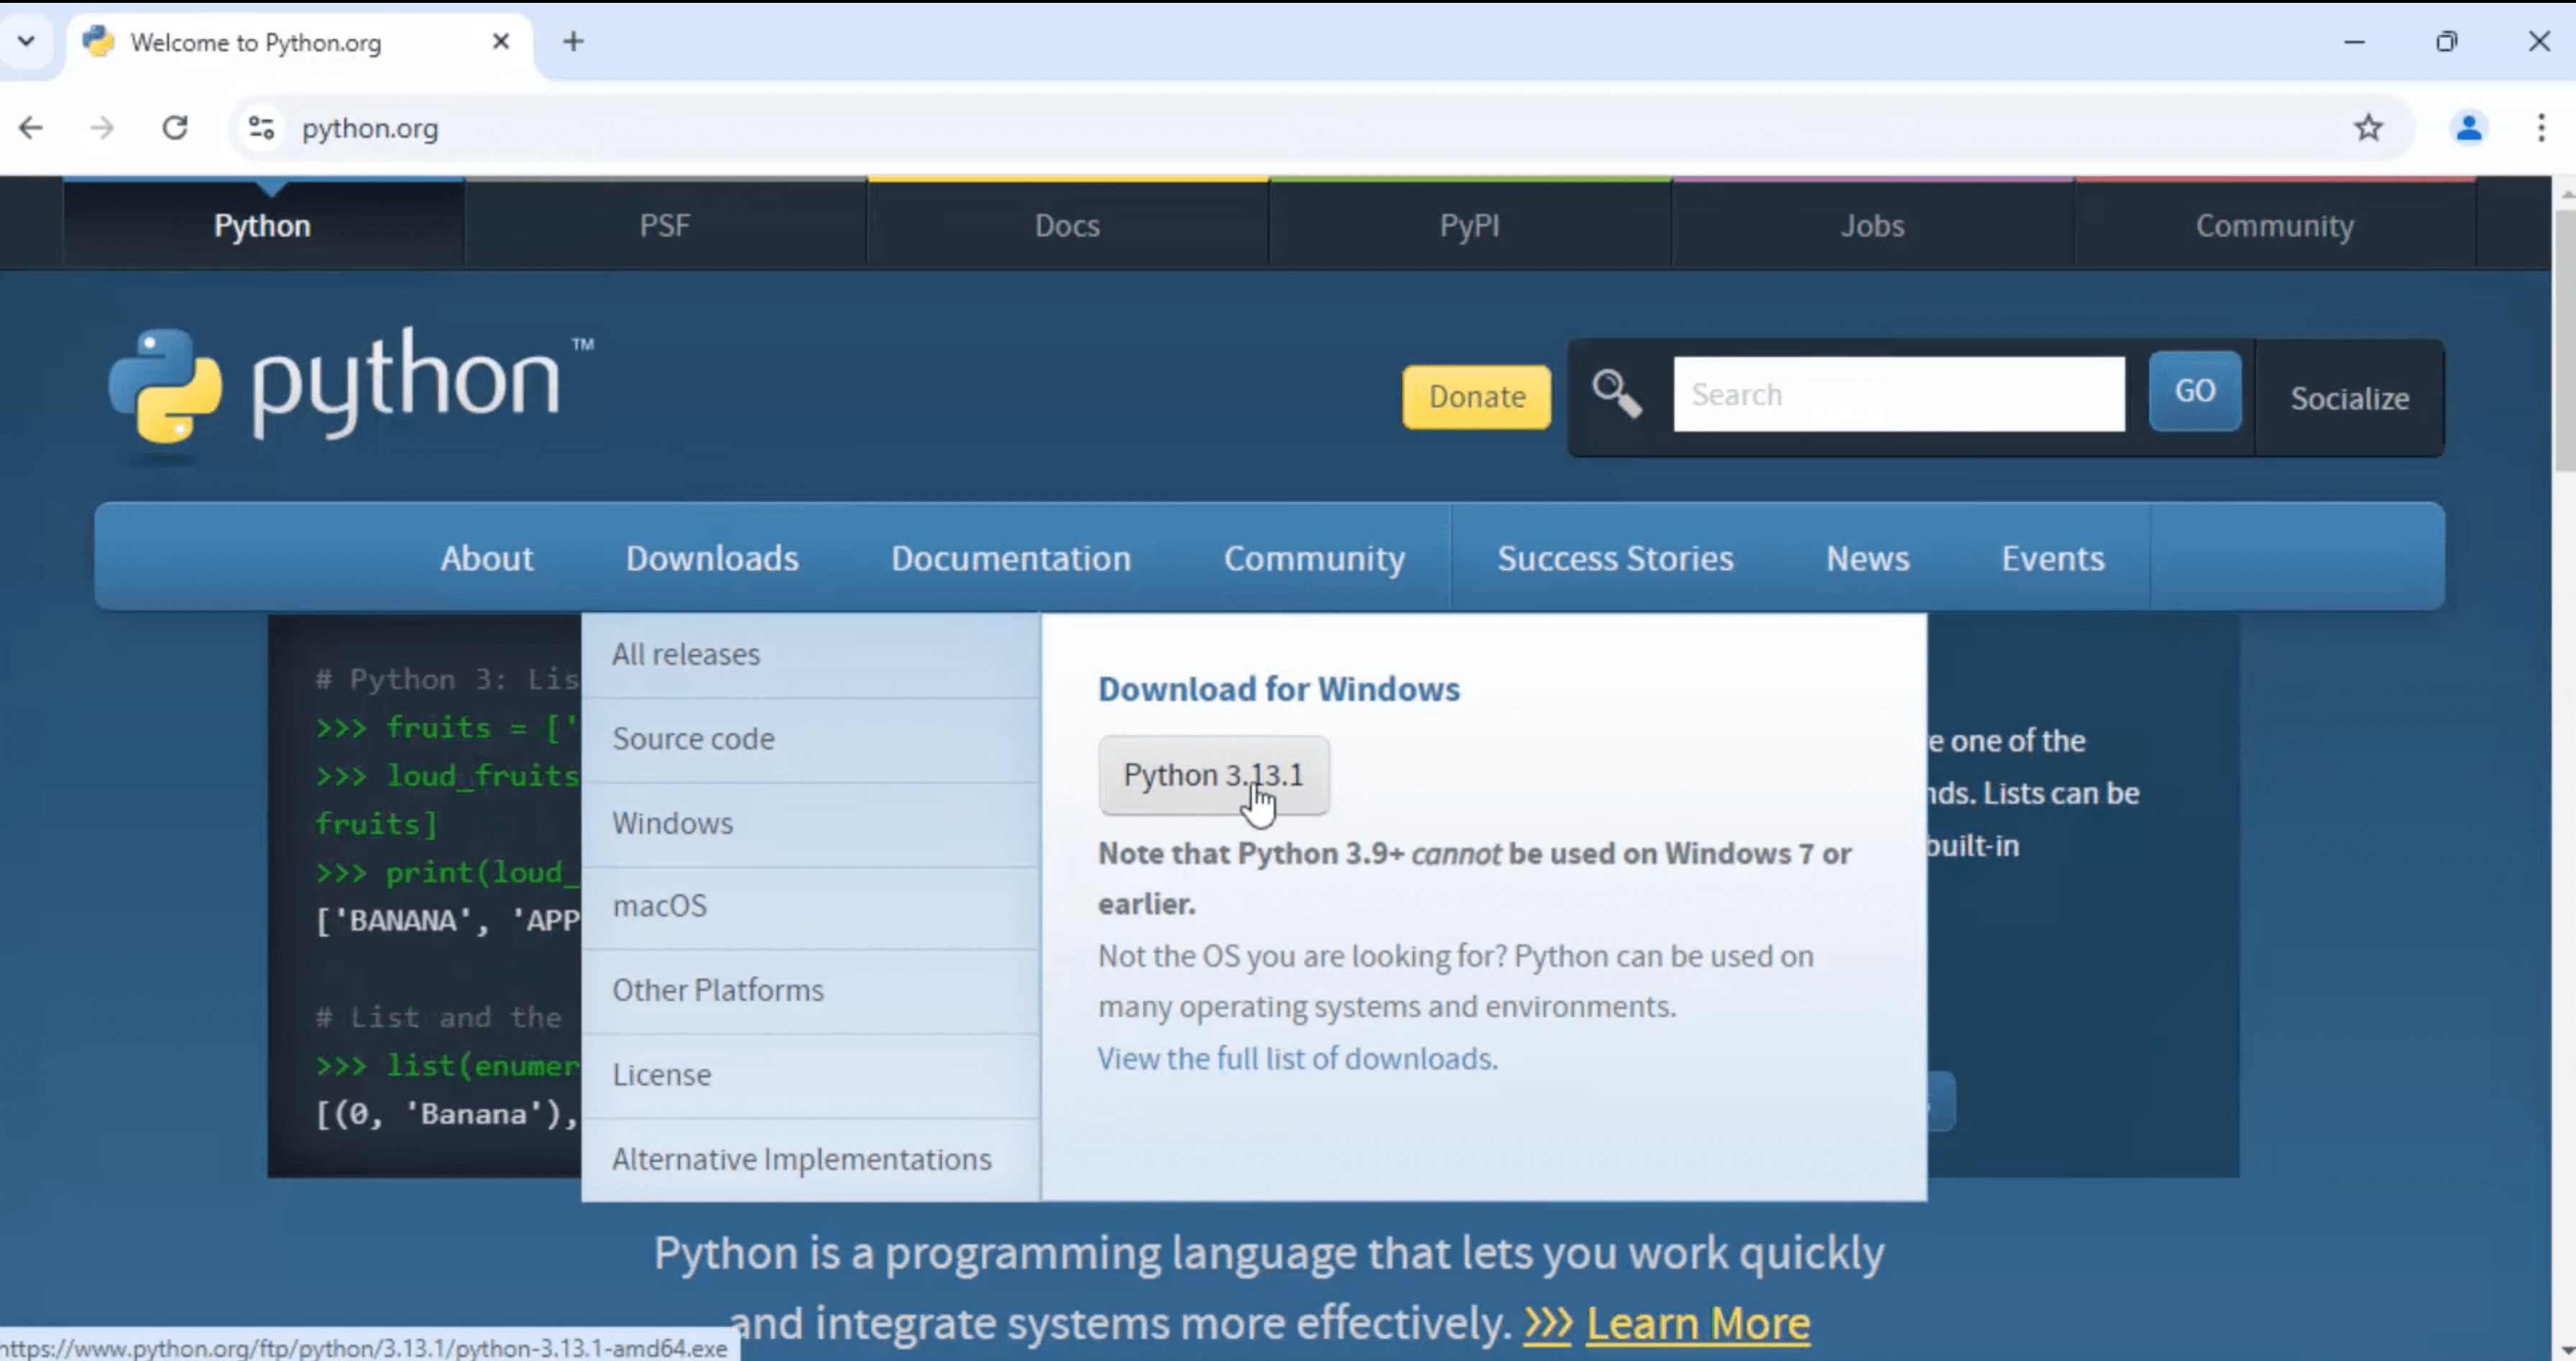
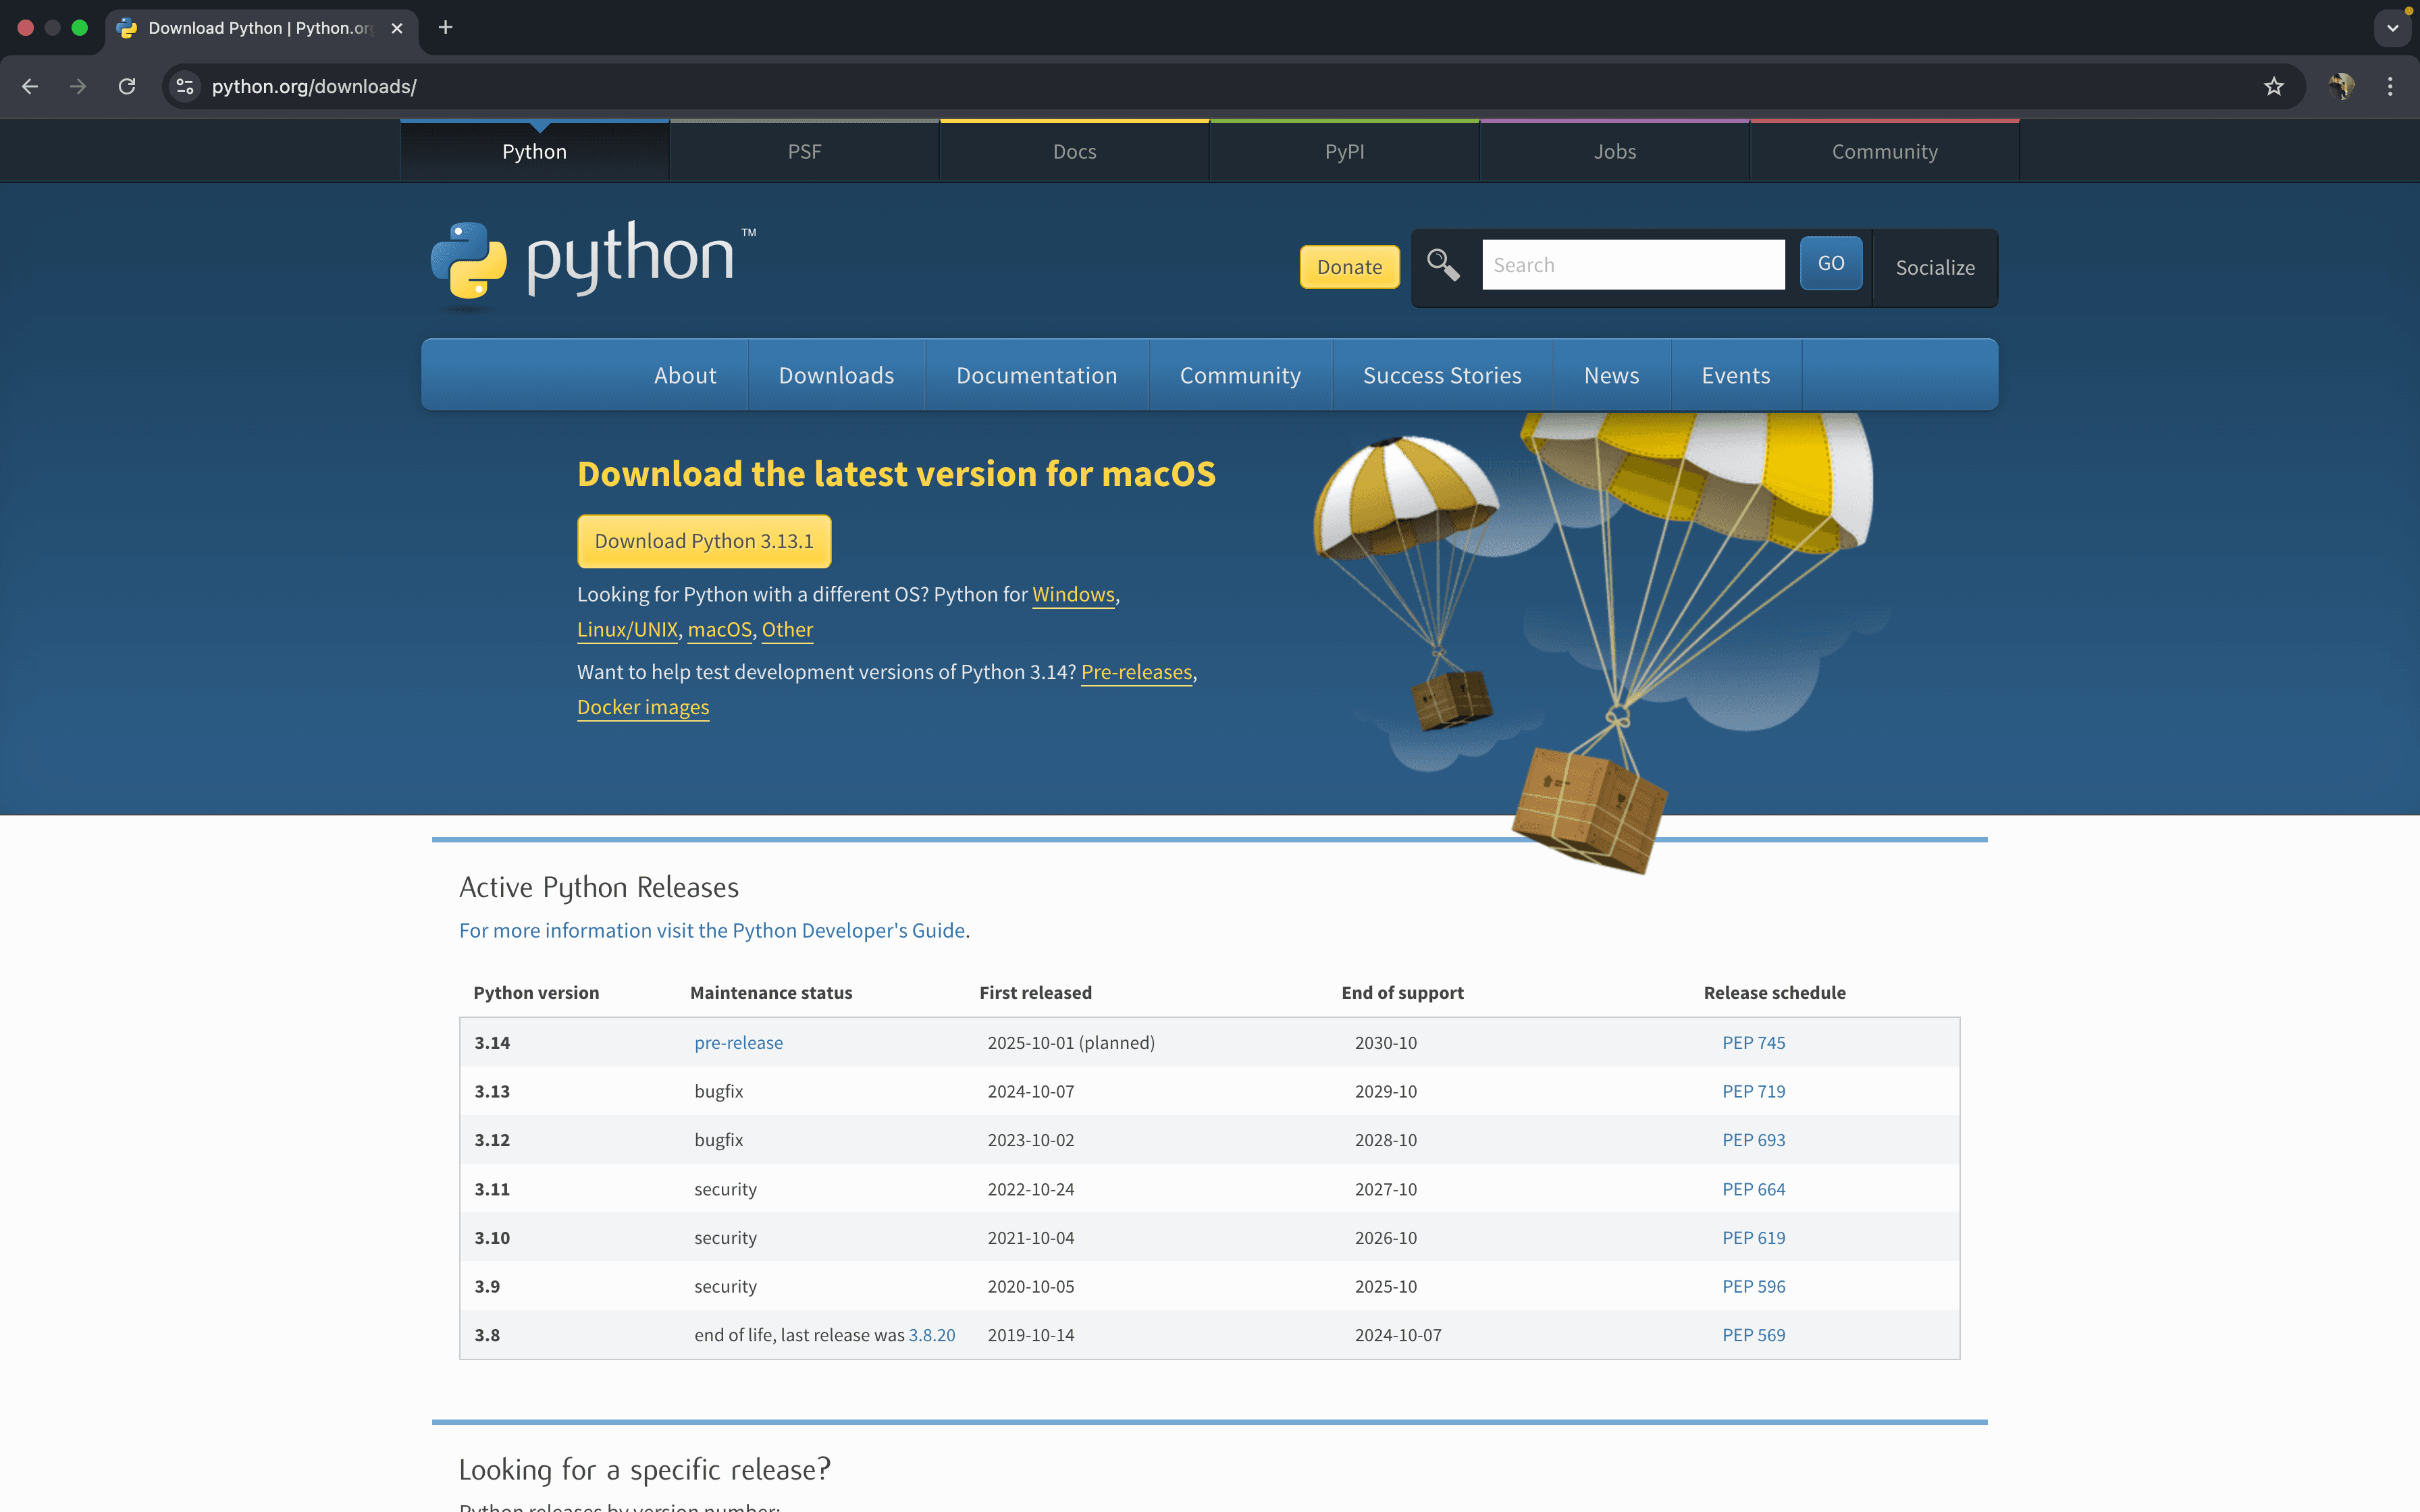
  • Visit Python’s Official Website: Open https://www.python.org and navigate to the “Downloads” section. The website will auto-detect the appropriate version for macOS.irst page for python
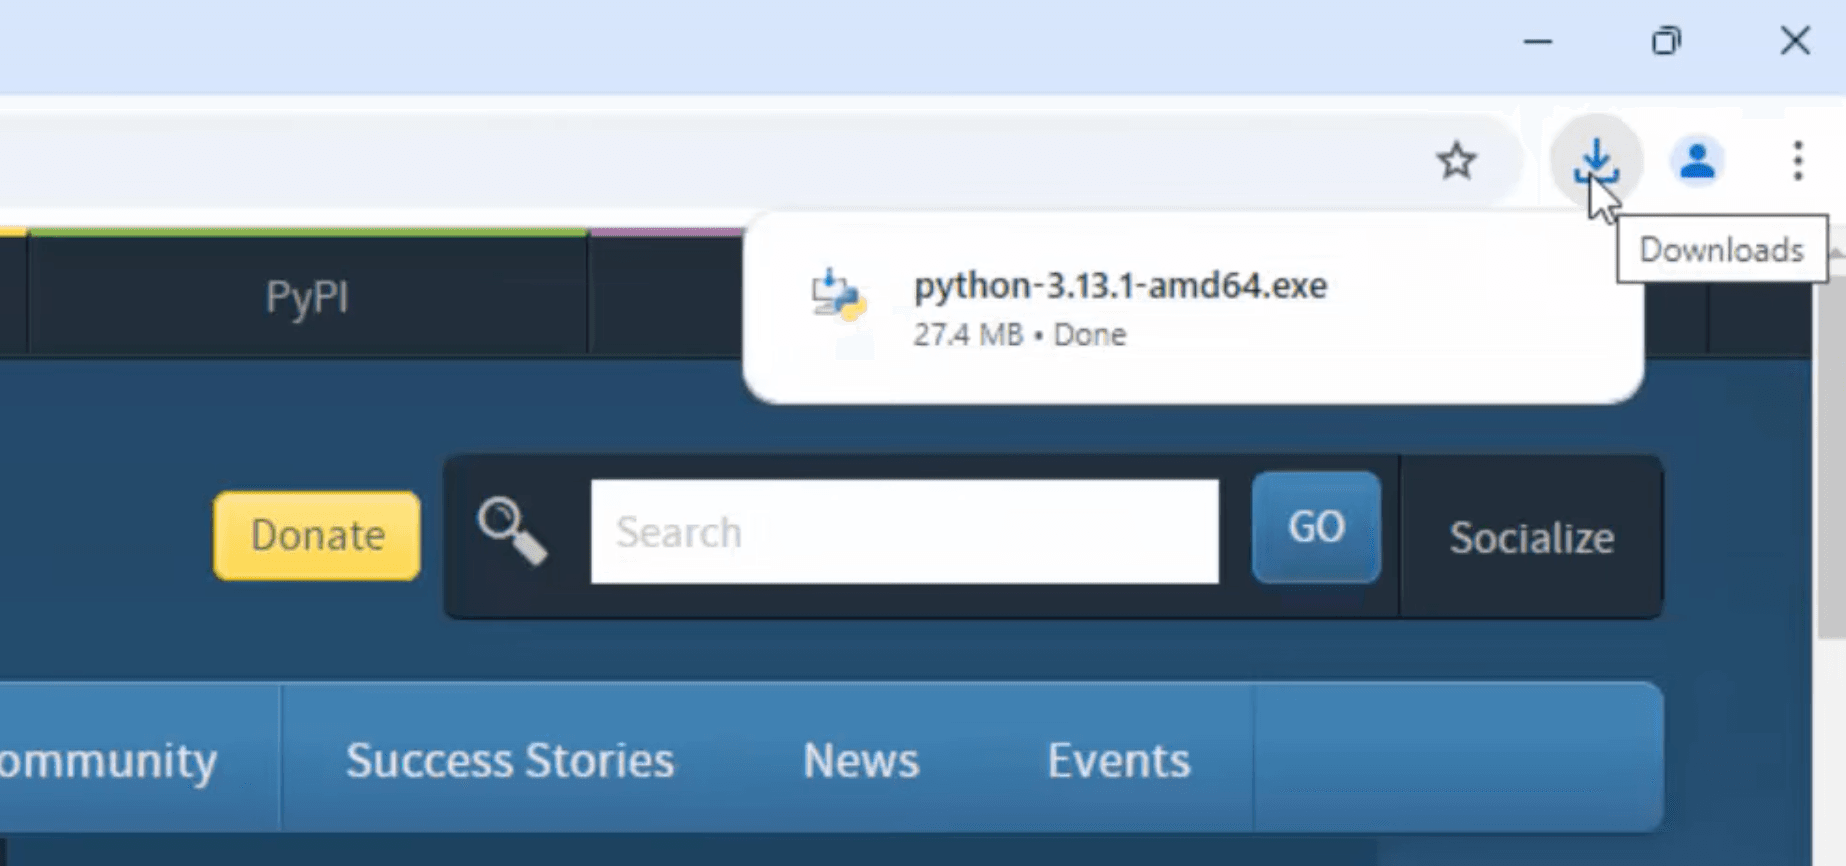
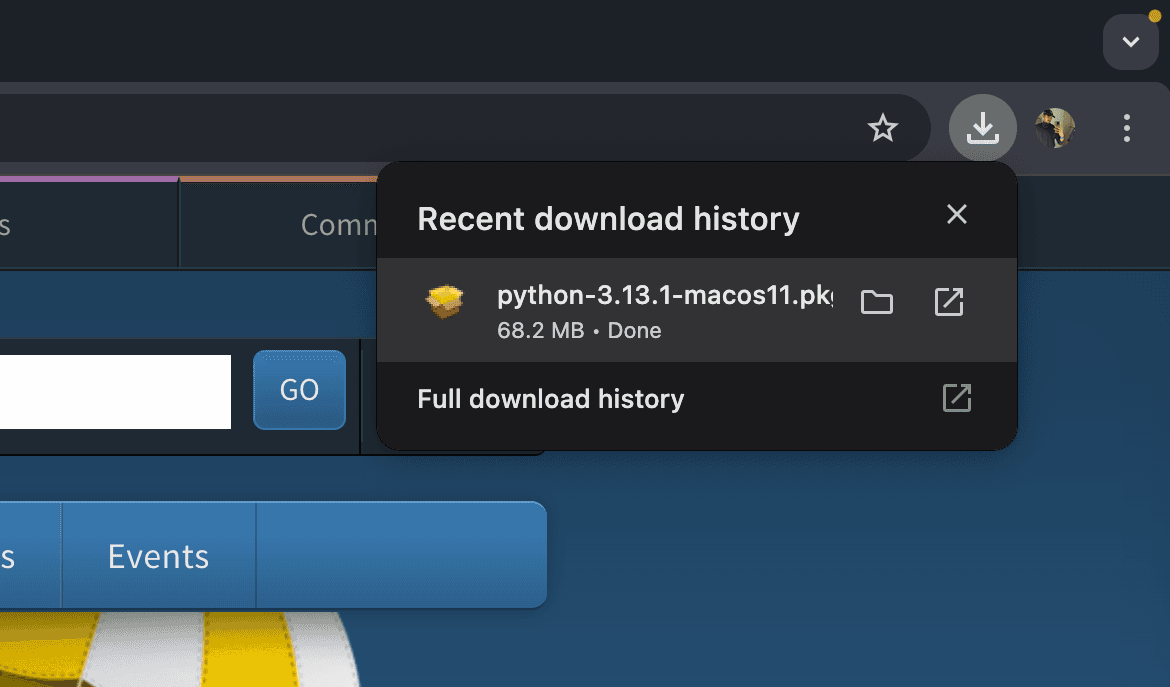
  • Wait until the installation take place & navigate in download bar. 4 e1737897166784
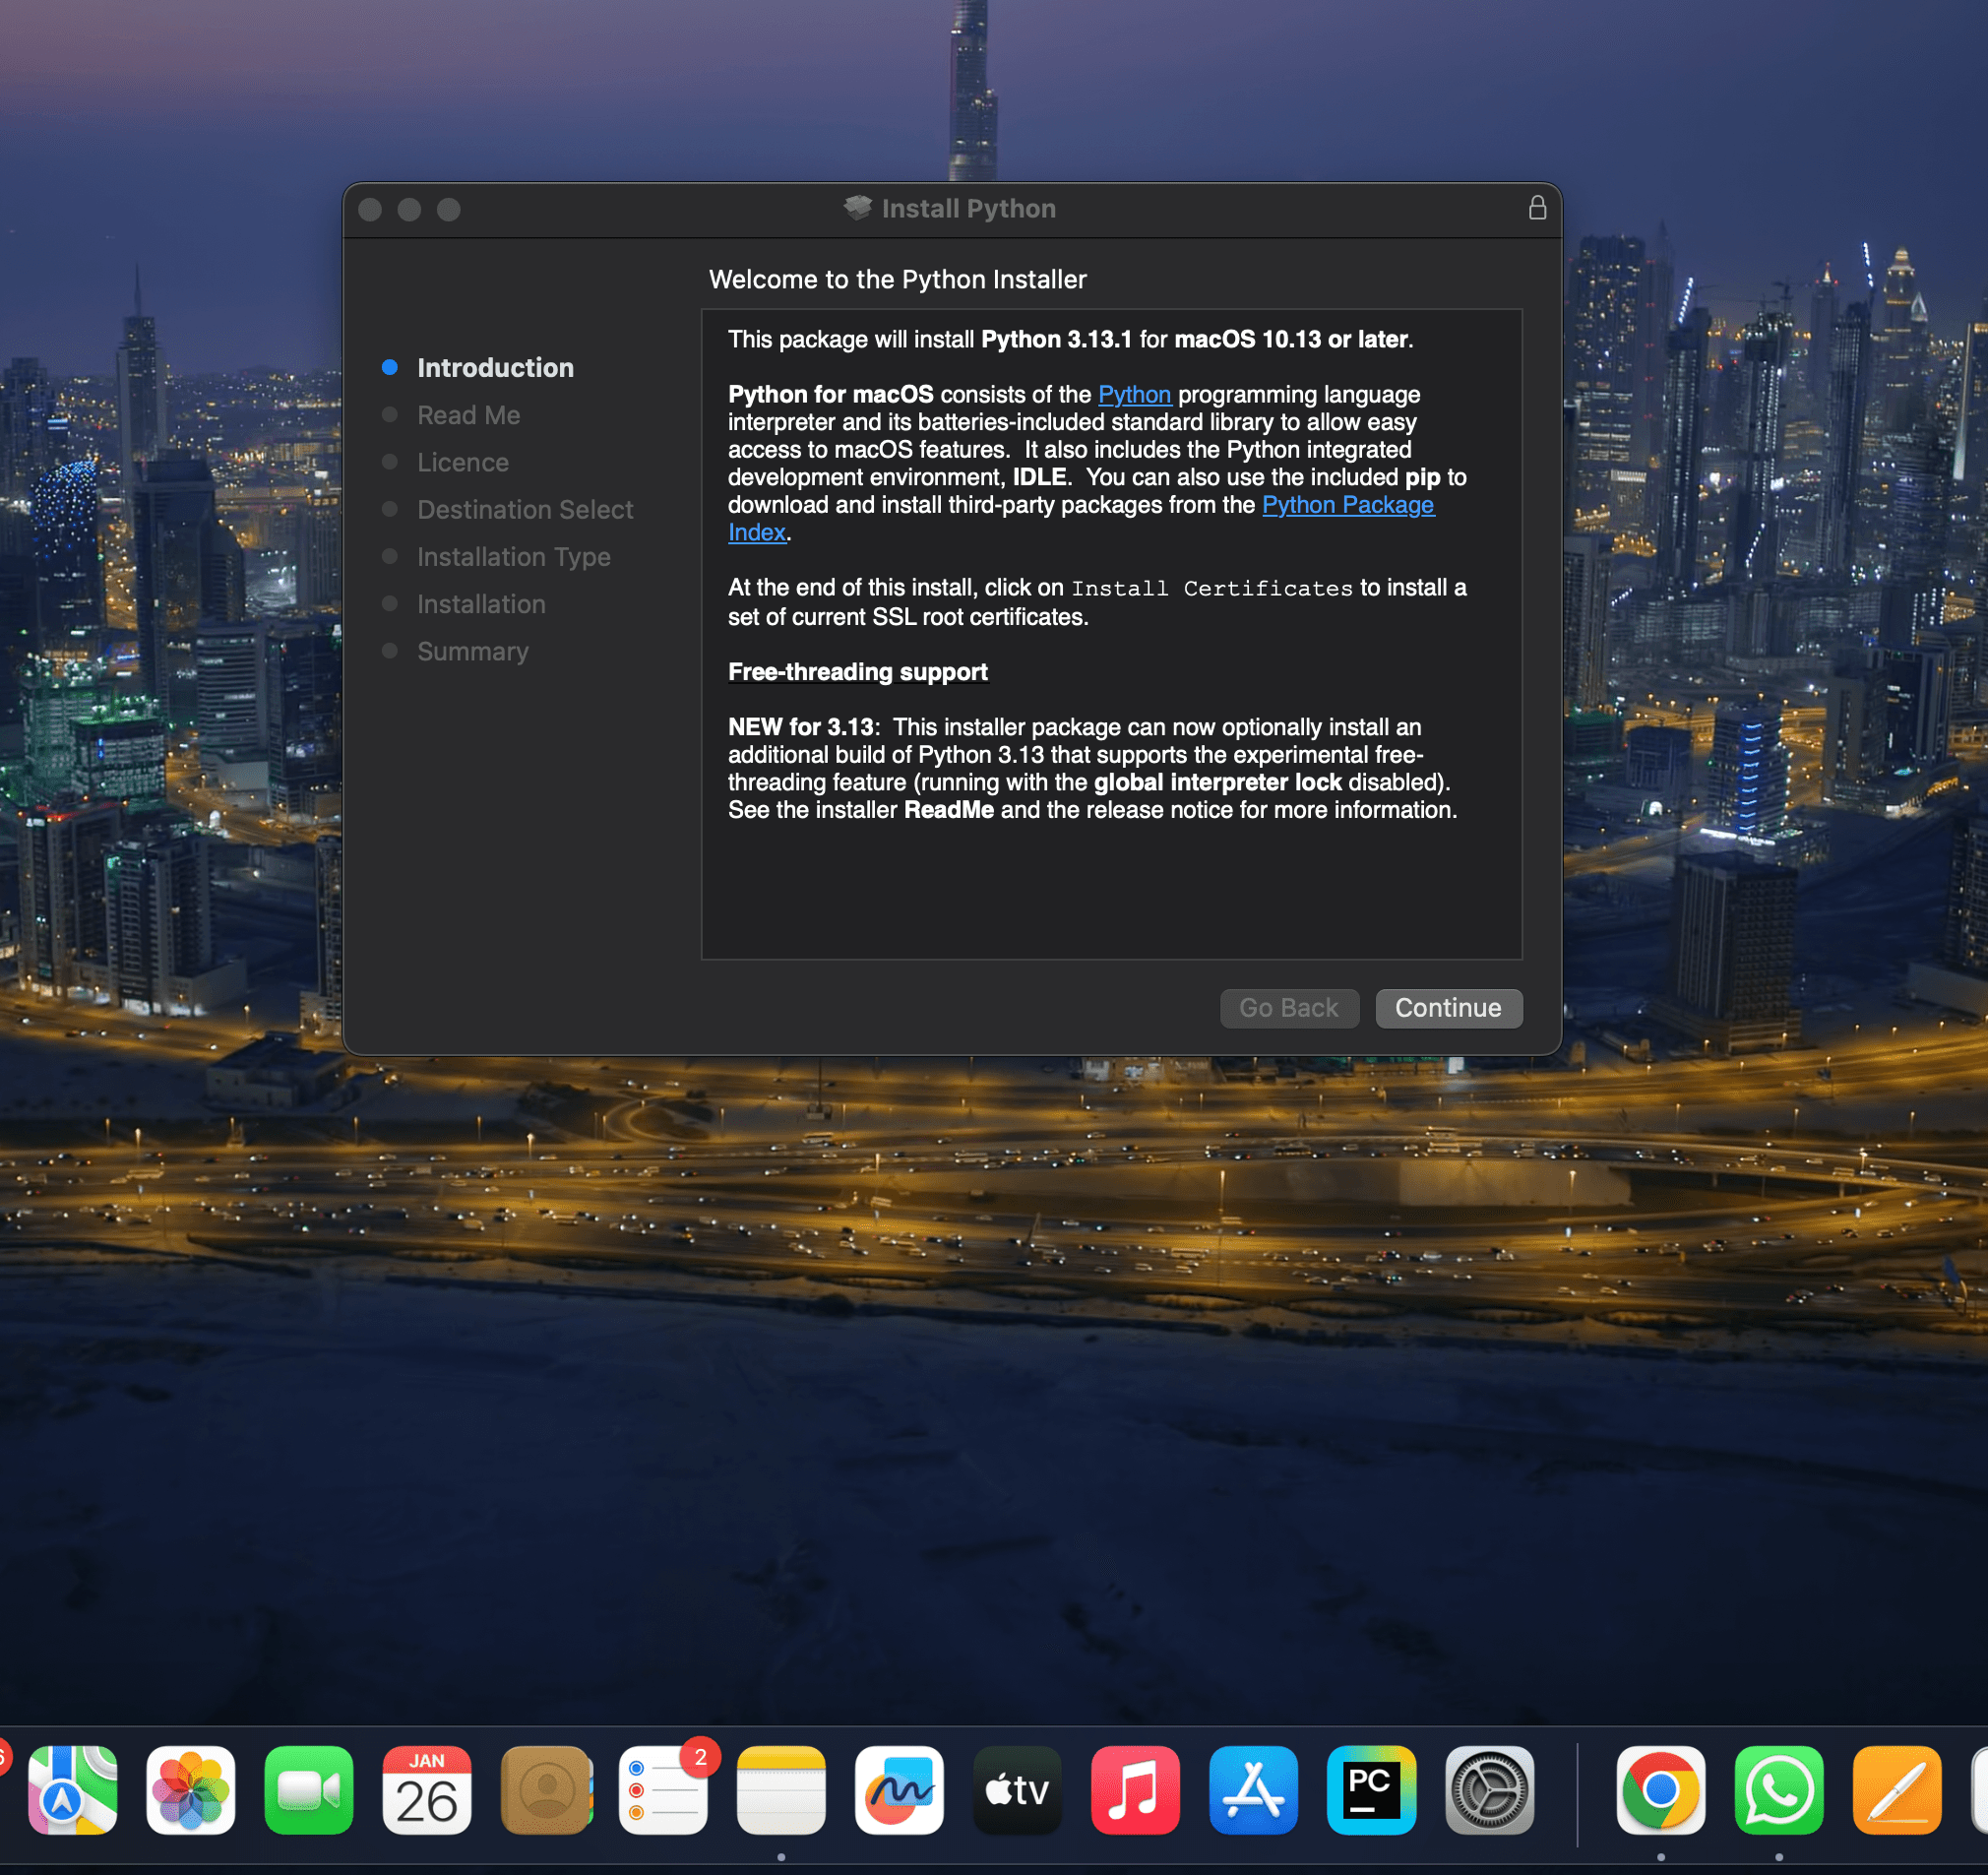
  • Open the .pkg file.5 e1737900198771
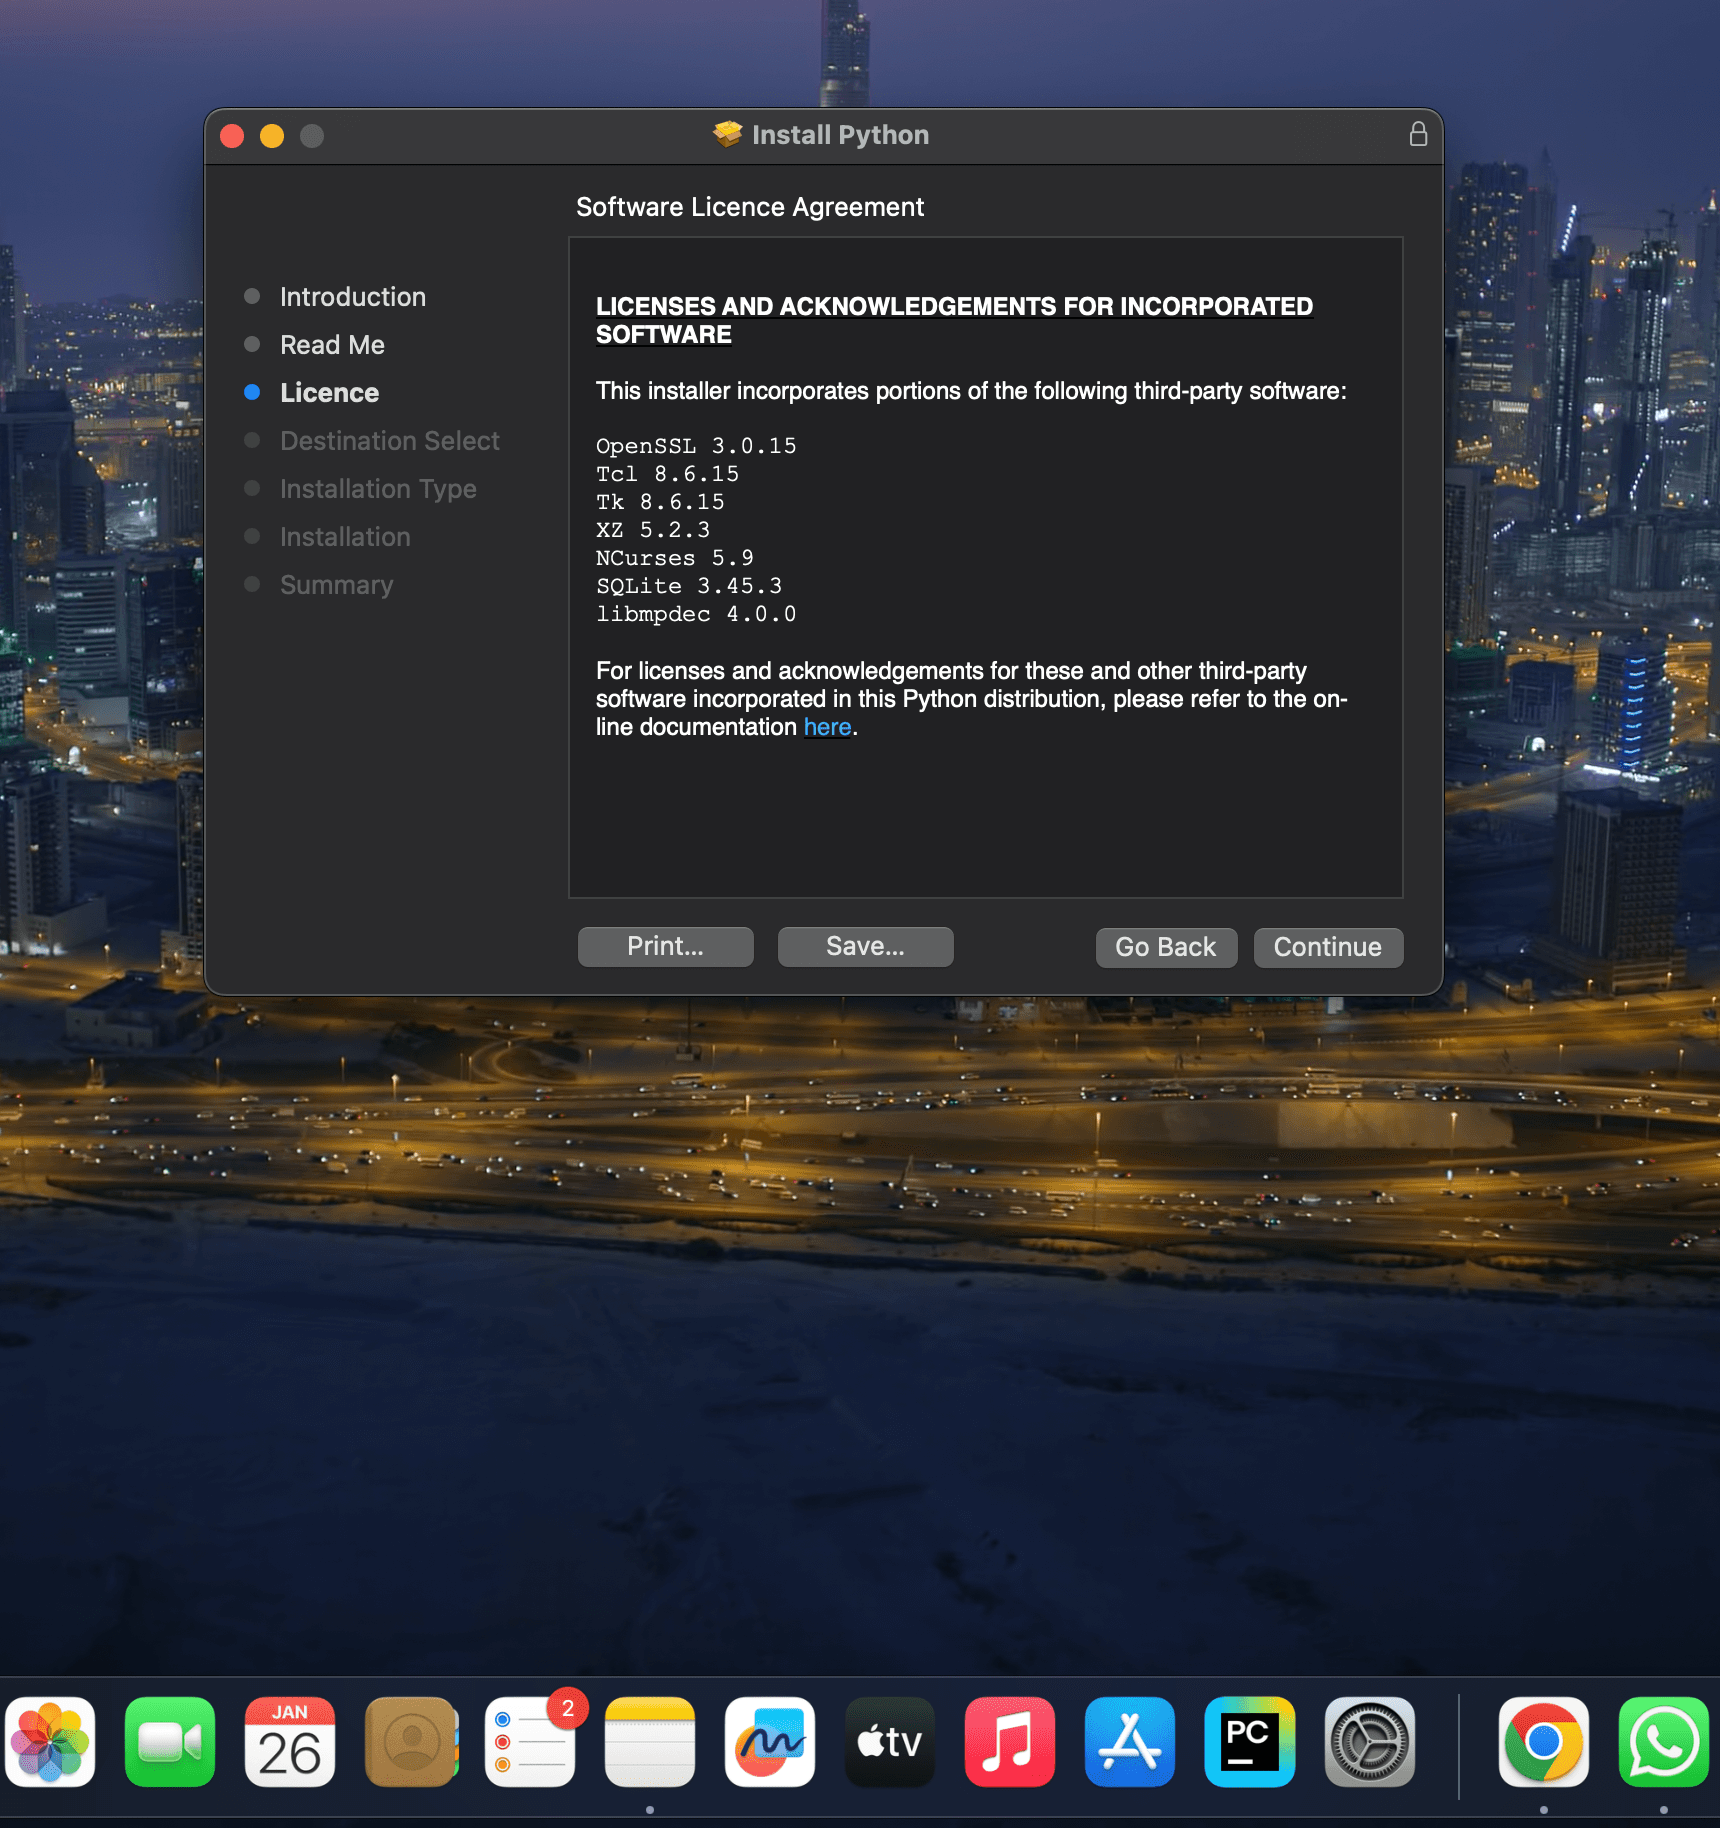
  • Click to continue.6 e1737900590266
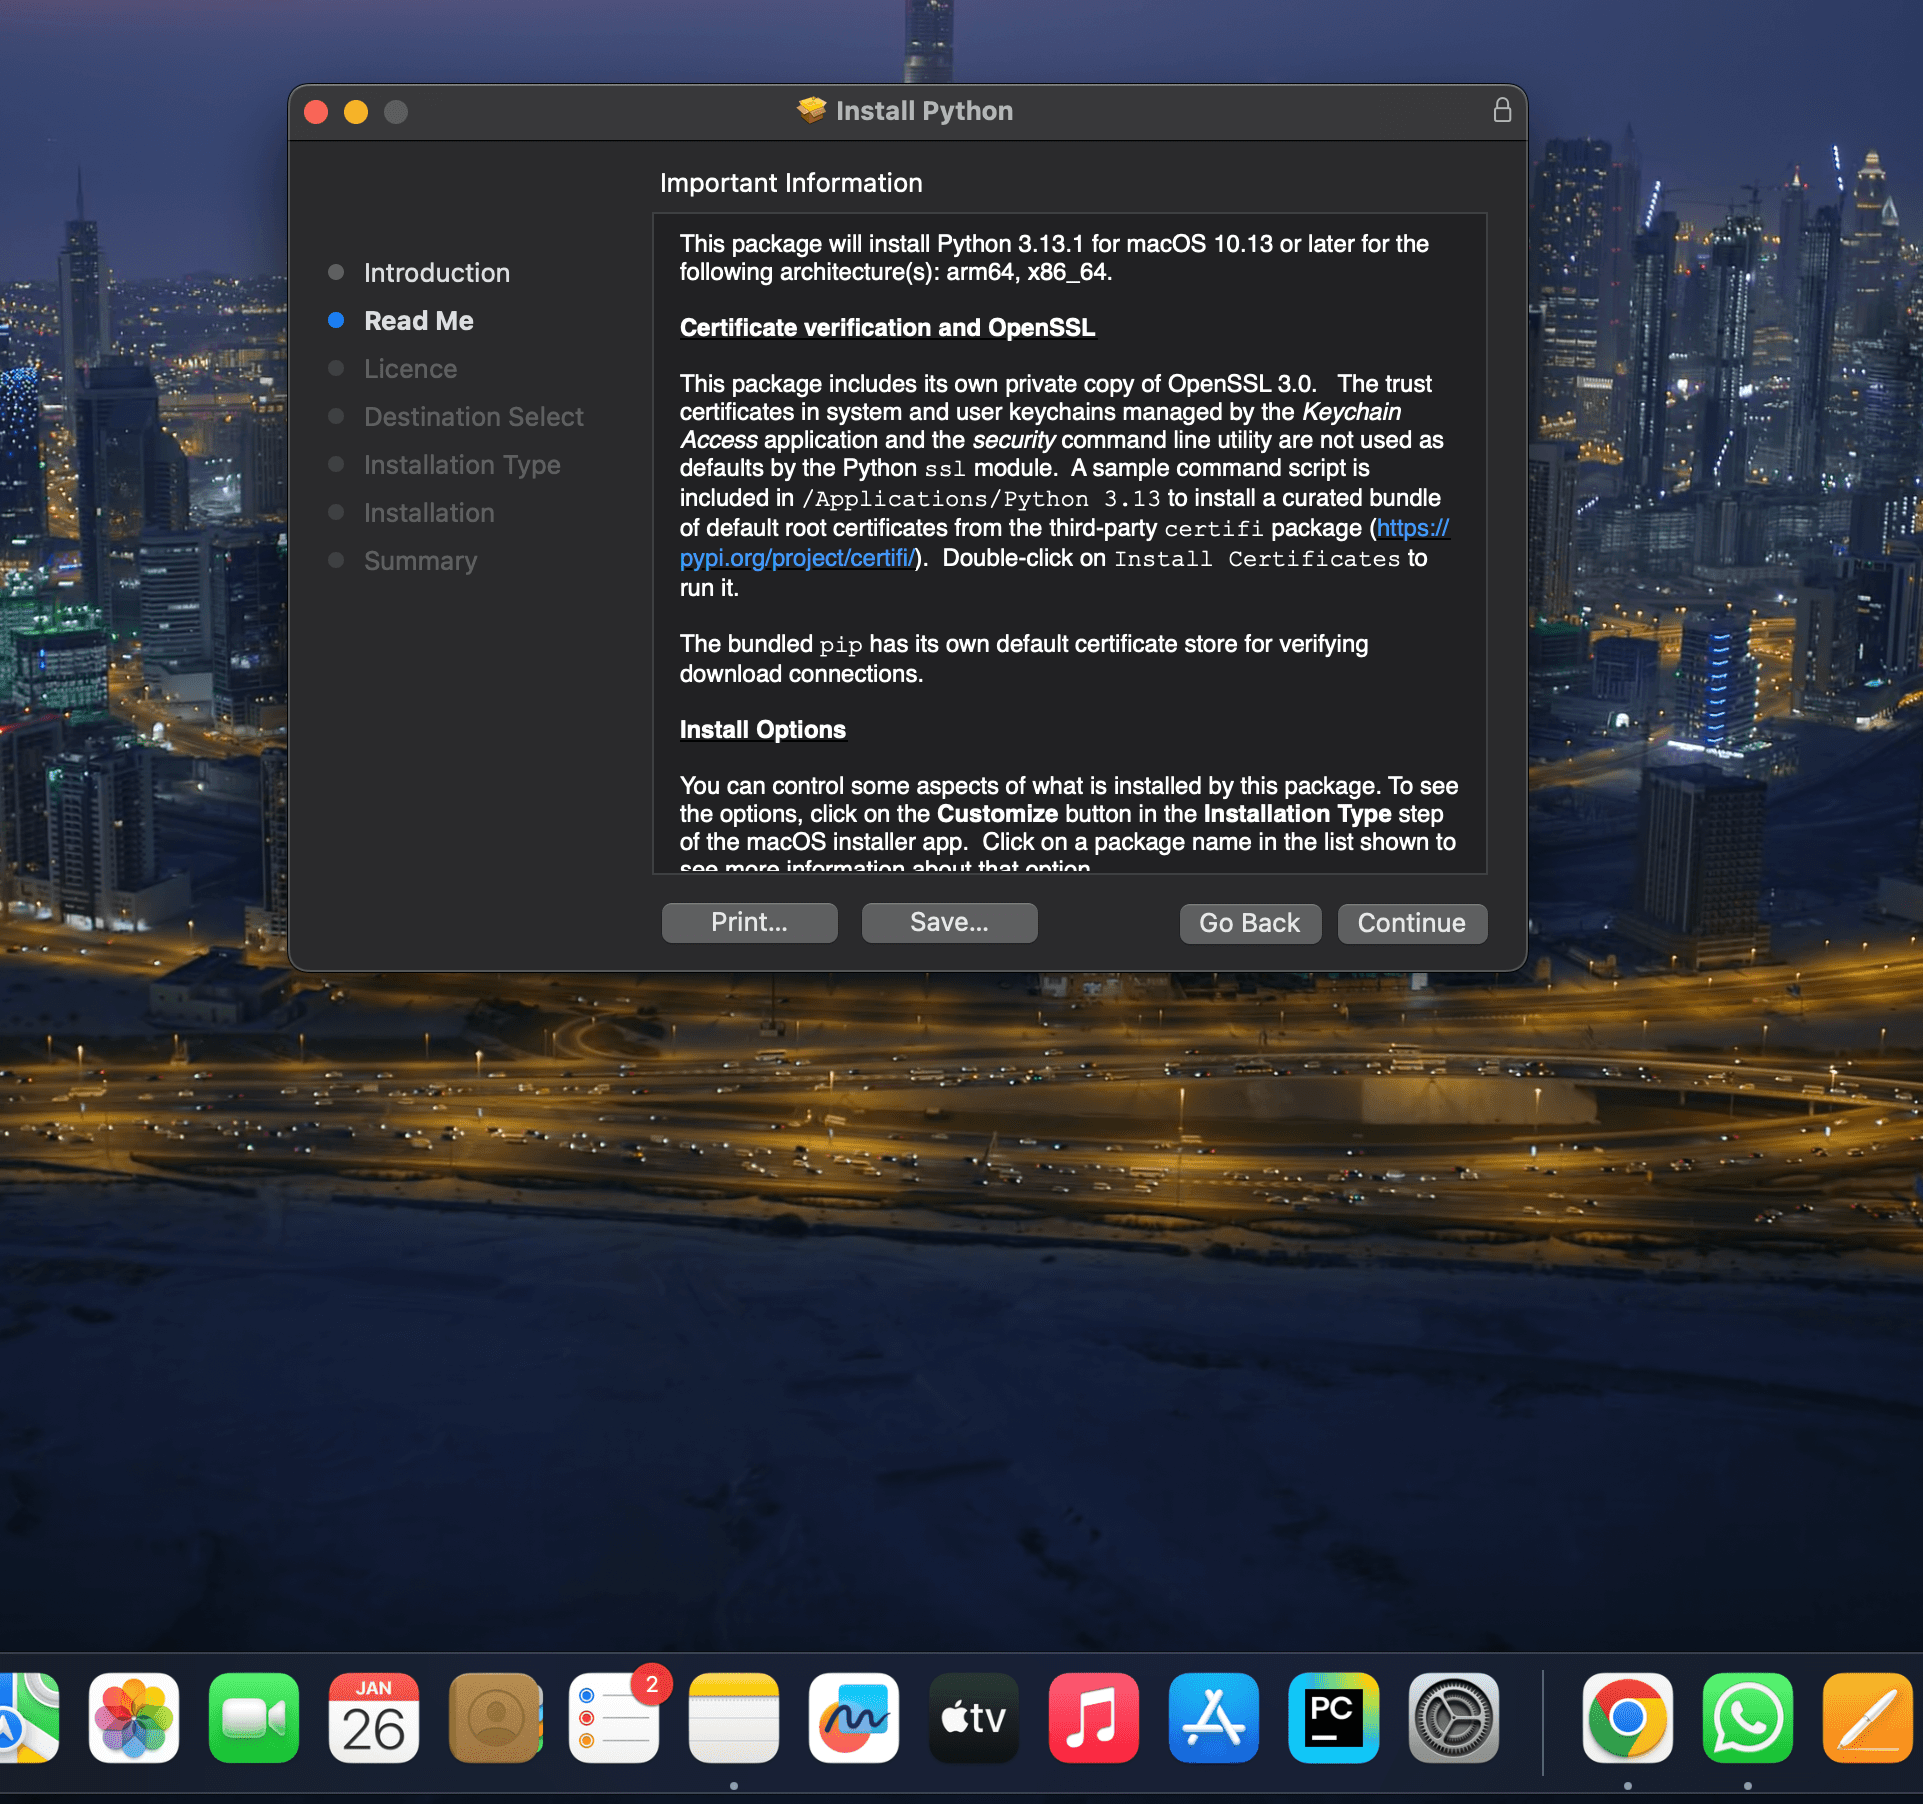
  • Again click on continue.7 e1737900689287
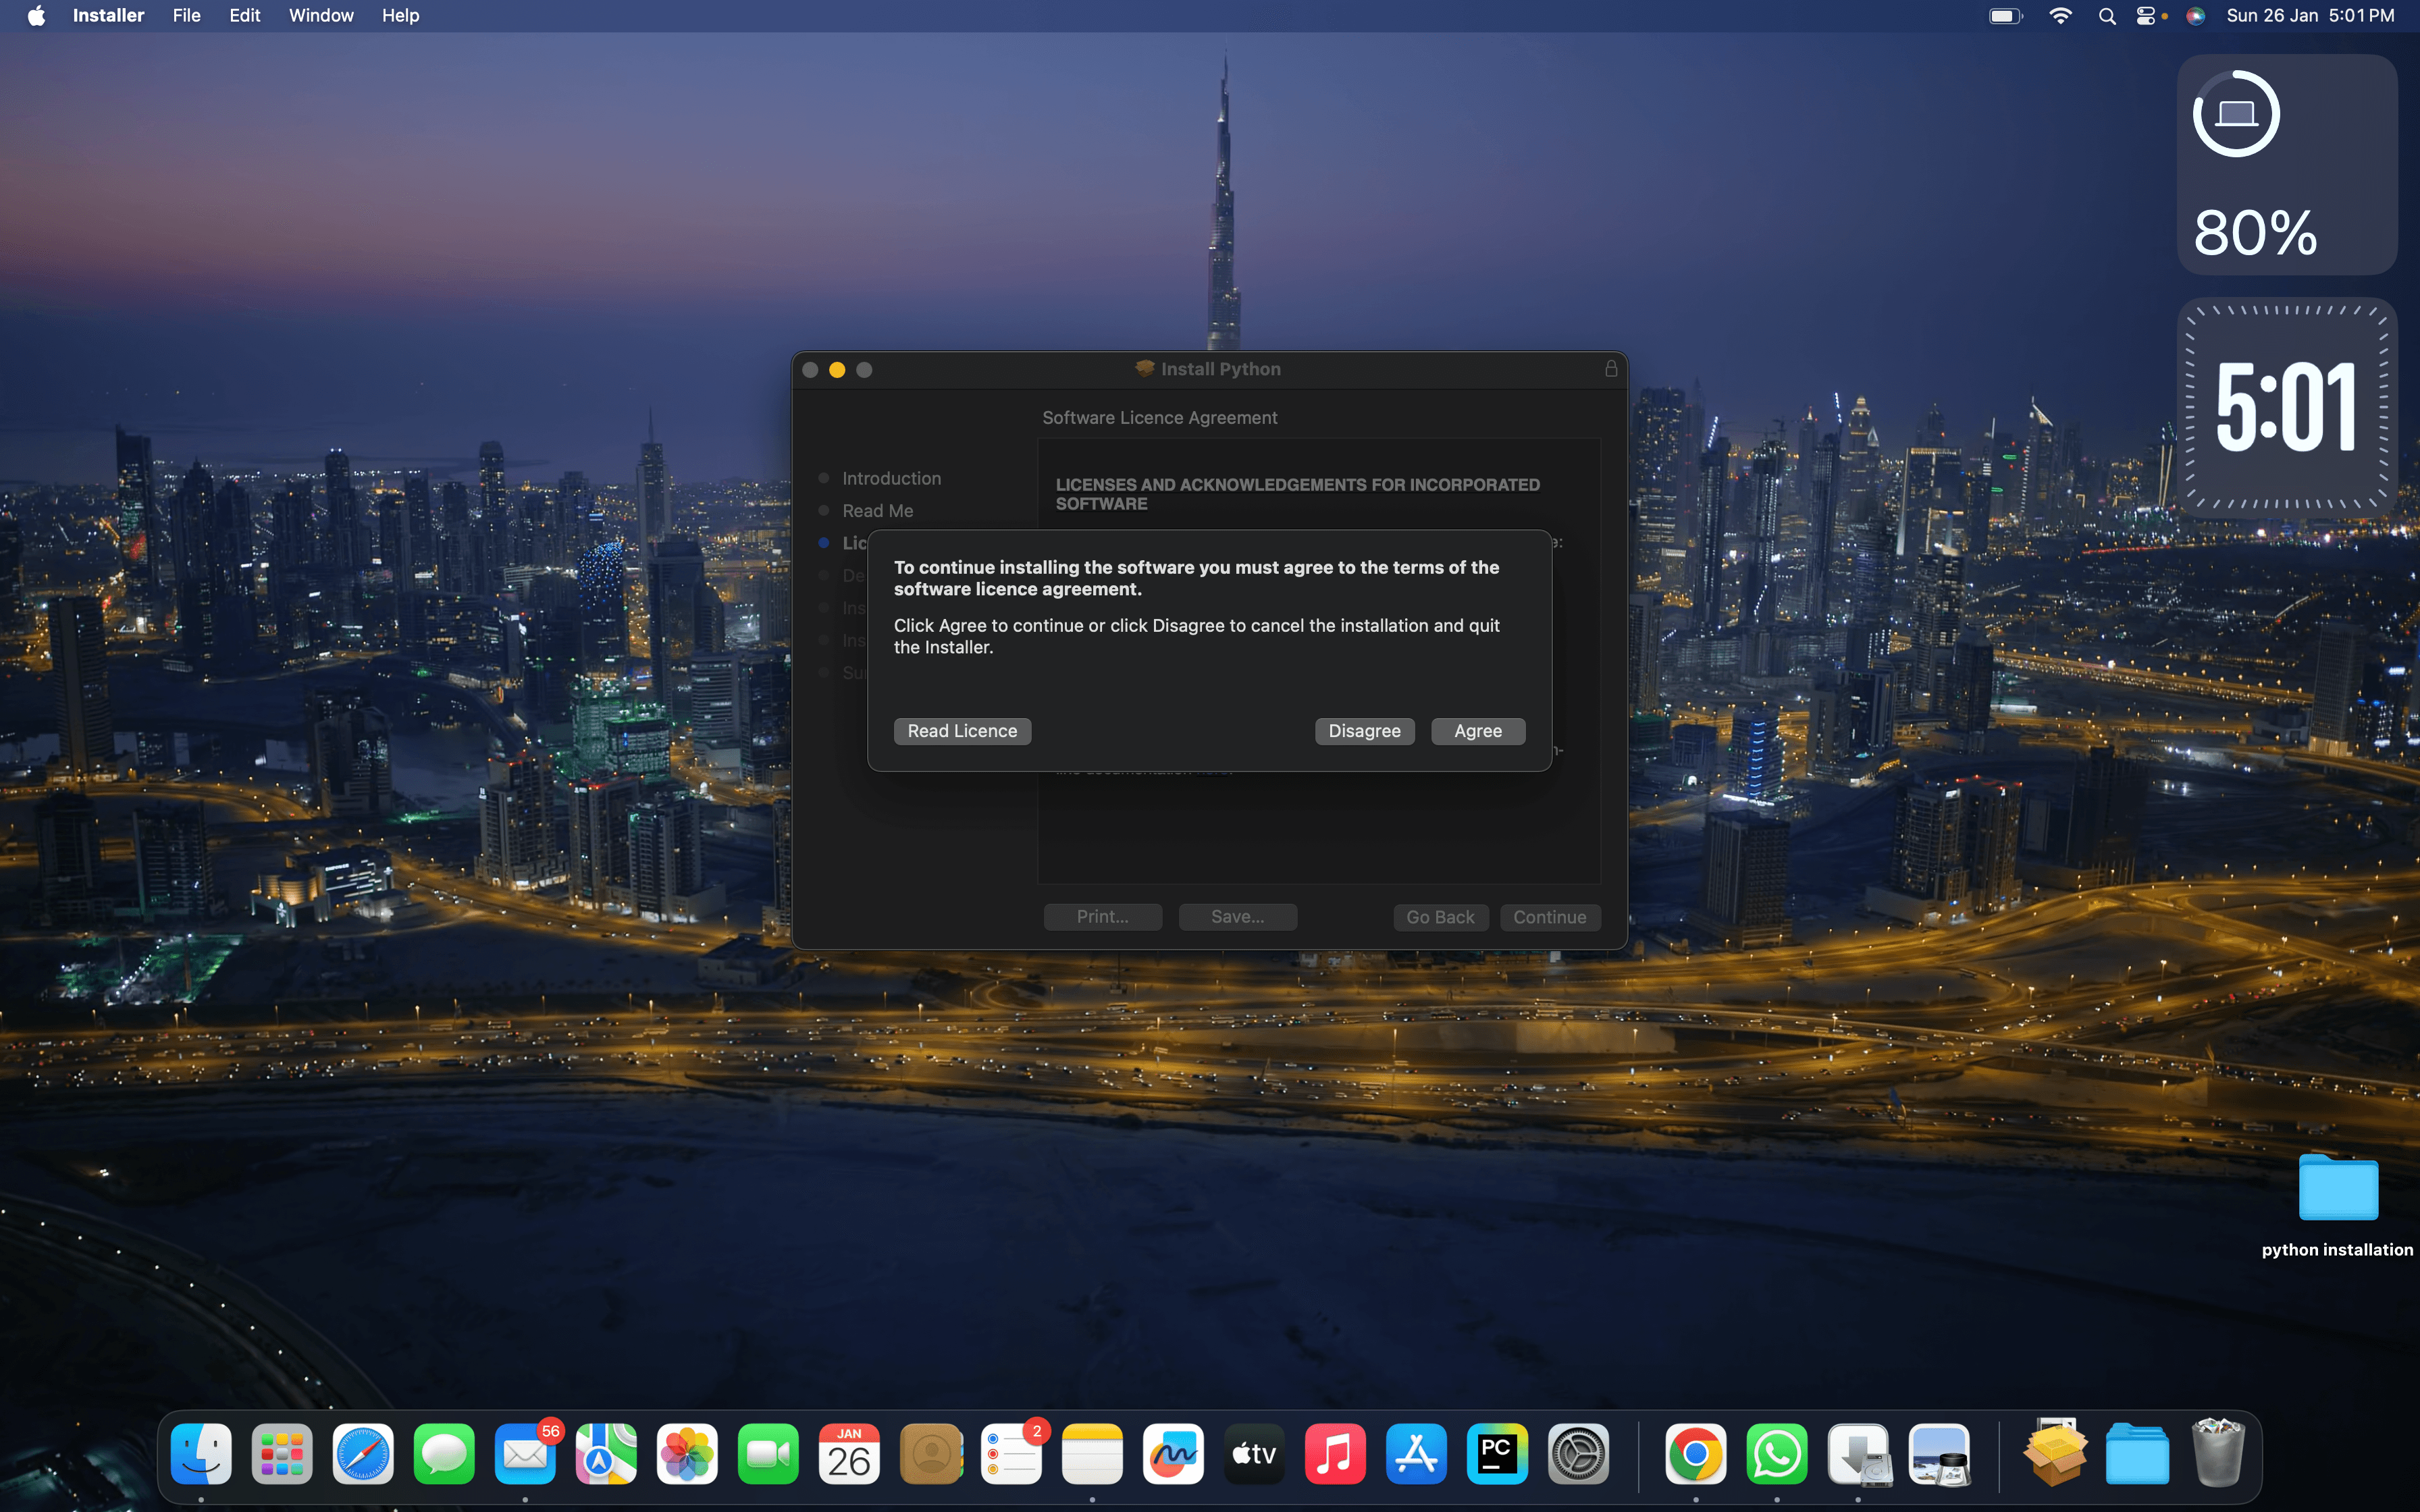
  • Now click on Agree.8
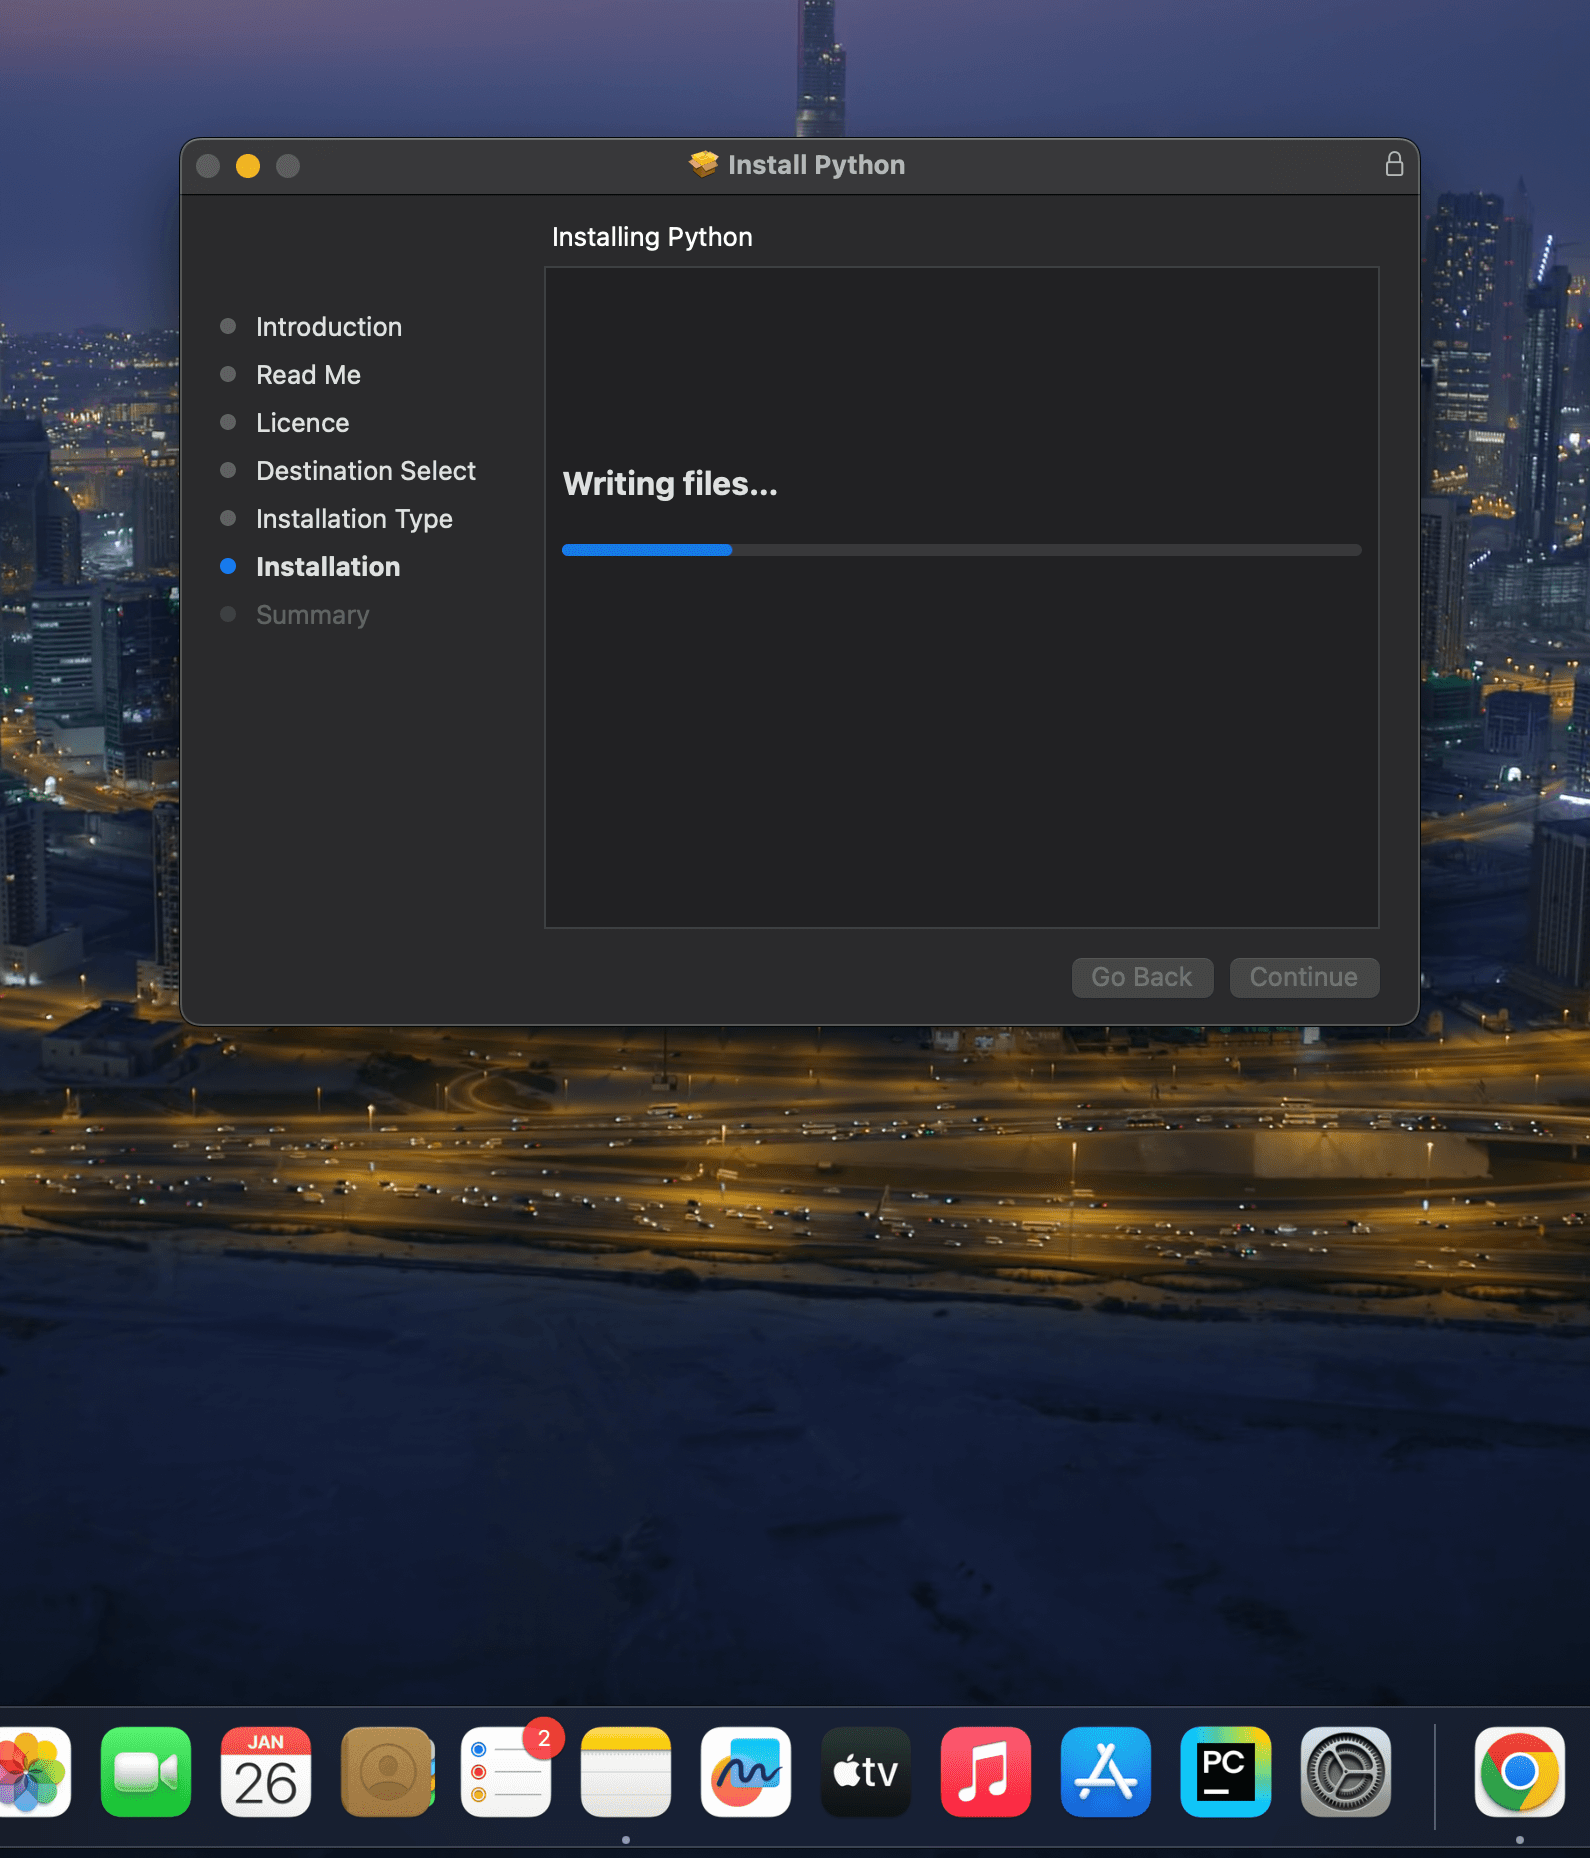
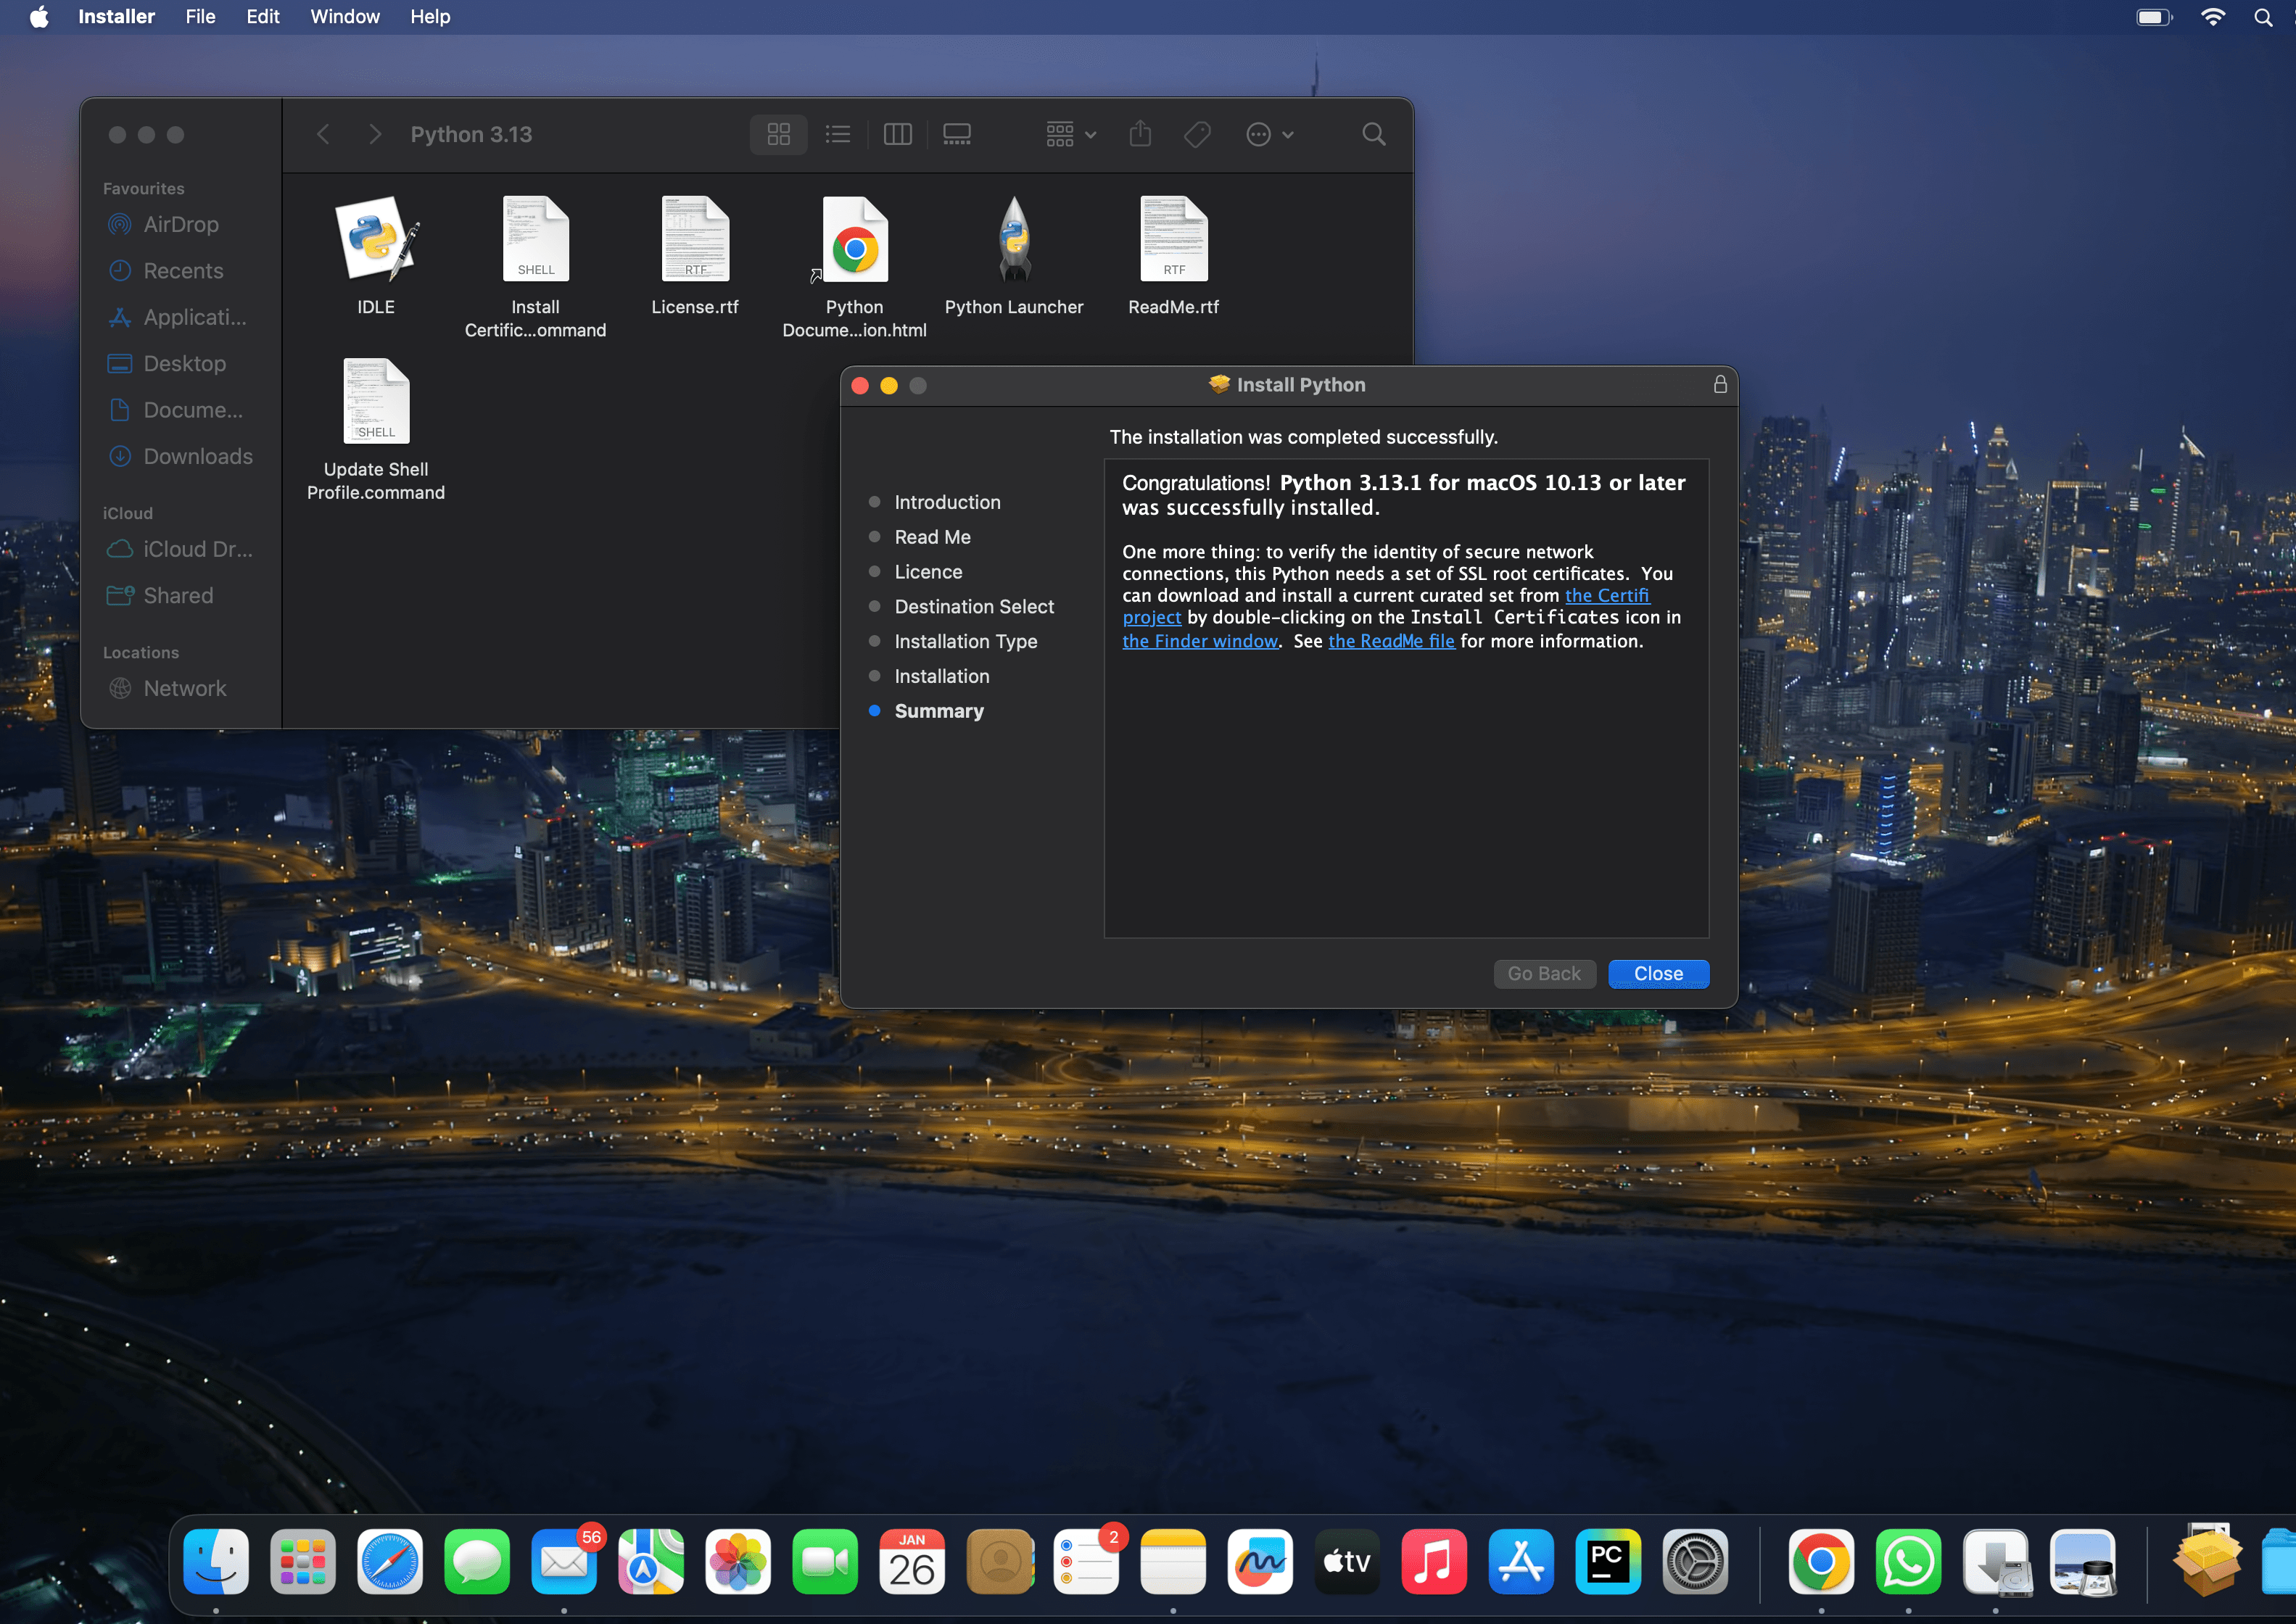
  • Now complete the processing and click on Install Button.10 e1737901071202And move the python installer package to bin12 e1737902387634
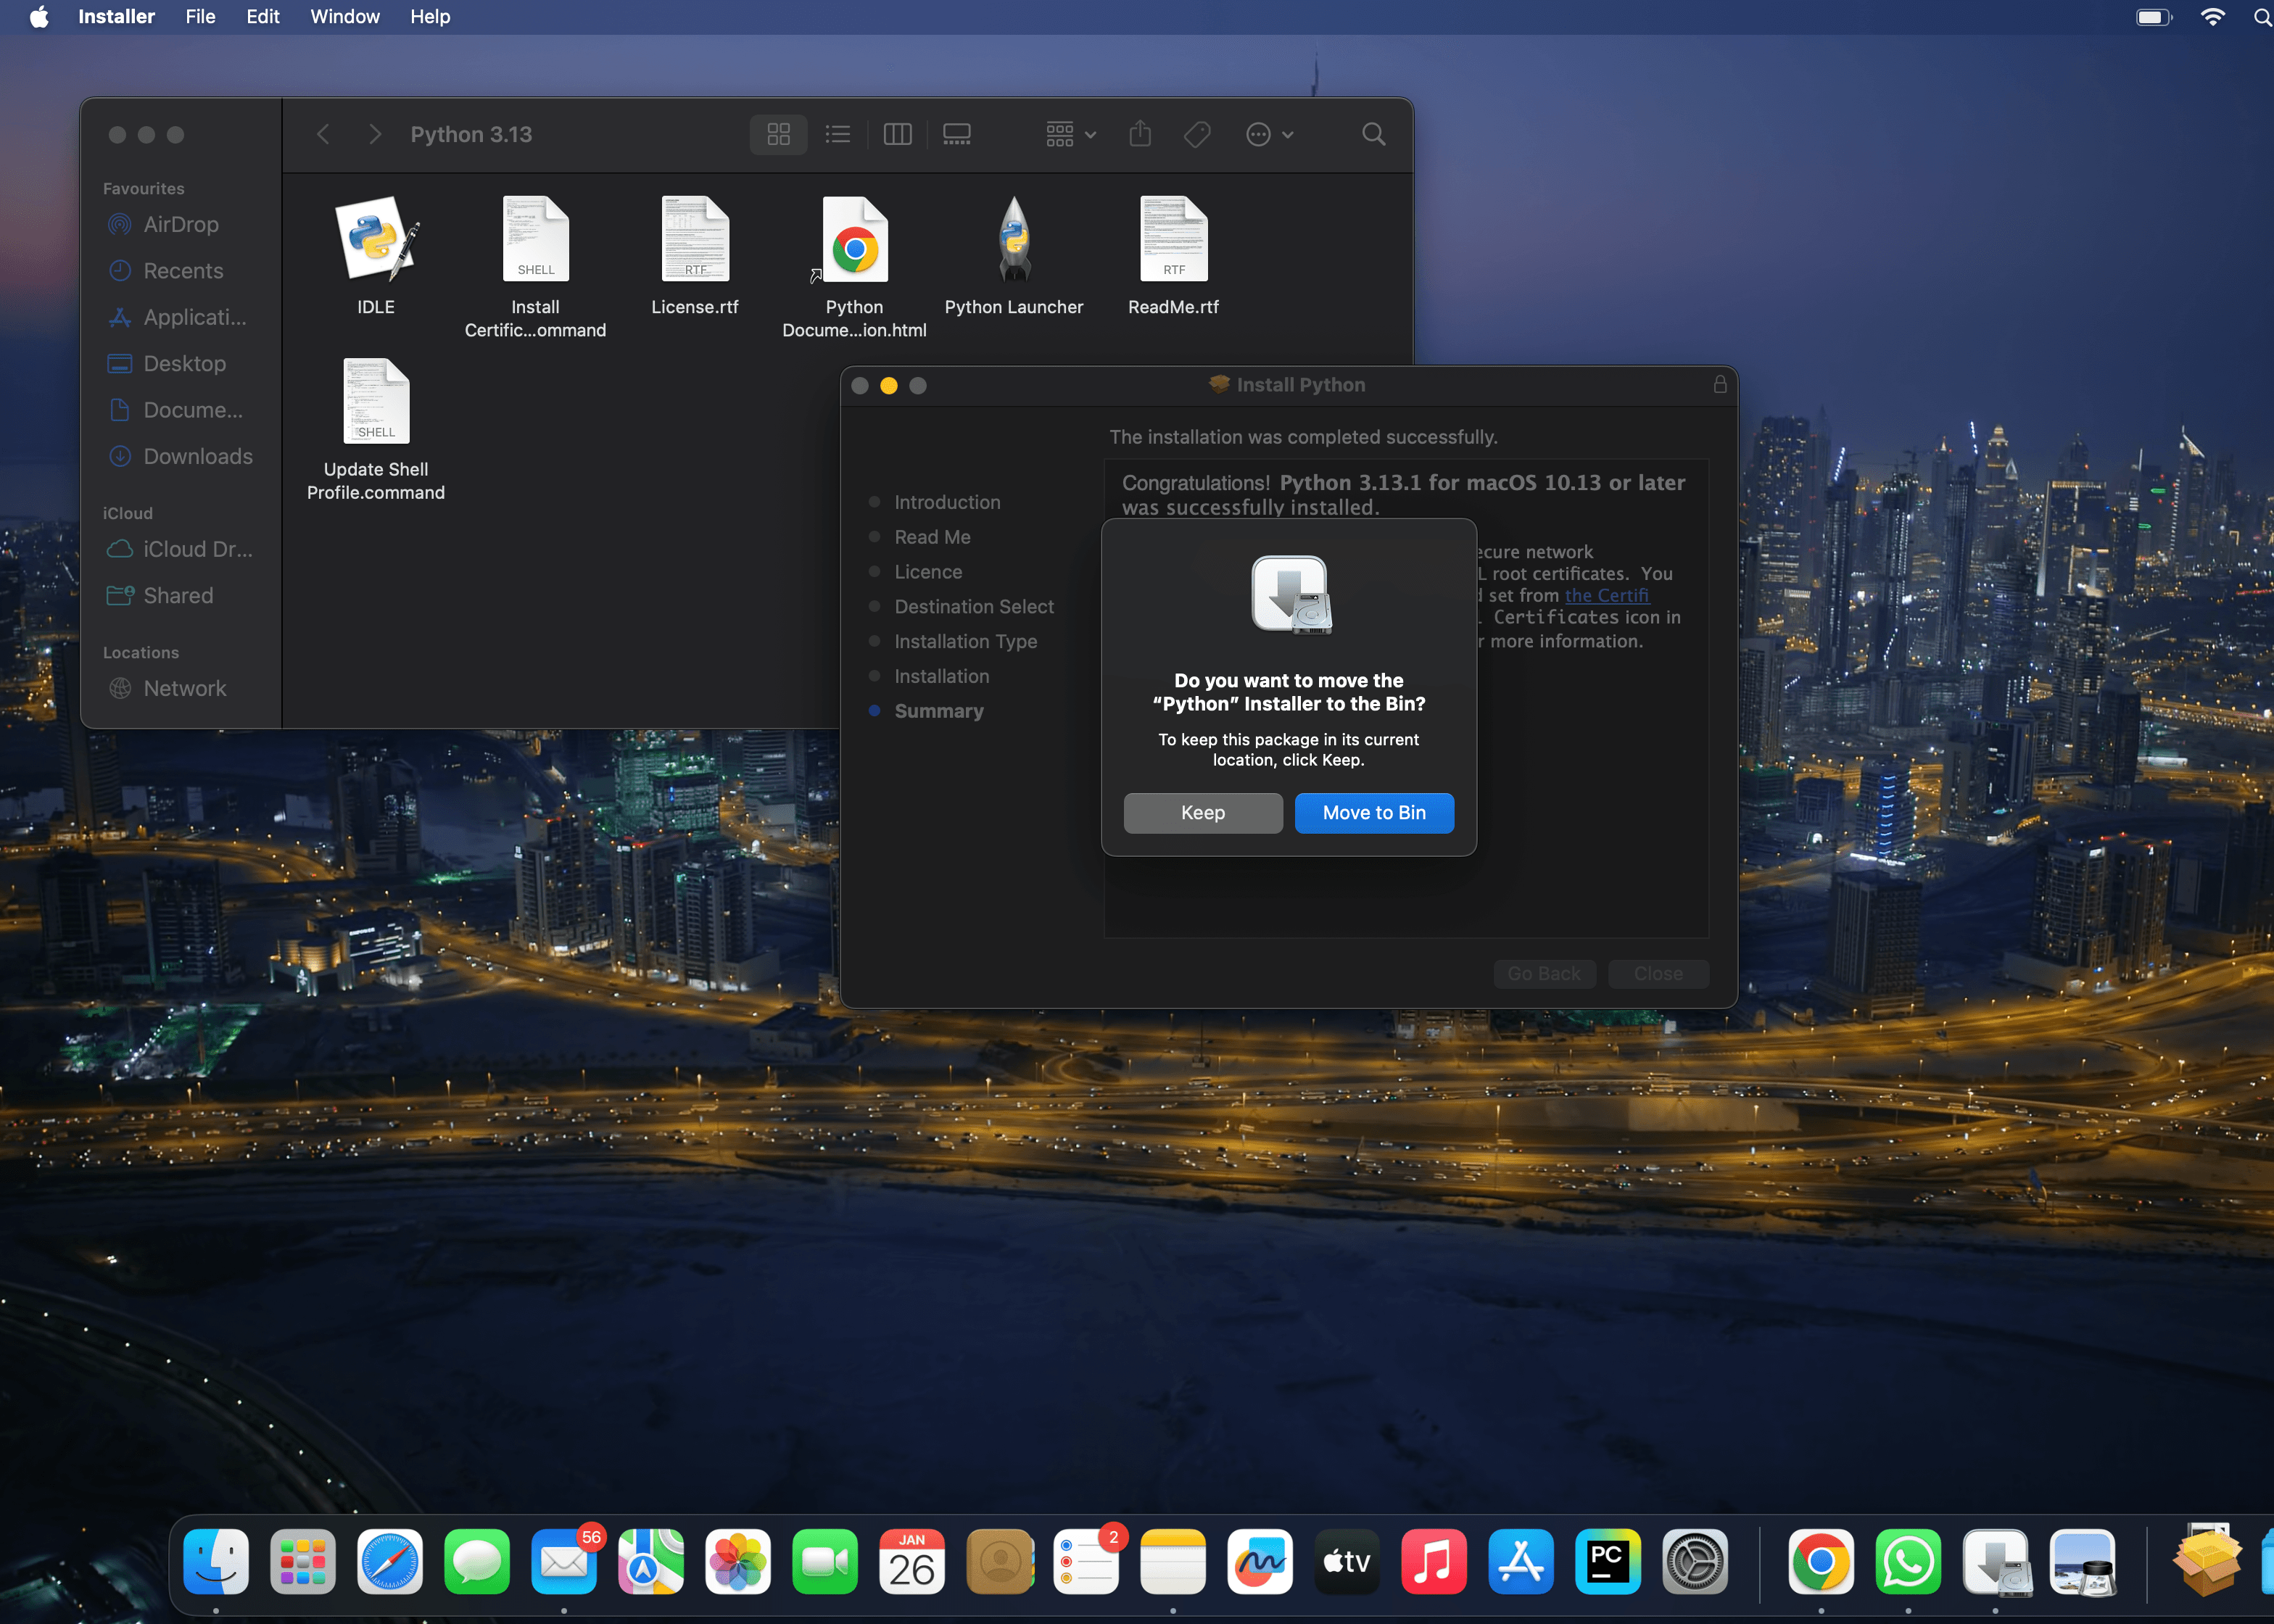
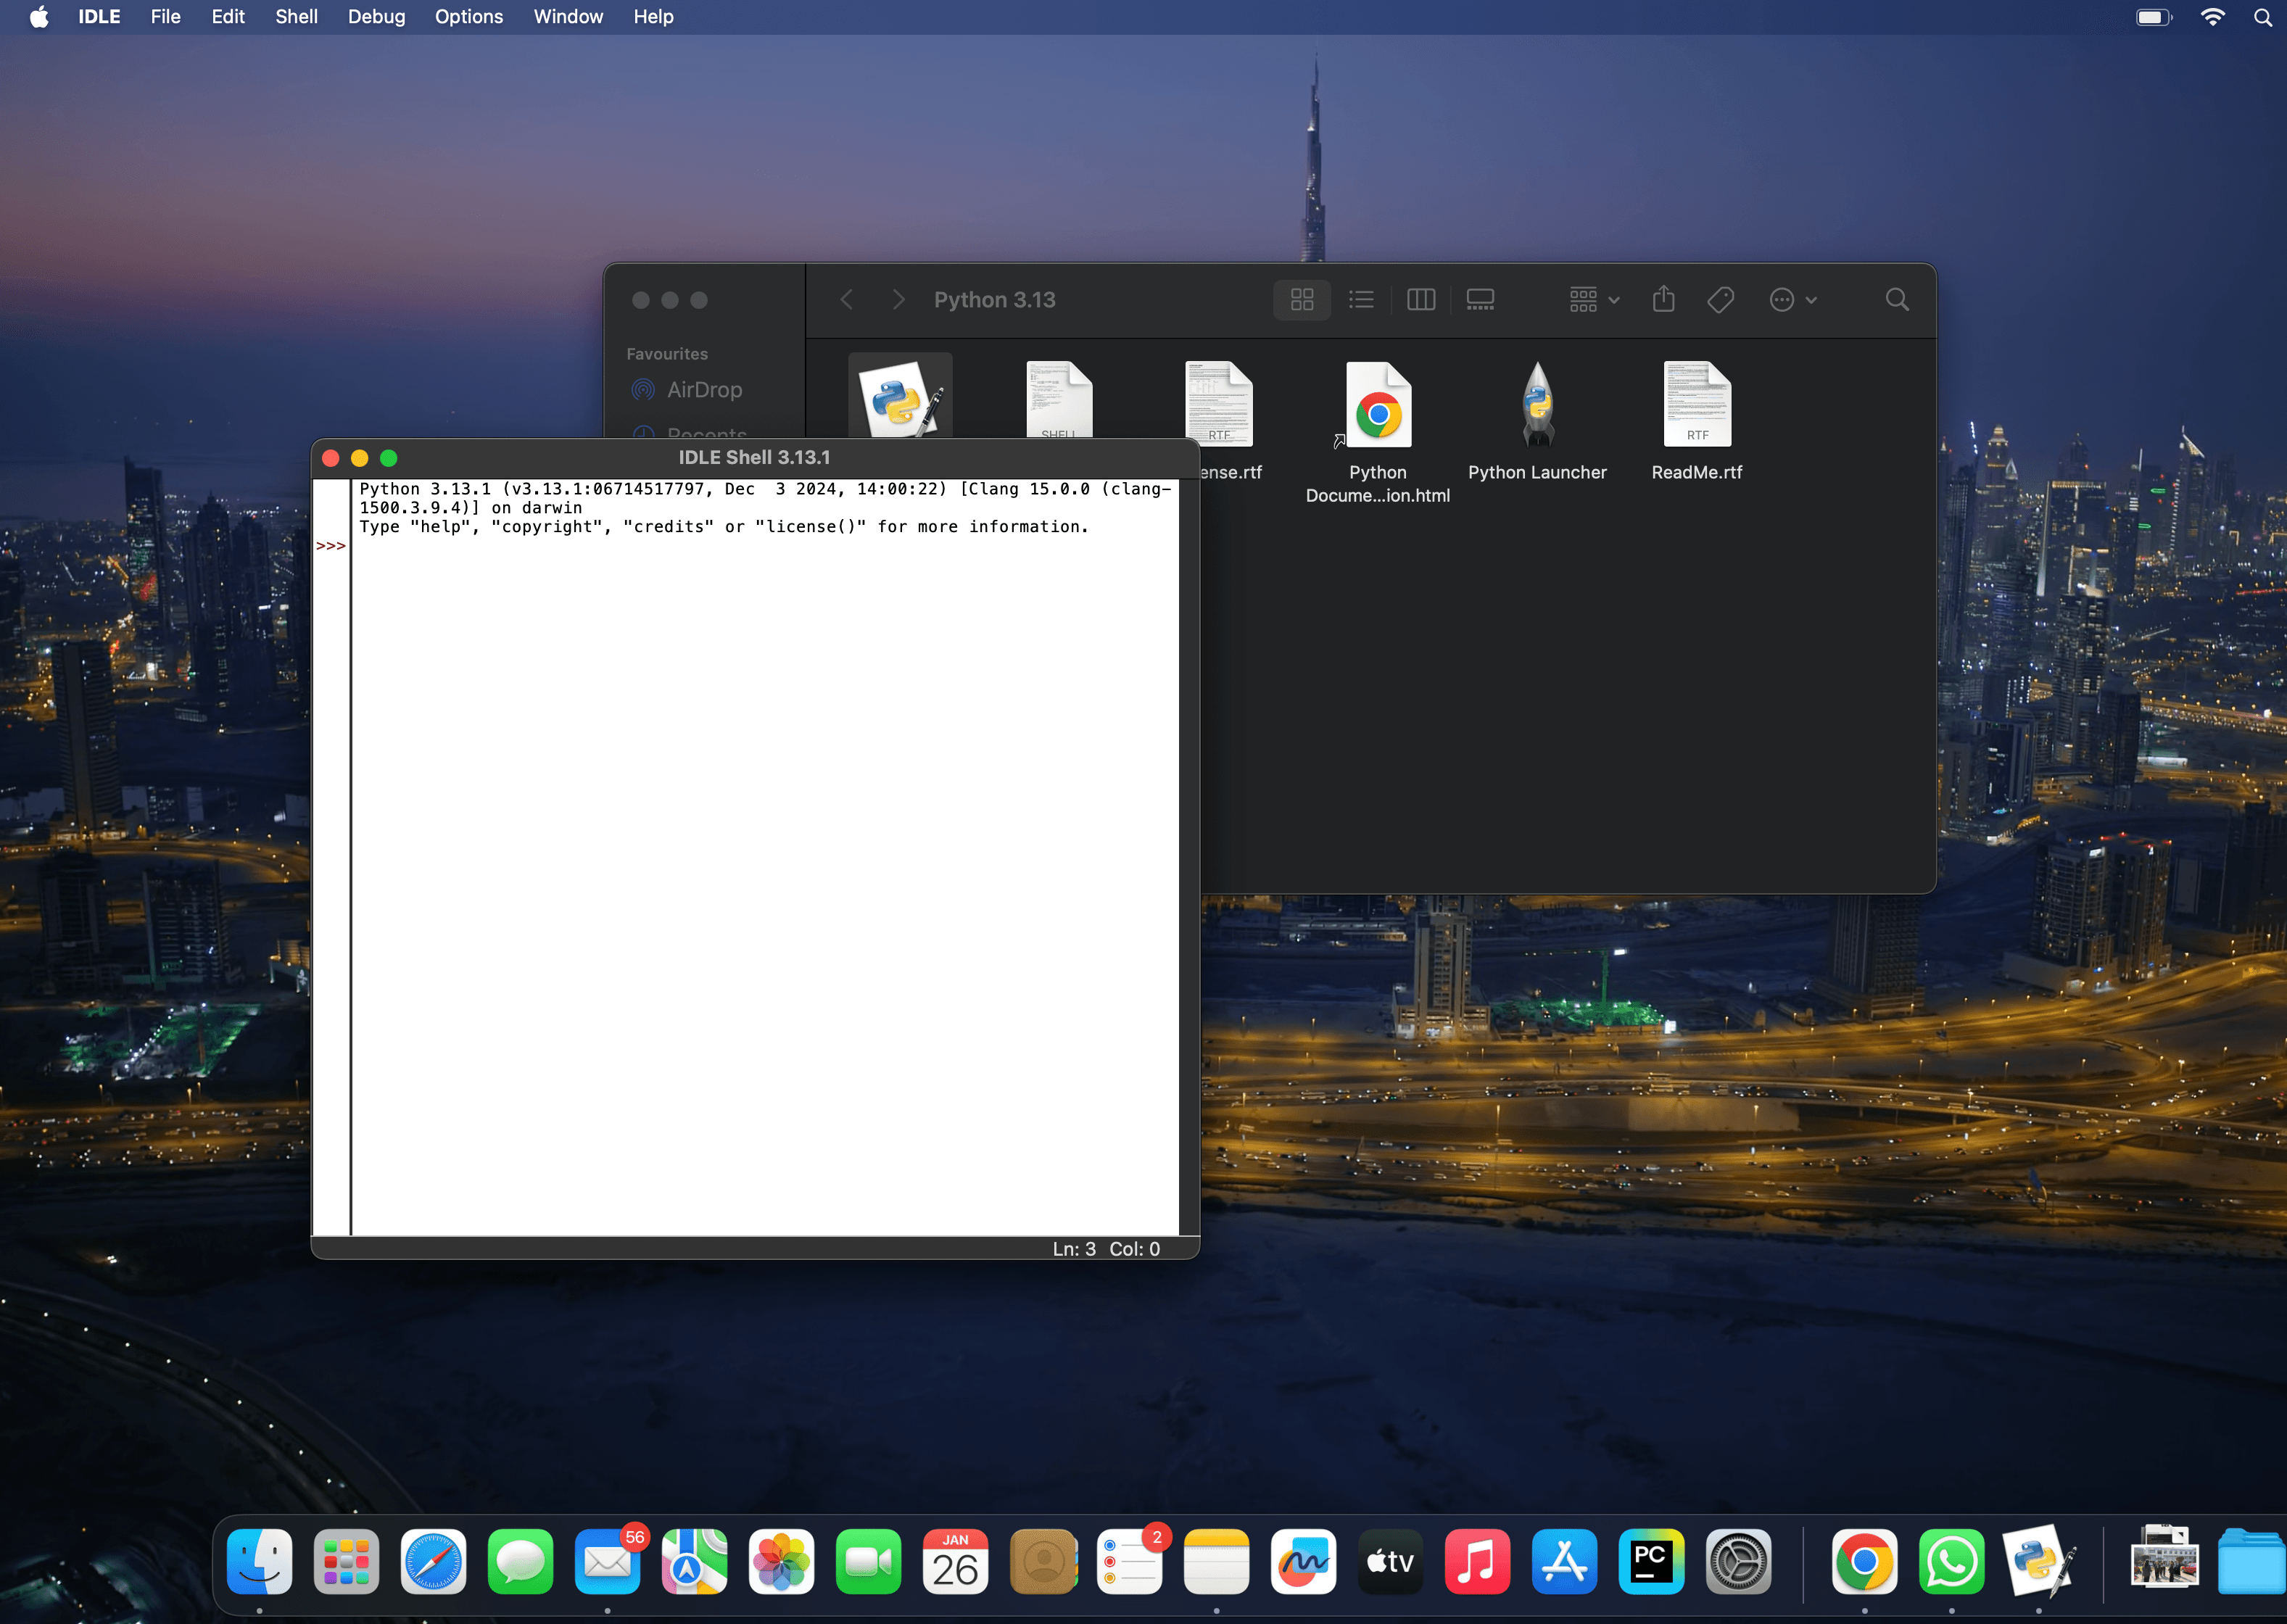
  • Now close all the tabs and open IDLE python.11 e1737902149333
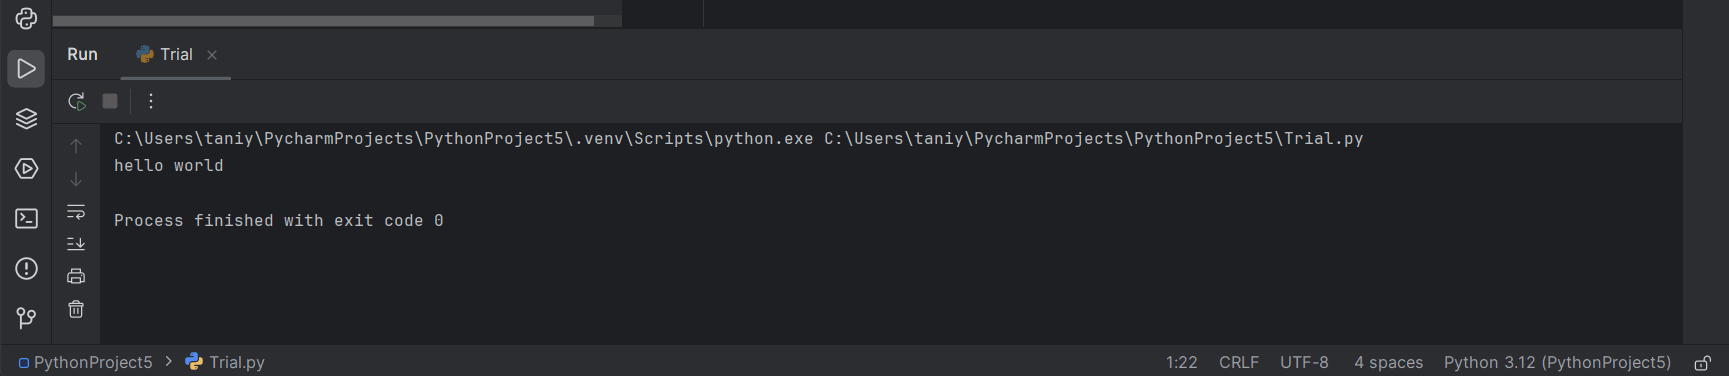
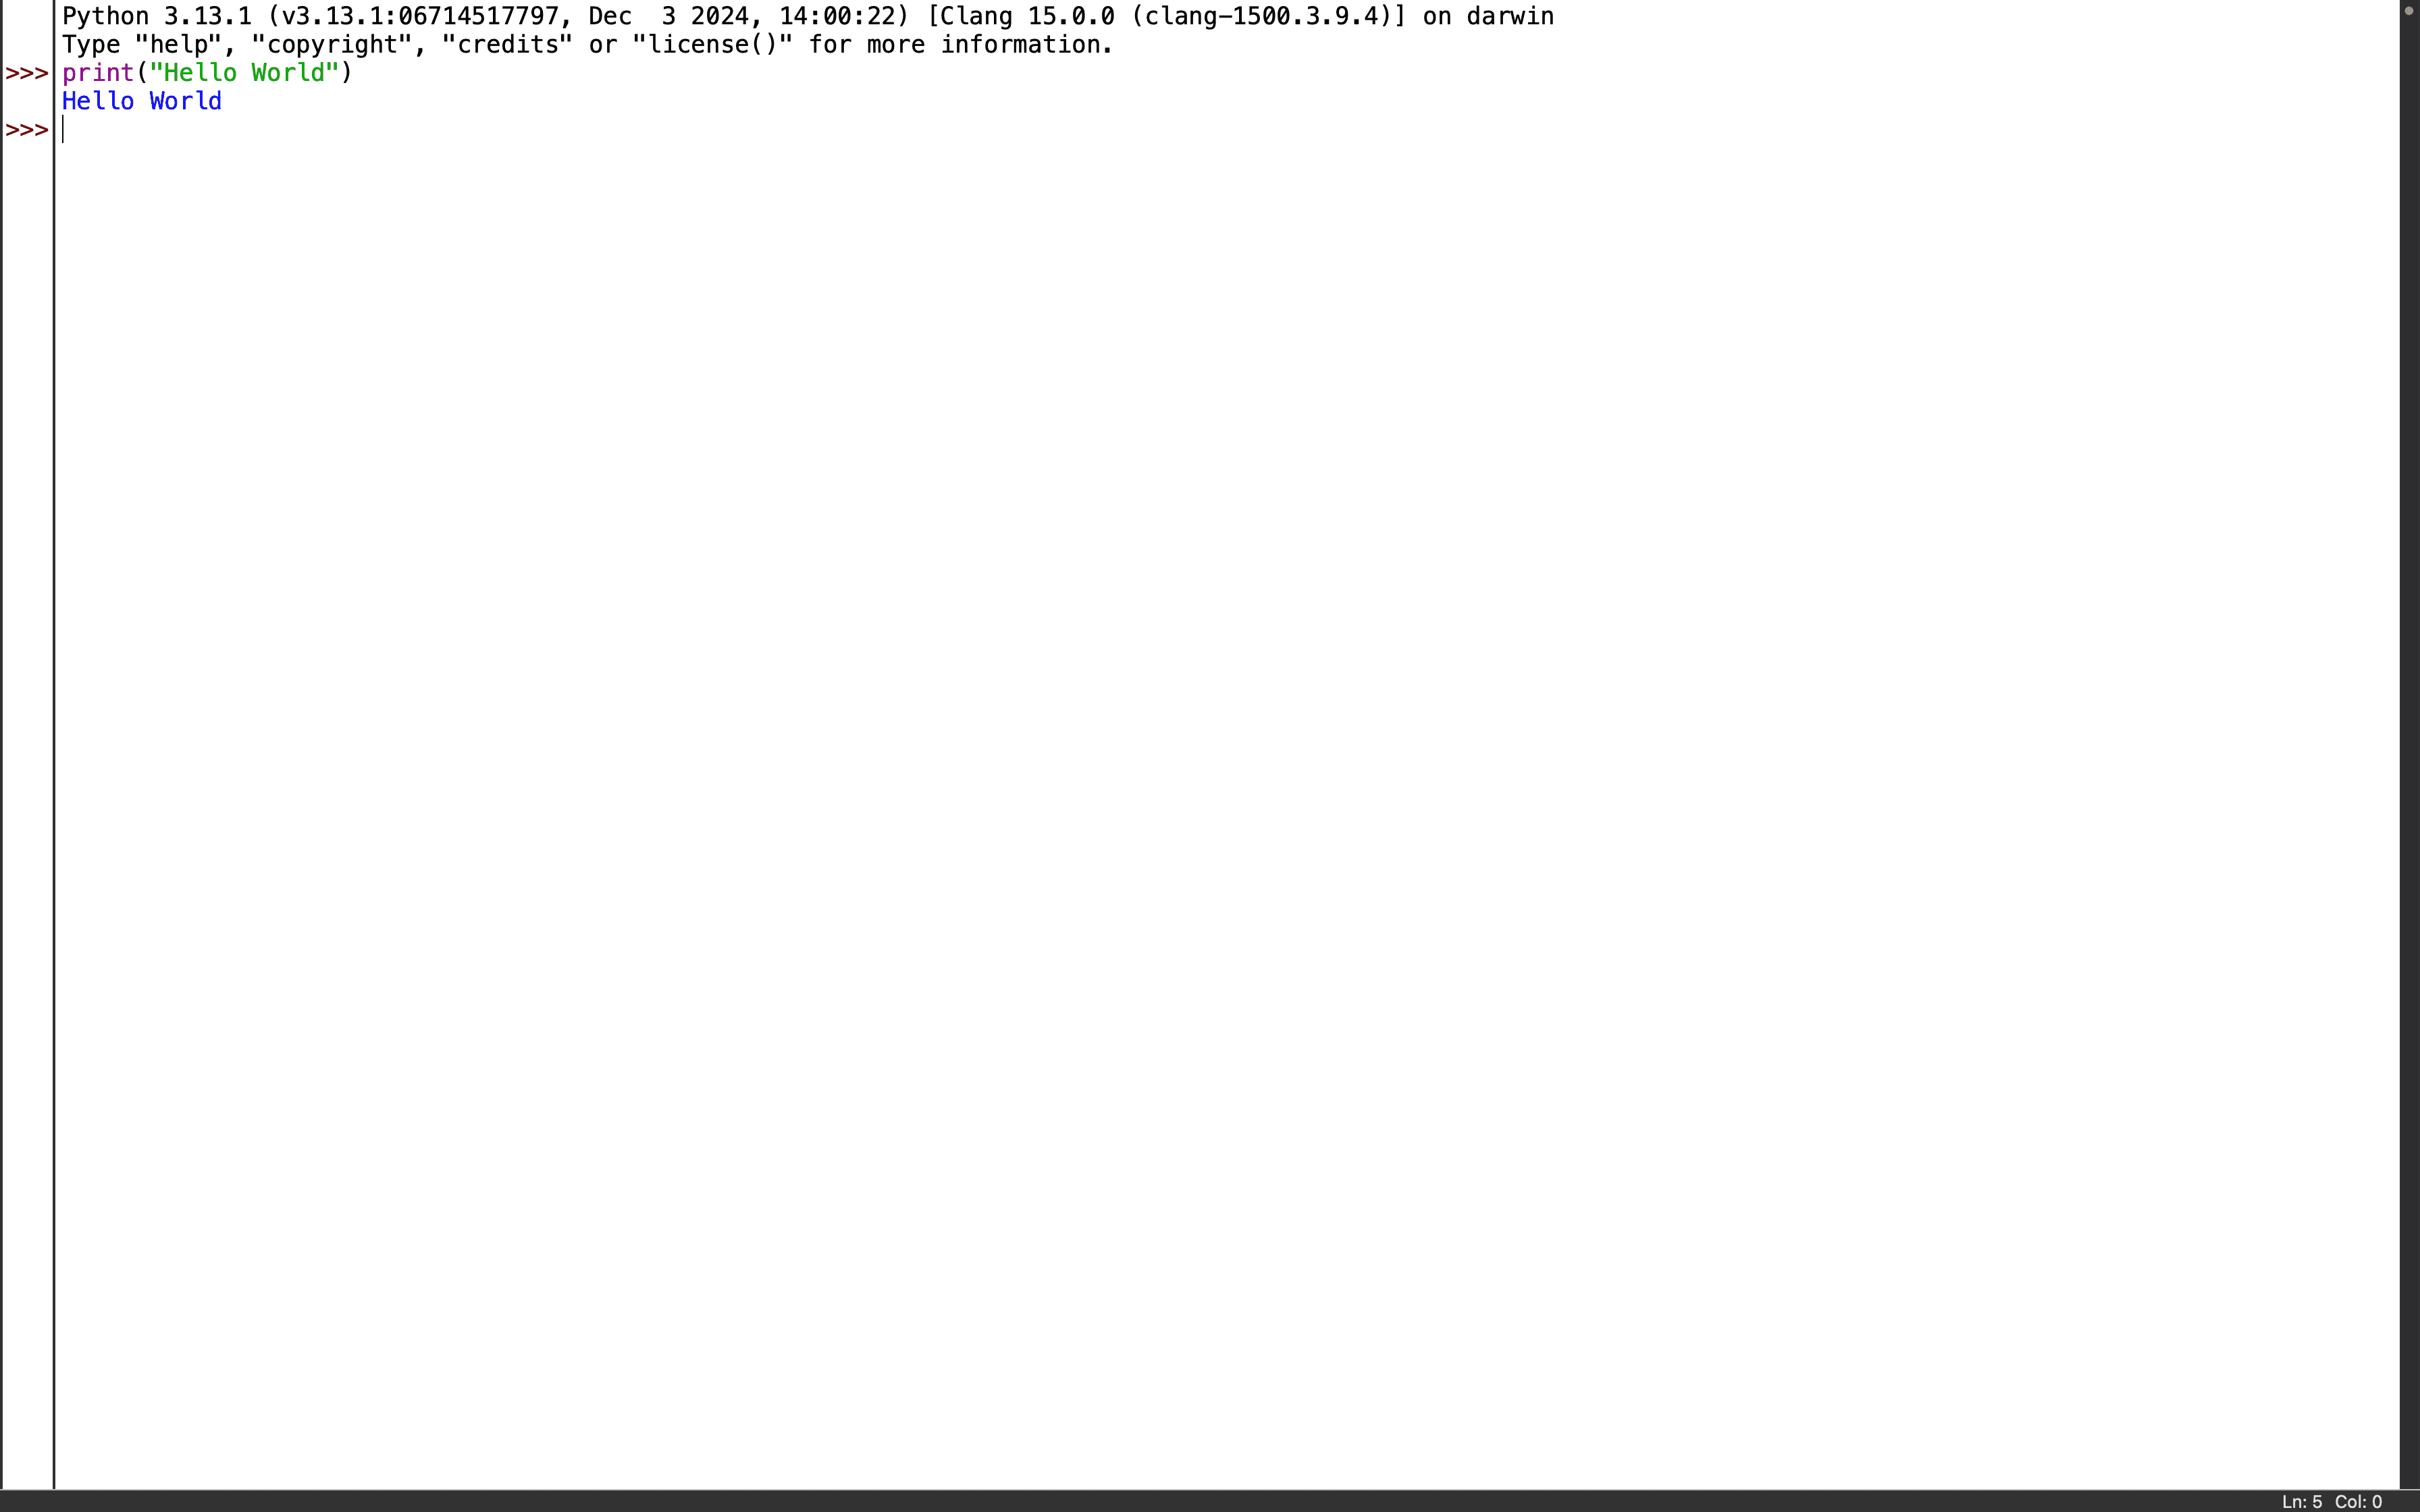
  • Open IDLE shell and try a hello world Program.14 e1737902564954
  • Simple “Hello World” program.16You can also check version in Terminal by giving the following command to check the version of python.
    python3 –versionScreenshot 2025 01 26 at 11.38.27 PM

    Handle Iframes In Selenium

    To handle iframes in Selenium using Python, you need to switch the WebDriver’s context to the iframe first using the switch_to.frame() method. Here is a basic guide on working with iframes:

    from selenium import webdriver
    from selenium.webdriver.common.by import By
    import time

    # launch Chrome browser
    driver = webdriver.Chrome()

    #
    navigate to a page with an iframe
    driver.get("https://www.globalsqa.com/demo-site/frames-and-windows/#iFrame")

    #
    get iframe web element
    iframe_element = driver.find_element(By.XPATH, "//iframe[@name='globalSqa']")

    #
    switch to iframe with web element
    driver.switch_to.frame(iframe_element)

    #
    get web element of header email inside iframe
    header_email = driver.find_element(By.XPATH, "//div[@class='header_mail']")

    #
    get email from web page with text
    print(header_email.text)

    # switch default main page
    driver.switch_to.default_content()

    #
    get Tester web element from default content
    tester_hub_elem = driver.find_element(By.XPATH, "//div[@id='menu']//a[contains(text(),'Tester')]")

    #
    click on menu option
    tester_hub_elem.click()

    time.sleep(5)
    driver.close()

    Explanation:

    • driver.switch_to.frame(“frame_name_or_id”): Switches to an iframe using its name or id attribute.
    • driver.switch_to.frame(index): Switches to an iframe using its index (0-based).
    • driver.switch_to.frame(iframe_element): Switches using a WebElement representing the iframe.
    • driver.switch_to.default_content(): Switches back to the main document from an iframe.

    This approach allows you to interact with elements inside the iframe and switch between the main content and other frames when necessary.


    Handle Browser Windows/Tabs

    To handle browser tabs in Selenium using Python, you can use methods to switch between windows or tabs using their handles. Here’s a guide on how to open a new tab, switch between tabs, and close

    Example Code

    from selenium import webdriver
    import time

    #
    Initialize the WebDriver (e.g., using Chrome)
    driver = webdriver.Chrome()
    driver.implicitly_wait(10)

    #
    Open the first URL
    driver.get("https://www.facebook.com")
    print("Current tab URL:", driver.current_url)

    #
    Save the original window handle
    original_tab = driver.current_window_handle

    #
    Open a new tab using JavaScript (useful for browsers like Chrome)
    driver.execute_script("window.open('https://www.google.com', '_blank');")

    #
    Get the list of all window handles (tabs)
    window_handles = driver.window_handles
    print("All window handles:", window_handles)

    #
    Switch to the new tab
    driver.switch_to.window(window_handles[1])
    print("Switched to new tab URL:", driver.current_url)

    #
    Pause for a few seconds (optional)
    time.sleep(2)
    # close google page
    driver.close()

    #
    Switch back to the original tab
    driver.switch_to.window(original_tab)
    print("Switched back to original tab URL:", driver.current_url)

    time.sleep(2)

    #
    Close the browser
    driver.quit()

    Explanation:

    • driver.window_handles: Returns a list of window handles (IDs) for all the open tabs/windows.
    • driver.switch_to.window(handle): Switches the WebDriver’s focus to the specified window handle.
    • driver.execute_script(“window.open(‘URL’, ‘_blank’);”): Opens a new tab using JavaScript.
    • To close a specific tab, you can use driver.close() while the focus is on that tab.

    This approach allows you to manage multiple tabs efficiently, such as switching between them or closing specific ones as needed.


    Take Screenshot Selenium

    To take screenshot using Selenium in Python, you can use the save_screenshot() method or get_screenshot_as_file() method. Here’s how you can do it:

    Example Code

    from selenium import webdriver
    from selenium.webdriver.common.by import By

    #
    Initialize the WebDriver (e.g., using Chrome)
    driver = webdriver.Chrome()

    #
    Navigate to a website
    driver.get("https://www.google.com")

    #
    Take a screenshot and save it as a file
    screenshot_path = "google_page.png"
    driver.save_screenshot(screenshot_path)
    #
    Or driver.get_screenshot_as_file(screenshot_path)

    print(f"Screenshot saved at: {screenshot_path}")

    search_field = driver.find_element(By.NAME, "q")

    #
    Take a screenshot of the specific element
    search_field.screenshot("search_field.png")

    #
    Close the browser
    driver.quit()

    Explanation:

    • driver.save_screenshot(“filename.png”): Saves a screenshot of the current browser window with the specified filename.
    • element.screenshot(“filename.png”): Saves a screenshot of the specific element with the specified filename.
    • You can use any valid file path or name as the argument to save the screenshot where you want.

    Forward, Back and Refresh Methods

    In Selenium with Python, you can use the back(), forward(), and refresh() methods to navigate through browser history and reload pages. Here’s a quick overview of how to use them

    Example Code

    from selenium import webdriver
    import time

    #
    Initialize the WebDriver (e.g., using Chrome)
    driver = webdriver.Chrome()

    #
    Navigate to a URL
    driver.get("https://www.google.com")
    print("Initial URL:", driver.current_url)

    #
    Navigate to another URL
    driver.get("https://www.facebook.com")
    print("Navigated to:", driver.current_url)

    #
    Go back to the previous page
    driver.back()
    print("Back to:", driver.current_url)
    #
    Back URL should be www.google.com

    #
    Wait for 2 seconds
    time.sleep(2)

    #
    Move forward in the browser history
    driver.forward()
    print("Forward to:", driver.current_url)
    # Move forward url to www.facebook.com

    #
    Wait for 2 seconds
    time.sleep(2)

    #
    Refresh the current page ( facebook.com )
    driver.refresh()


    #
    Refresh facebook URL
    print("Page refreshed at:", driver.current_url)

    #
    Close the browser
    driver.quit()

    Results:

    Initial URL: https://www.google.com/
    Navigated to: https://www.facebook.com/
    Back to: https://www.google.com/
    Forward to: https://www.facebook.com/
    Page refreshed at: https://www.facebook.com/

    Explanation:

    • driver.back(): Navigates back to the previous page in the browser history.
    • driver.forward(): Moves forward in the browser history.
    • driver.refresh(): Refreshes/reloads the current page.

    Get Current URL

    To get the current URL in Python using Selenium, you can use the current_url property of the WebDriver instance. Here’s how you can do it:

    from selenium import webdriver

    # Example using Chrome WebDriver
    driver = webdriver.Chrome()

    # Navigate to a website
    driver.get("https://sqatools.in/")

    # Get the current URL
    current_url = driver.current_url
    print("Current URL:", current_url)

    # Close the browser
    driver.quit()

    This will print the current URL of the page that the WebDriver is on.


    get_attribute Method

    In Selenium with Python, the get_attribute() method is used to retrieve the value of a specific attribute from an HTML element. This can be particularly useful when you need to access values like href for links, src for images, class, id, or other attributes of HTML elements.

    Basic Syntax

    element = driver.find_element(By.XPATH, 'your_xpath_here')
    attribute_value = element.get_attribute('attribute_name')

    Example Usage

    Here’s an example of how you might use get_attribute() to get the URL from a link:

    from selenium import webdriver
    from selenium.webdriver.common.by import By

    #
    Initialize the WebDriver
    driver = webdriver.Chrome()
    driver.implicitly_wait(10)

    #
    Open a webpage
    driver.get('https://sqatools.in/')

    #
    Find an element and get its attribute
    element = driver.find_element(By.XPATH, "//a[text()='Python Tutorials']")
    href_value = element.get_attribute('href')

    print("The link URL is:", href_value)

    #
    Close the WebDriver
    driver.quit()

    In this example:

    • driver.find_element(By.XPATH, ‘//a[text()=’Python Tutorials’]’) locates an element with the XPath specified.
    • element.get_attribute(‘href’) retrieves the href the attribute value of the located <a> (anchor) element.

    Common Use Cases

    • href for link URLs
    • src for image URLs
    • class for CSS class names
    • id for unique identifiers
    • data-* attributes for custom data

    Pycharm Configurations

    PyCharm Installation for Windows OS:

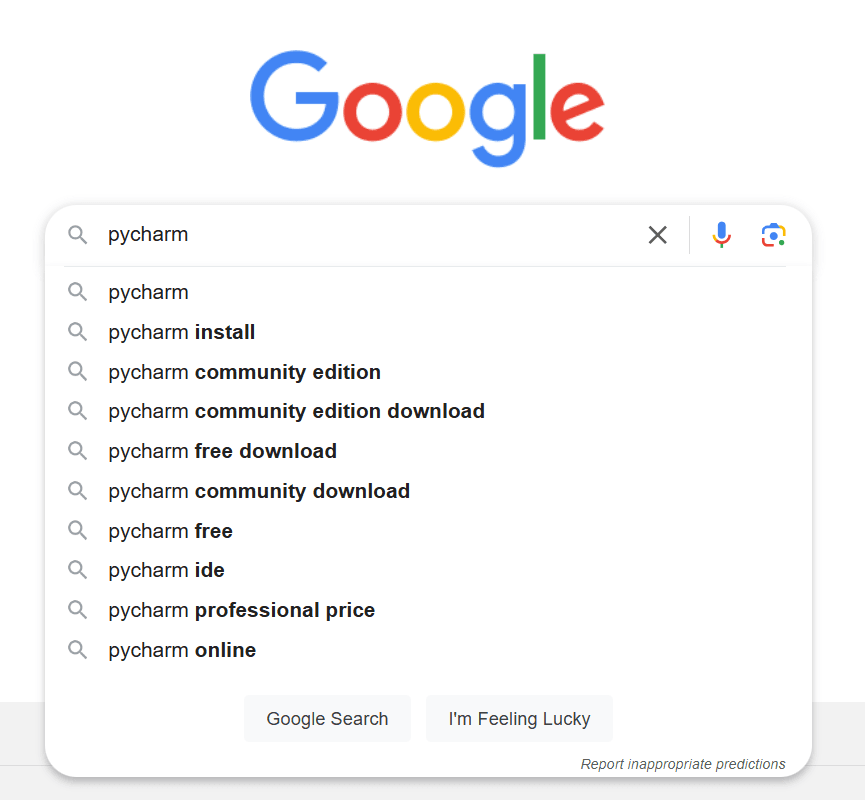
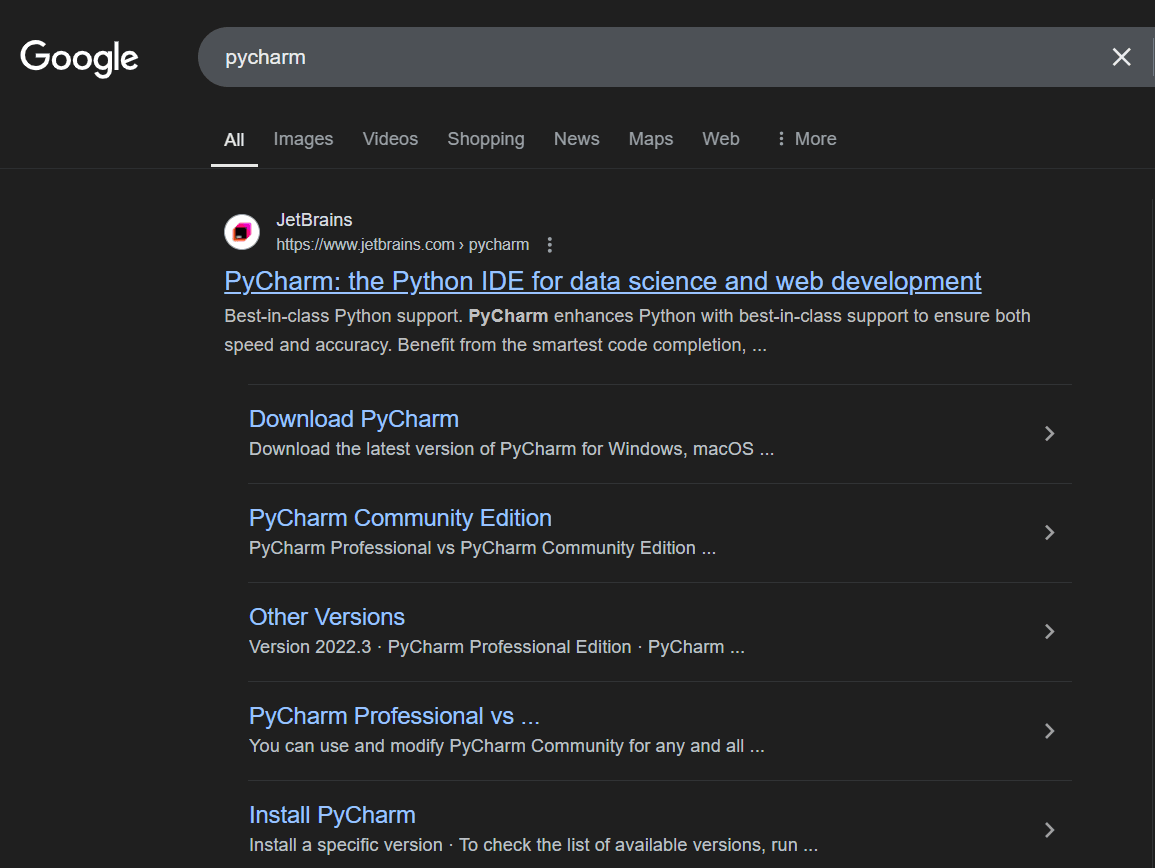
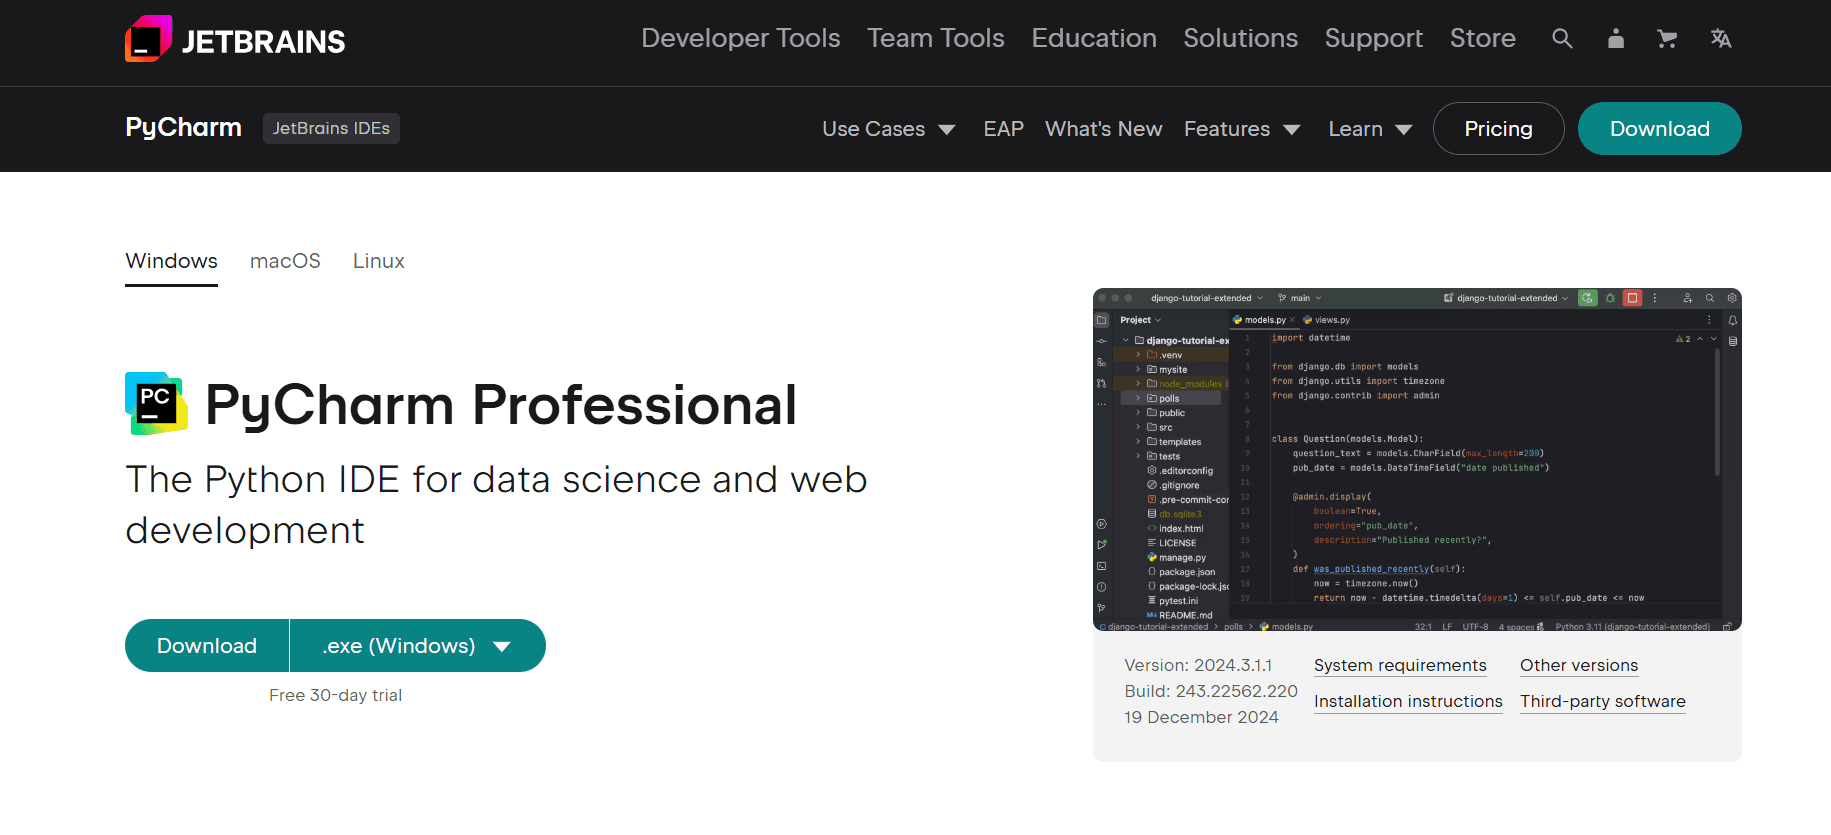
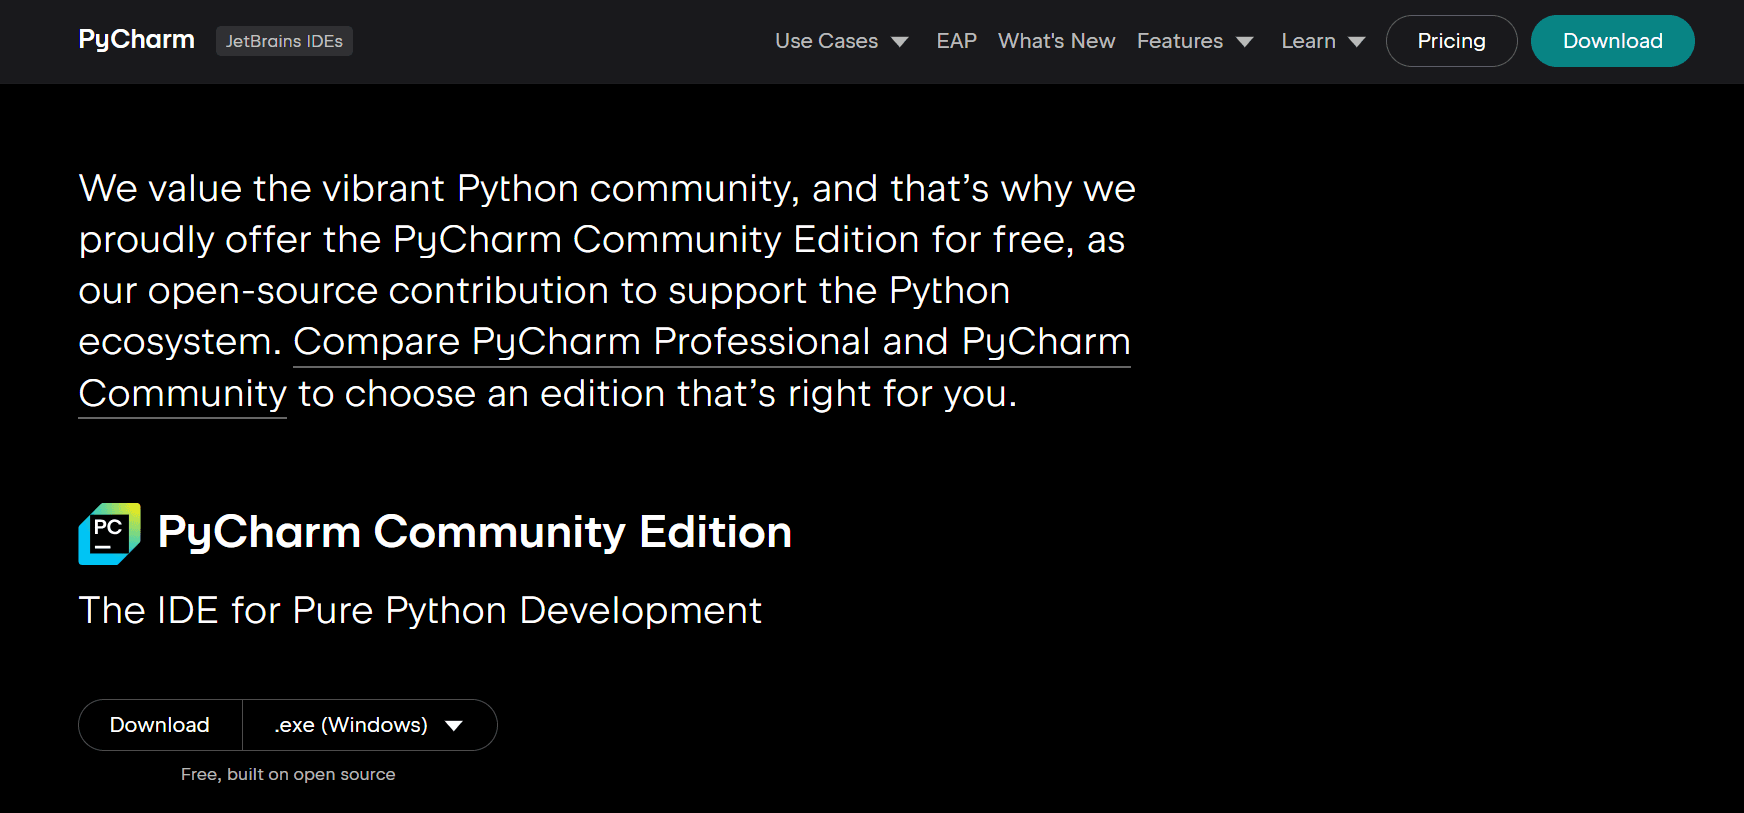
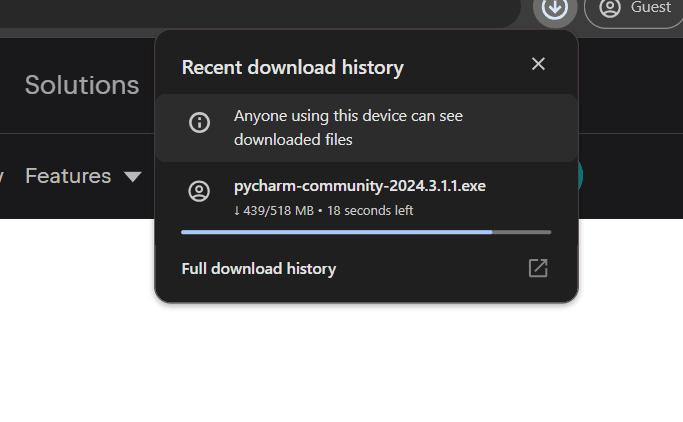
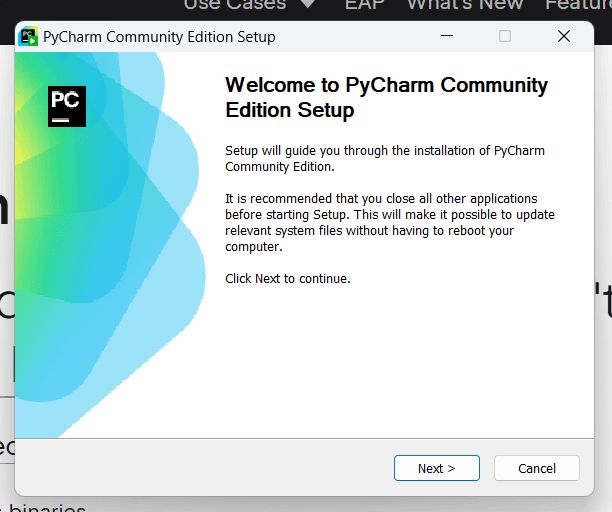
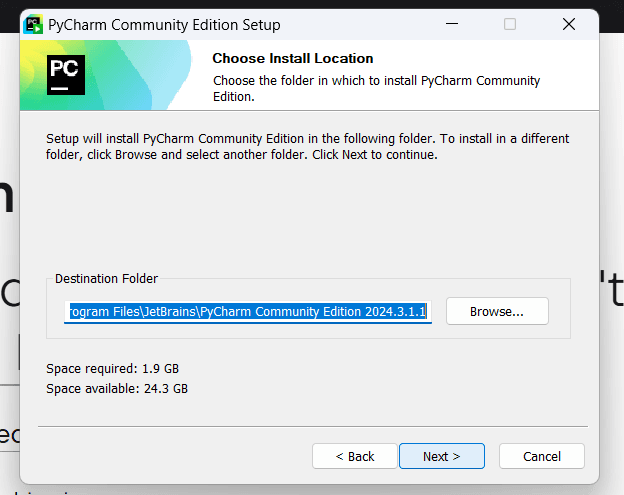
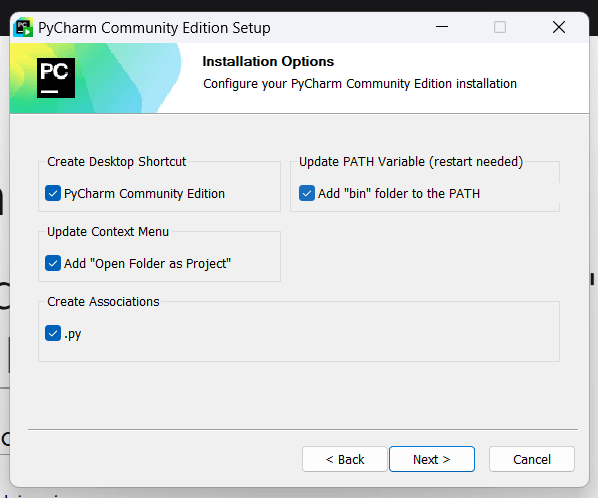
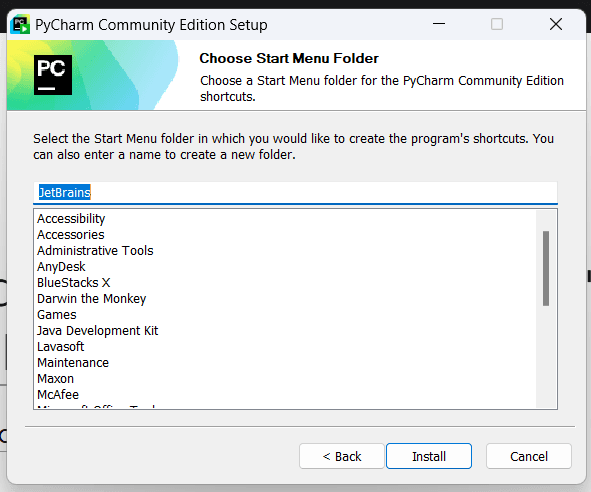
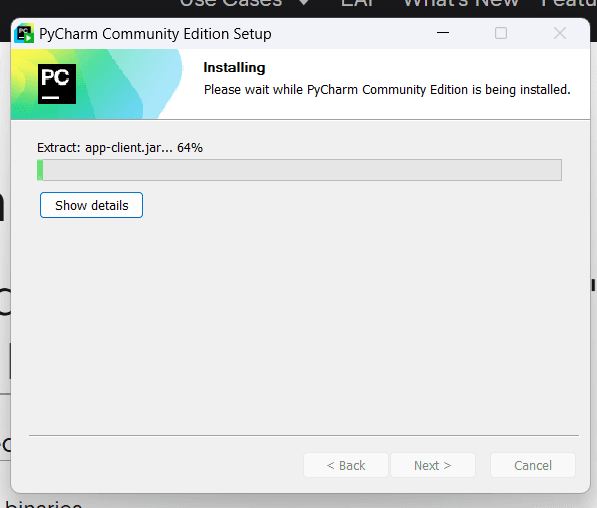
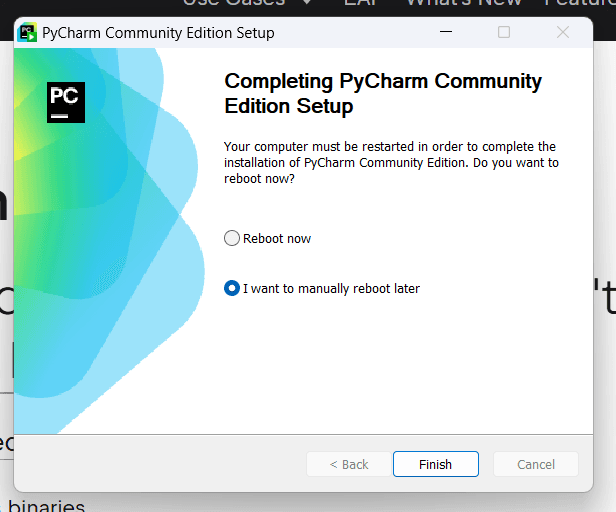
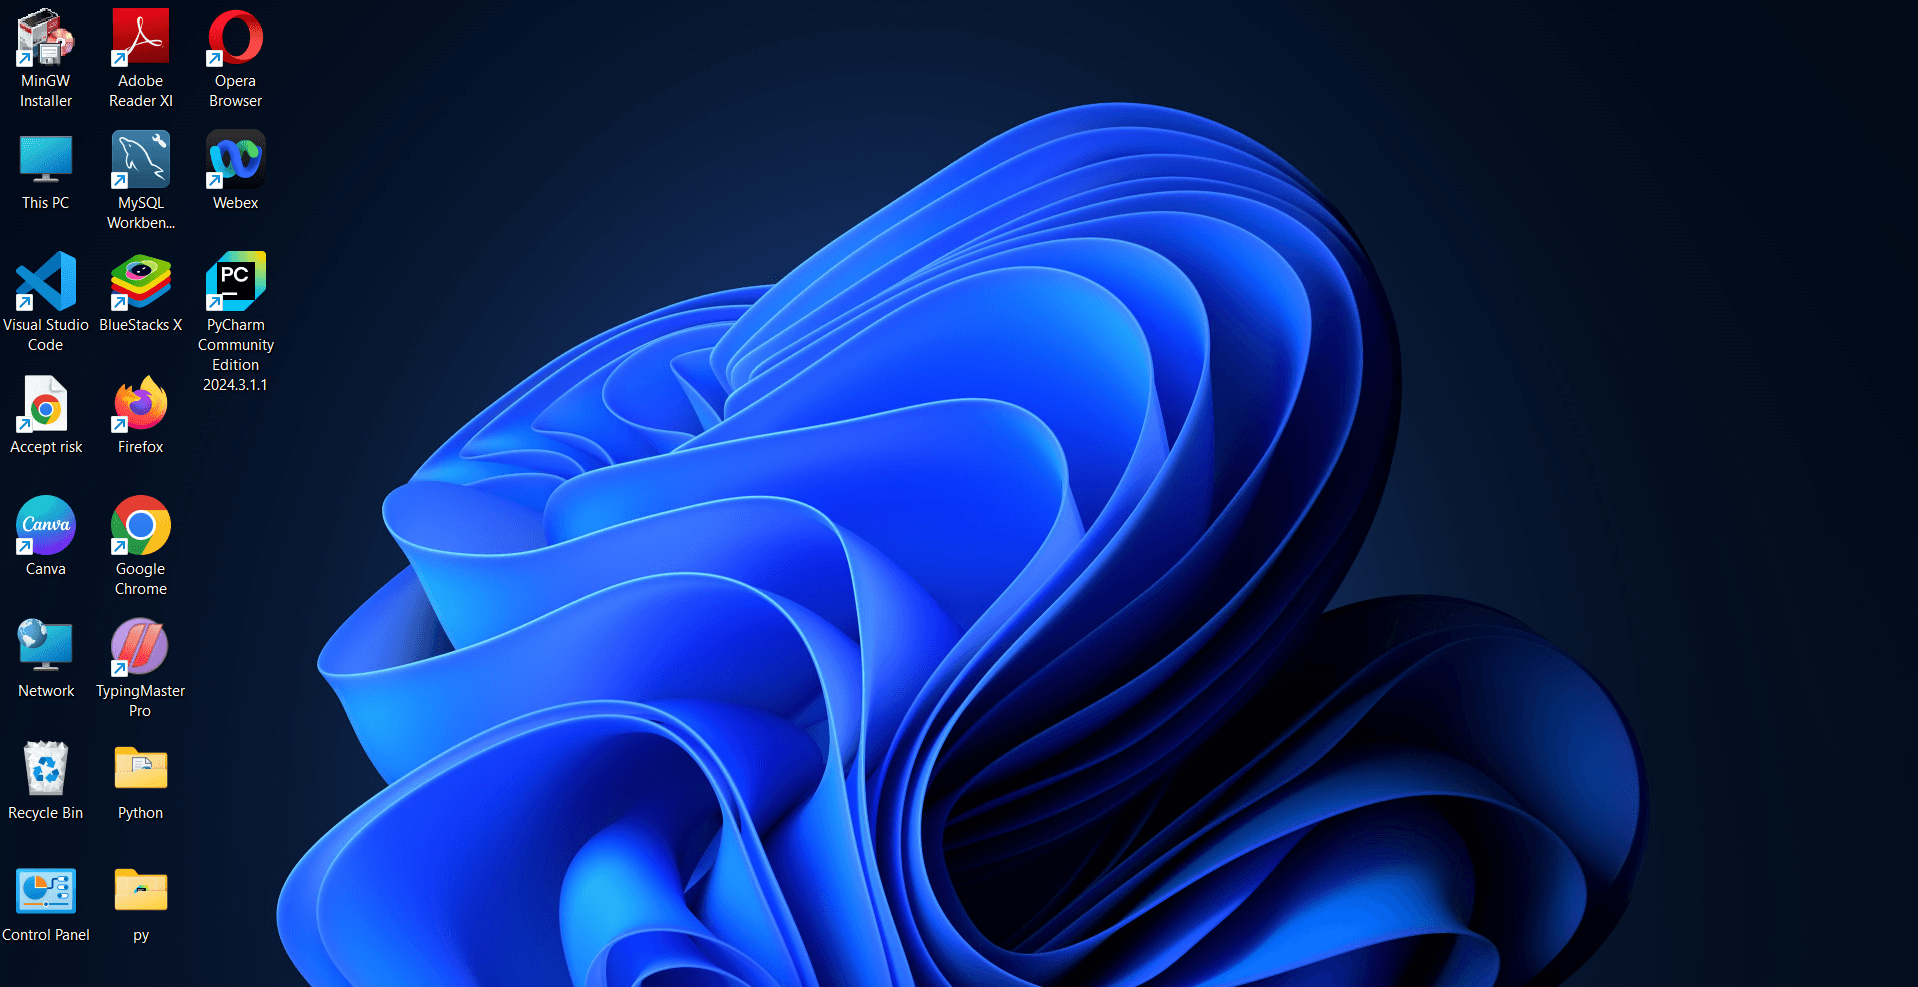
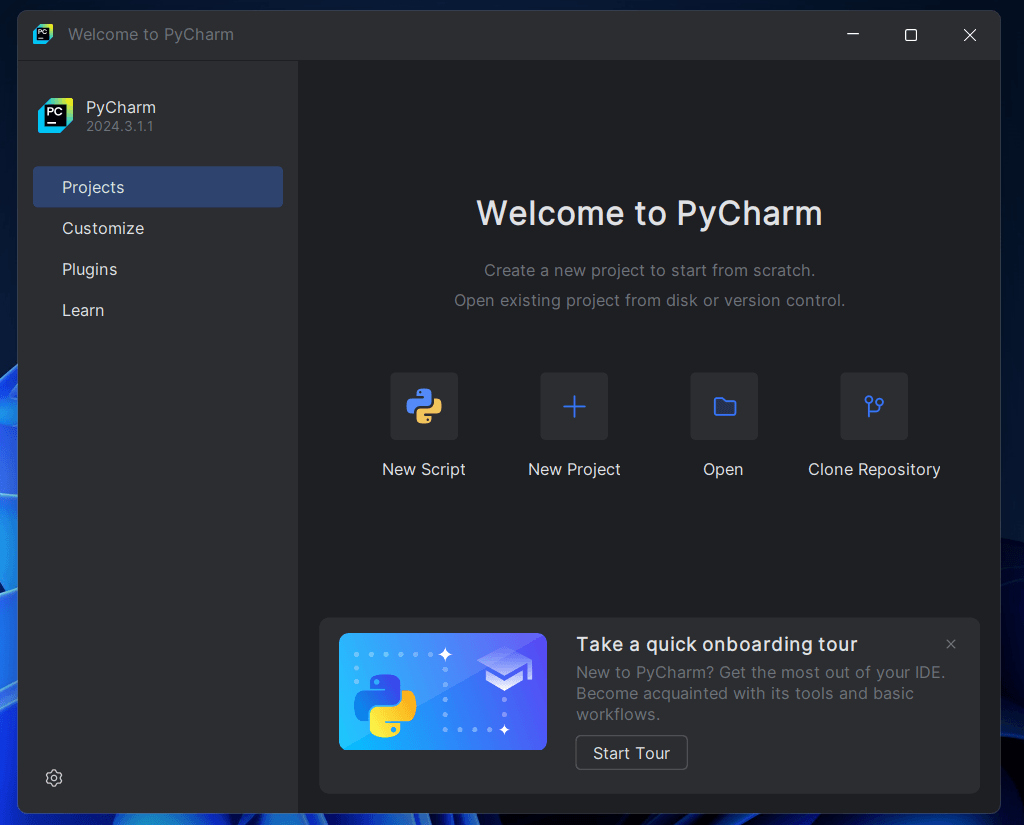
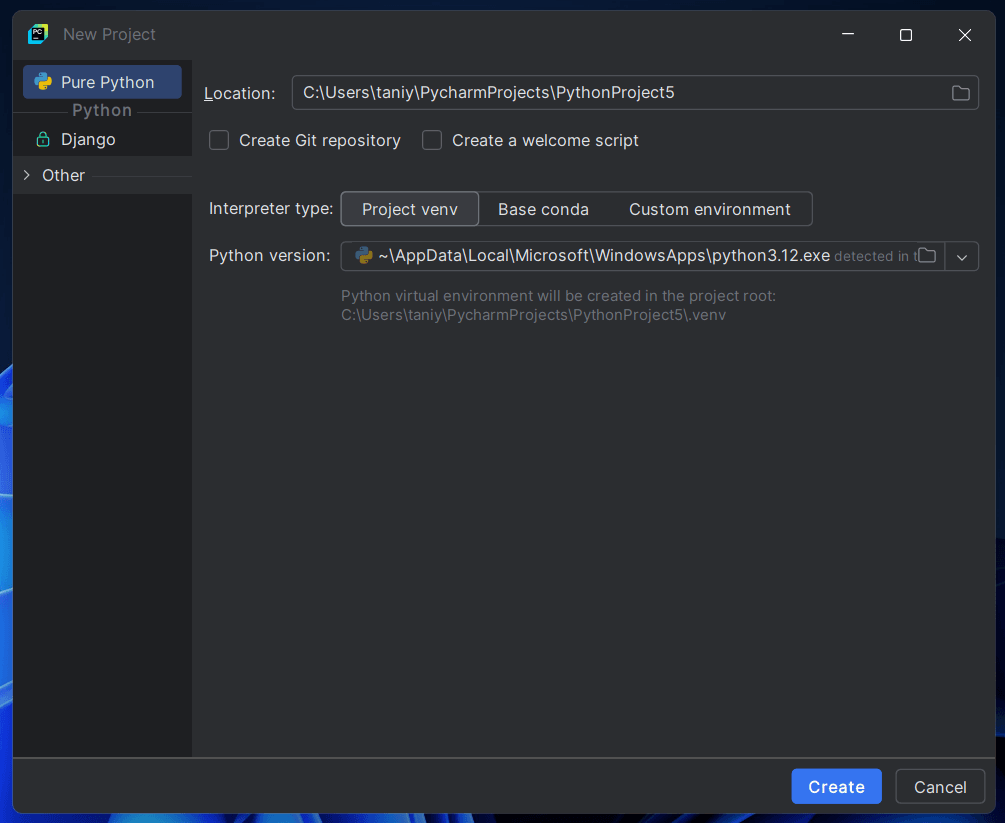
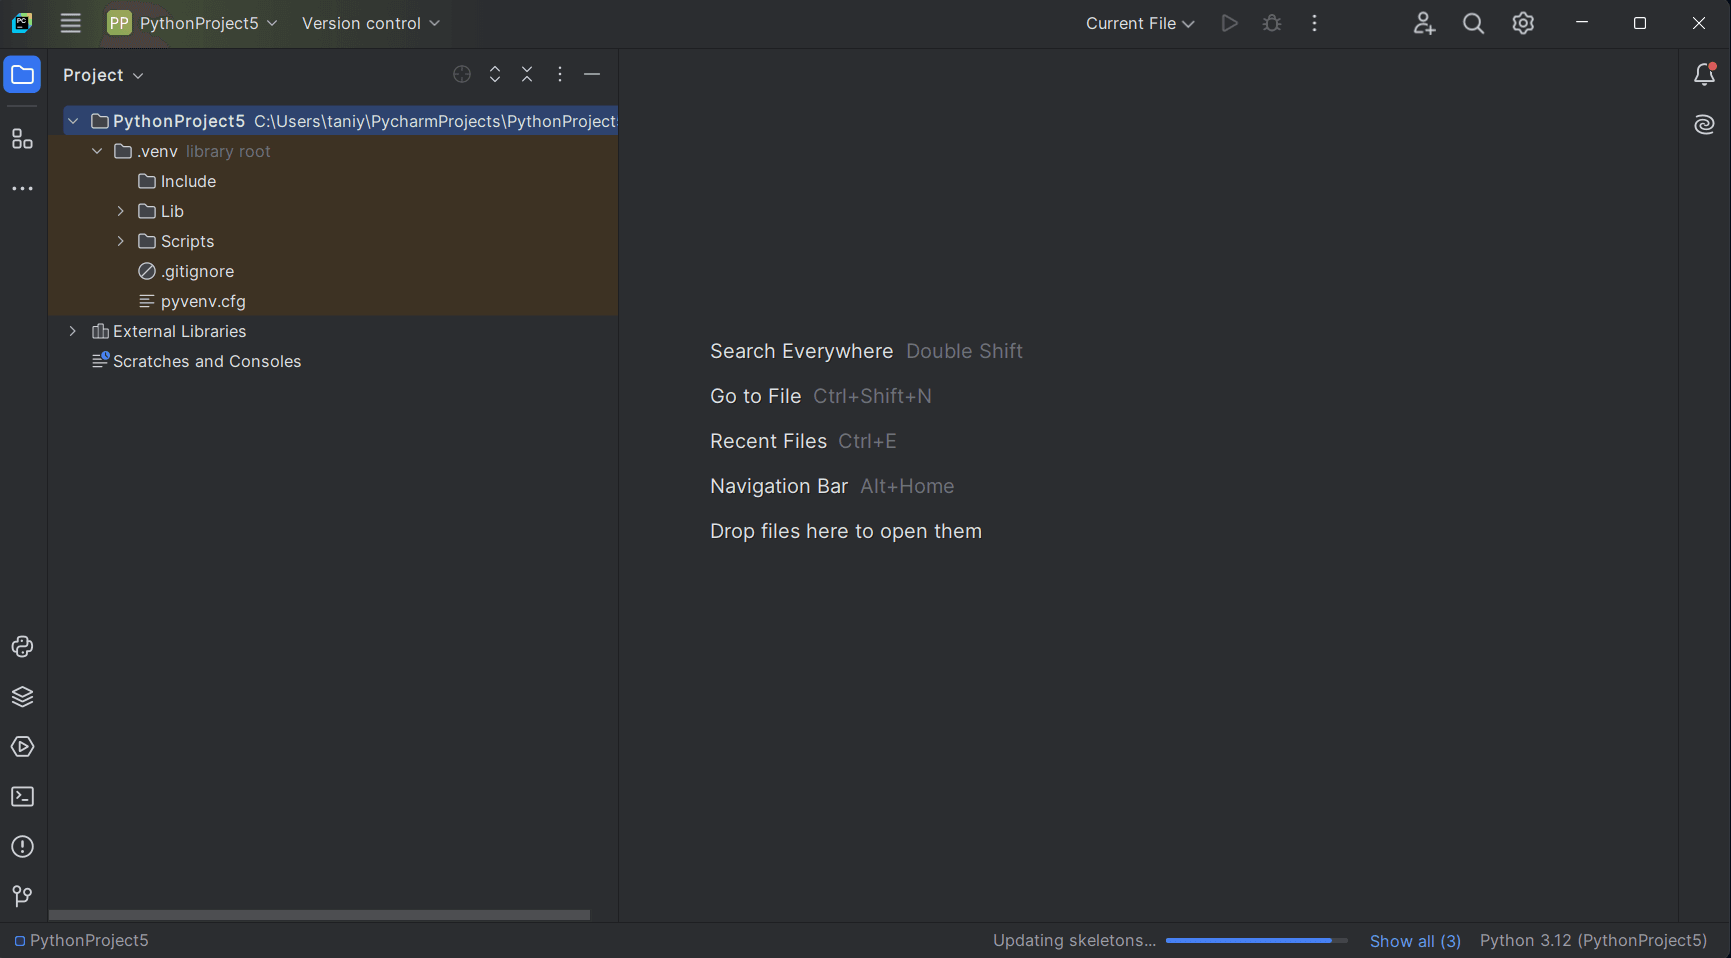
    To install PyCharm on a Windows system, first ensure your computer meets the necessary system requirements, including running Windows 10 64-bit or later and having an active internet connection. Begin by downloading the latest version of PyCharm from the official JetBrains website: here Once the download is complete, run the installer and follow the on-screen instructions to complete the installation process. After installation, launch PyCharm, create a new project, and ensure that the appropriate Python interpreter is selected to start your development work.

    Official pycharm and windows logo in one frame


    PyCharm Installation for MacOS:

    hh

    Python Installation & Configuration

    Python Installation for MacOS:

    To install Python on macOS, ensure your system meets the basic requirements: macOS 10.9 or later with a stable internet connection. Download the latest Python installer from python.org, follow the on-screen instructions, and verify the installation via Terminal. Ensure sufficient storage and admin rights for installation.


    mac os python install


    Python Installation for Windows OS:

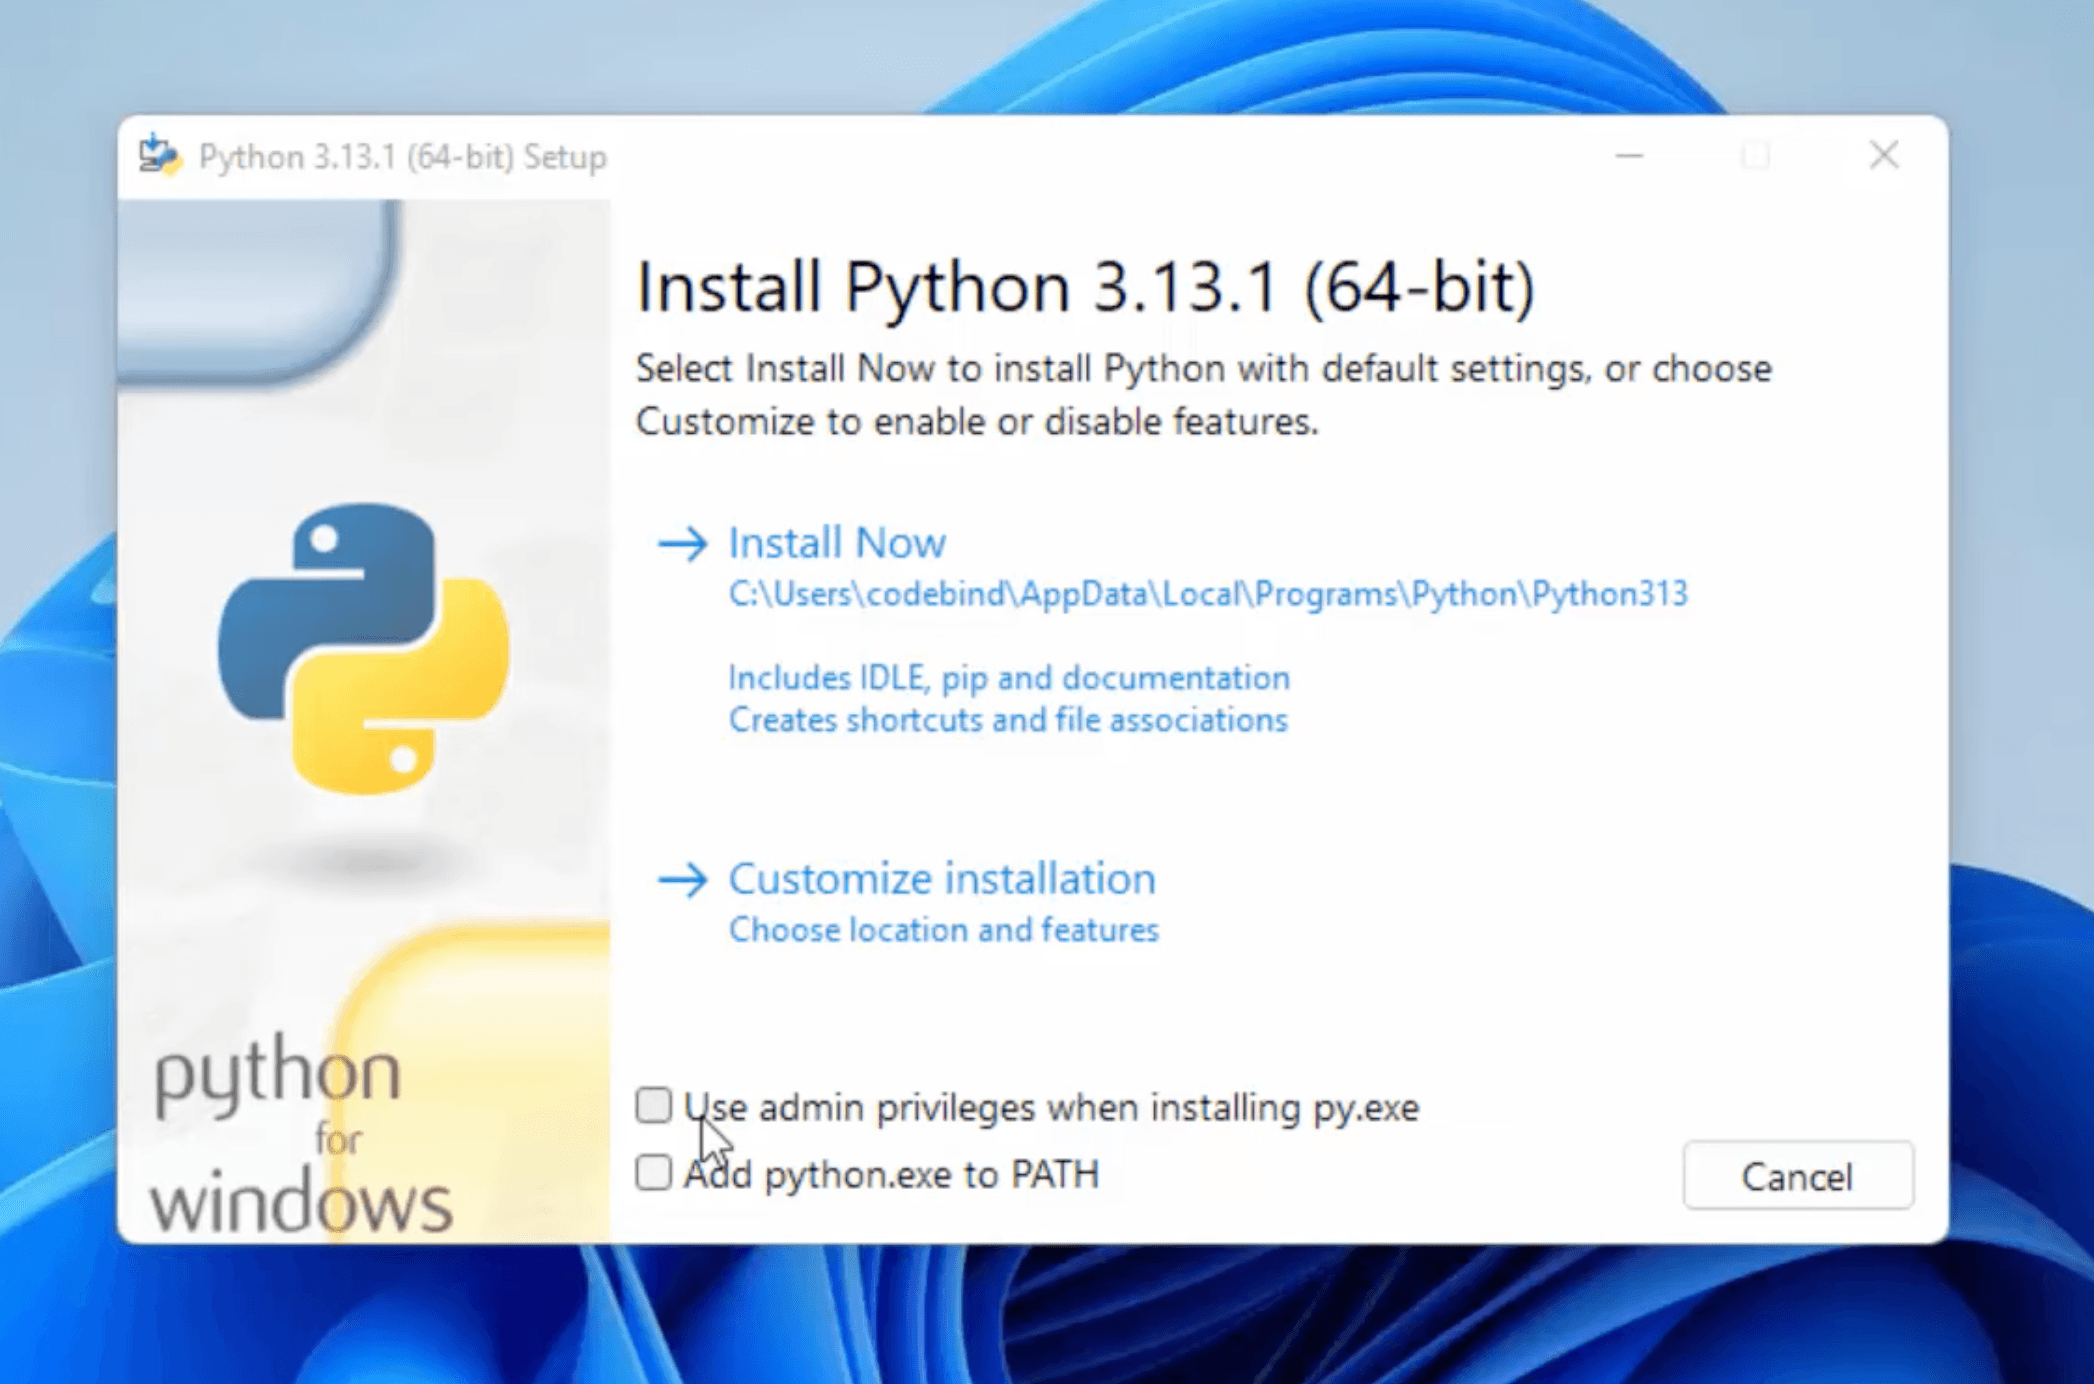
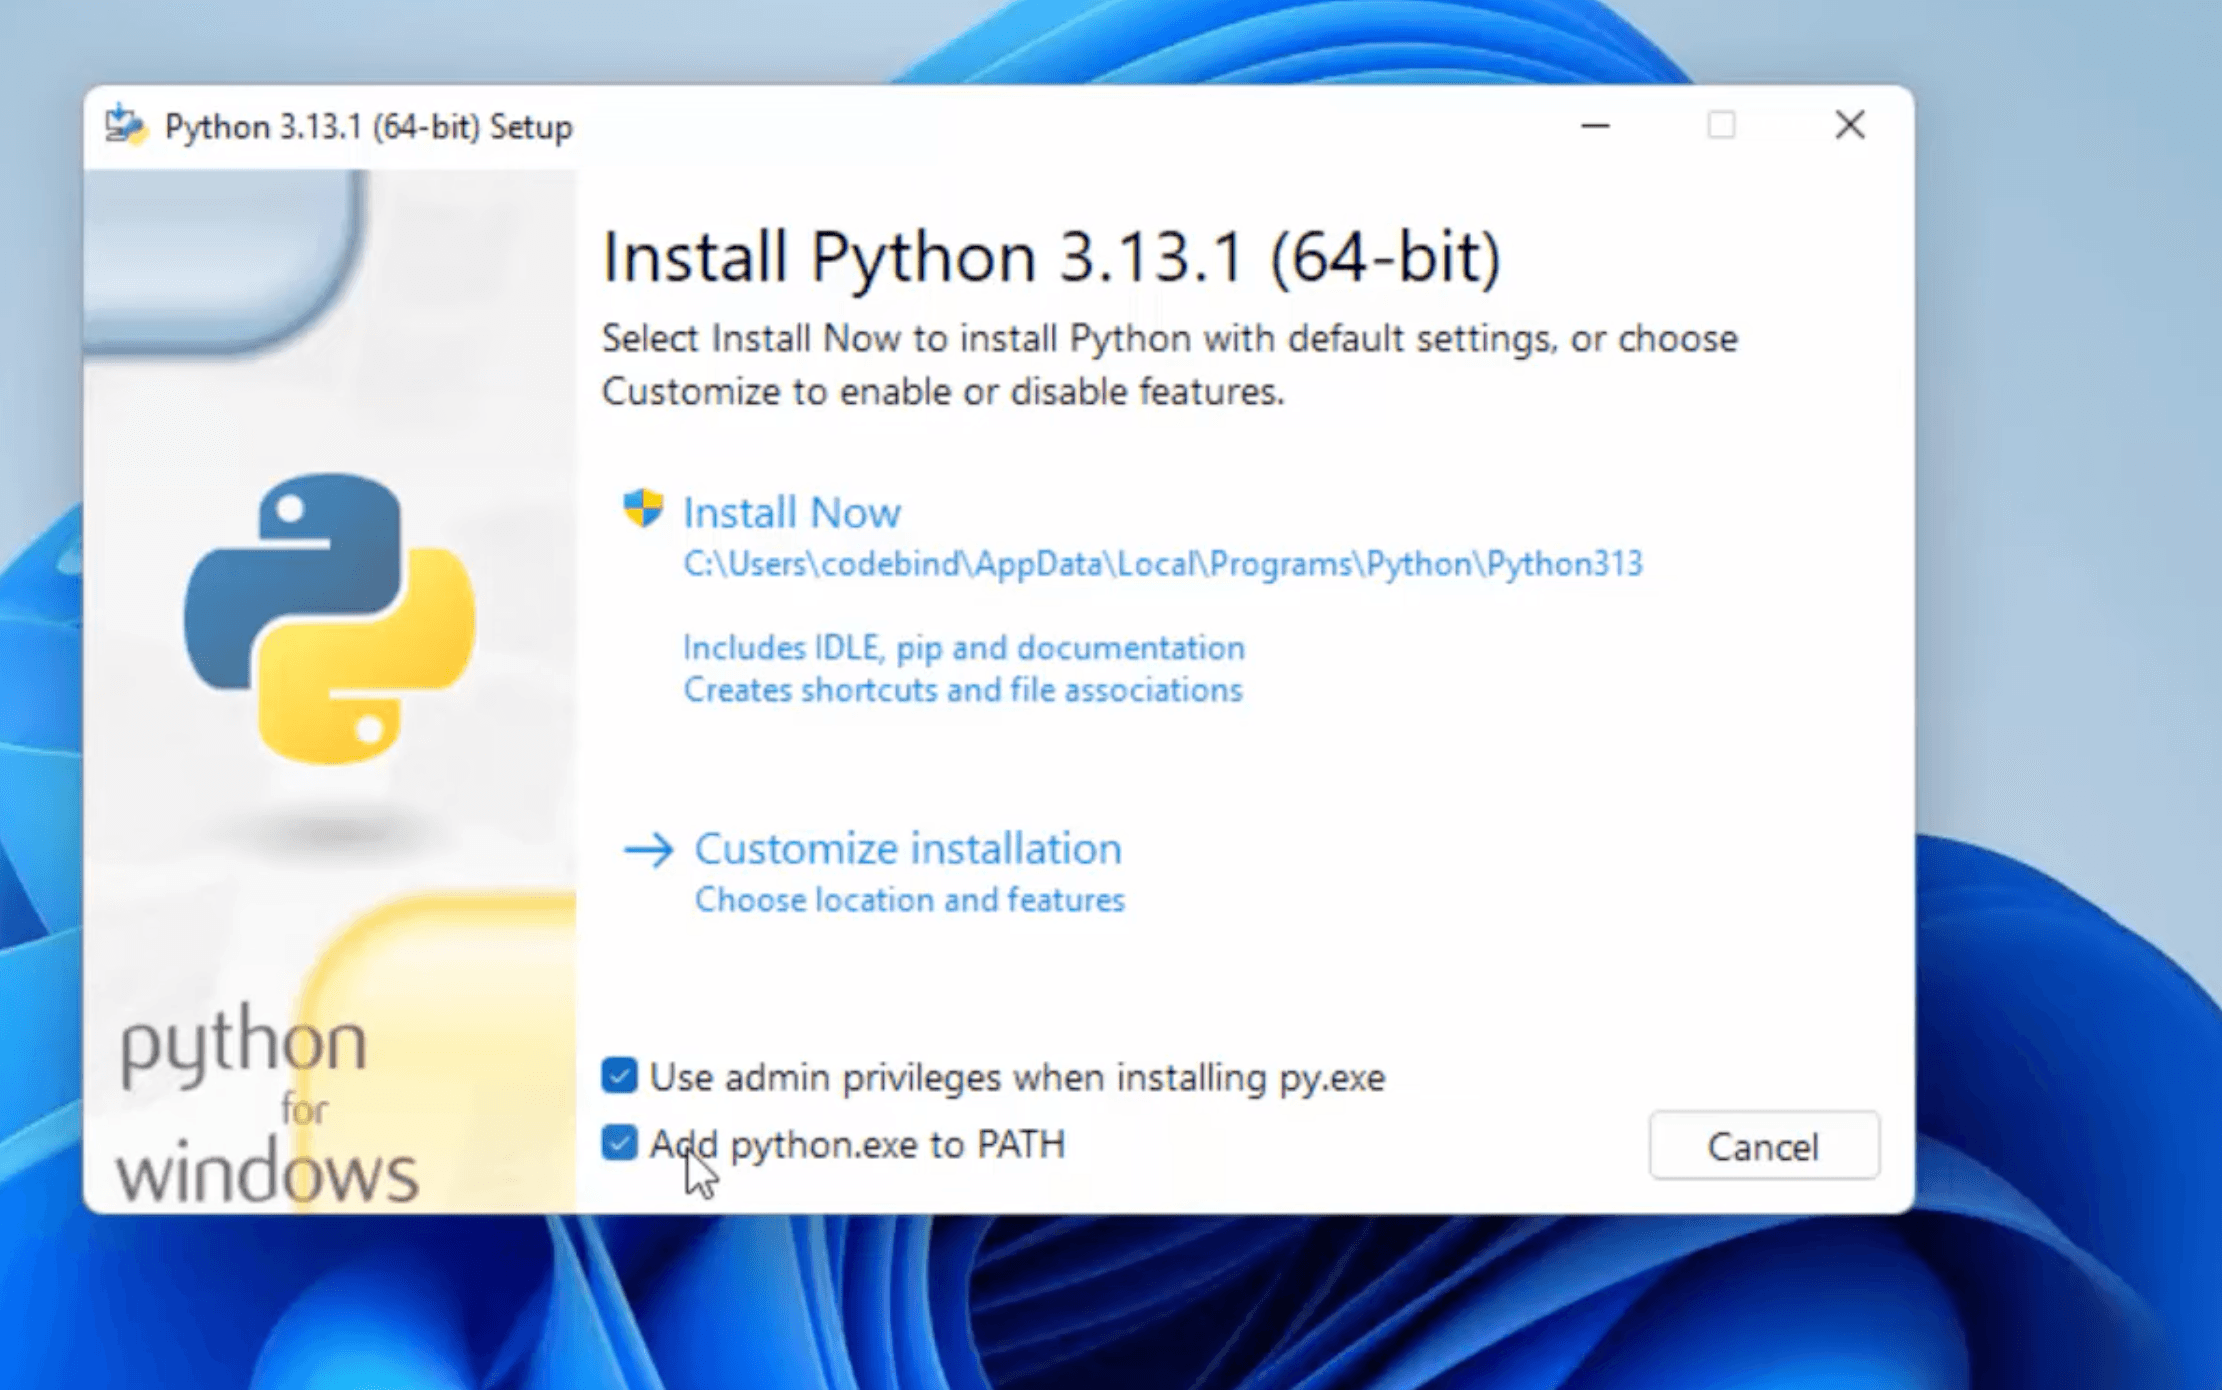
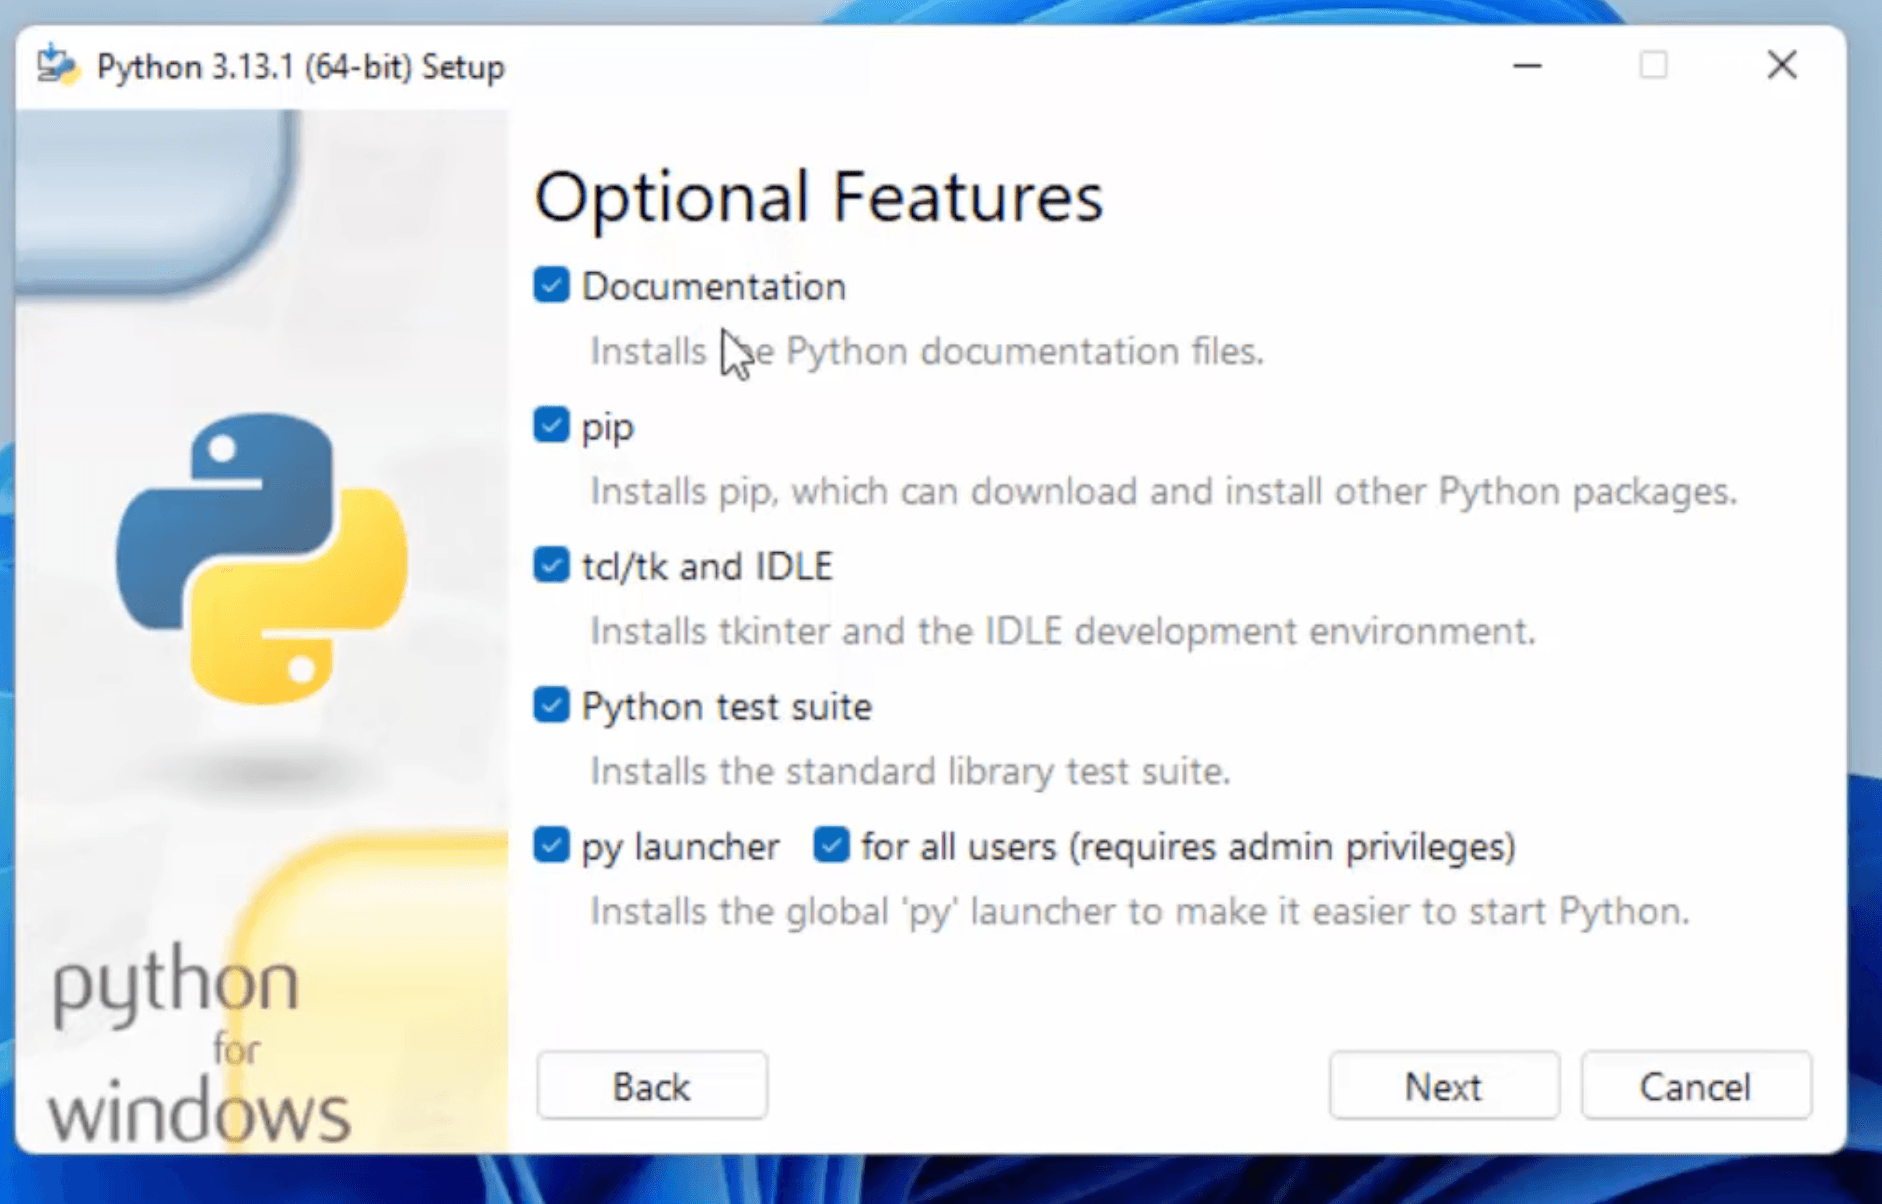
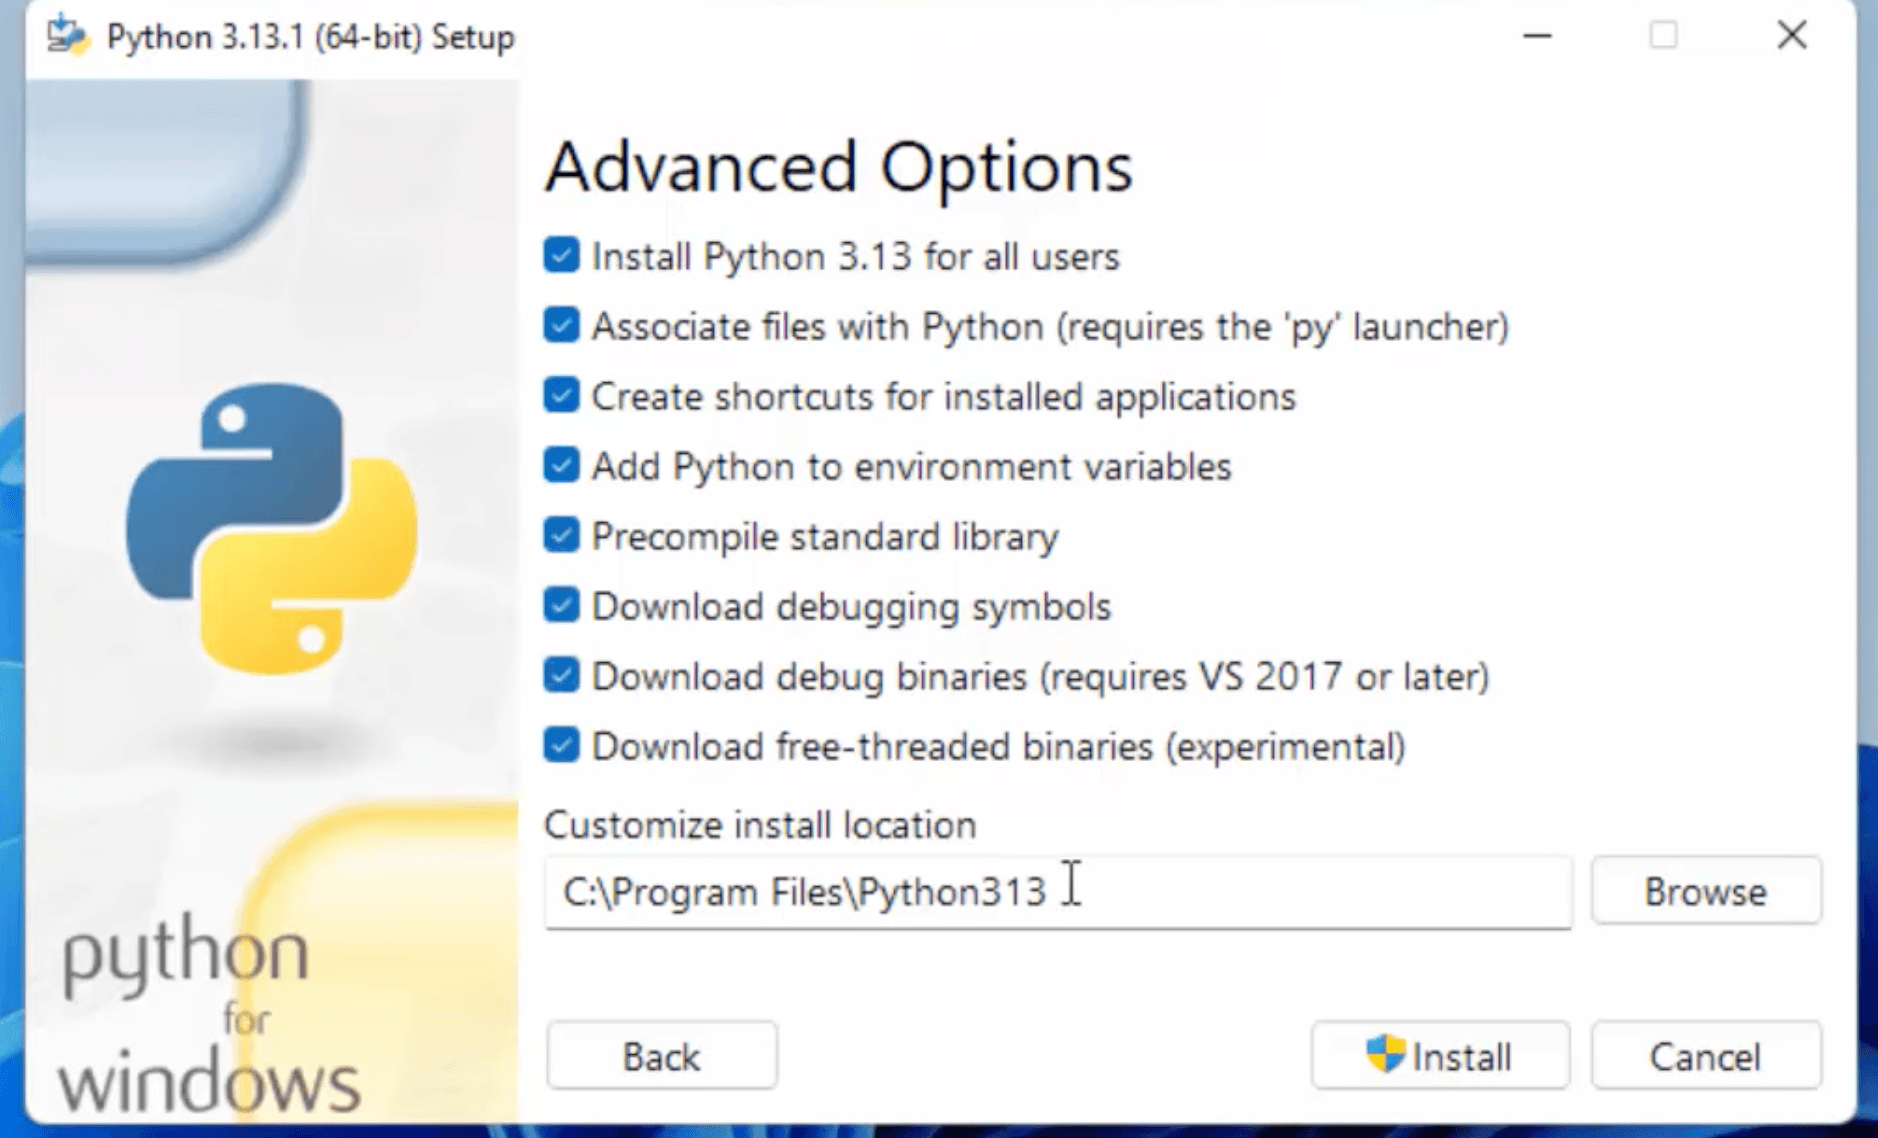
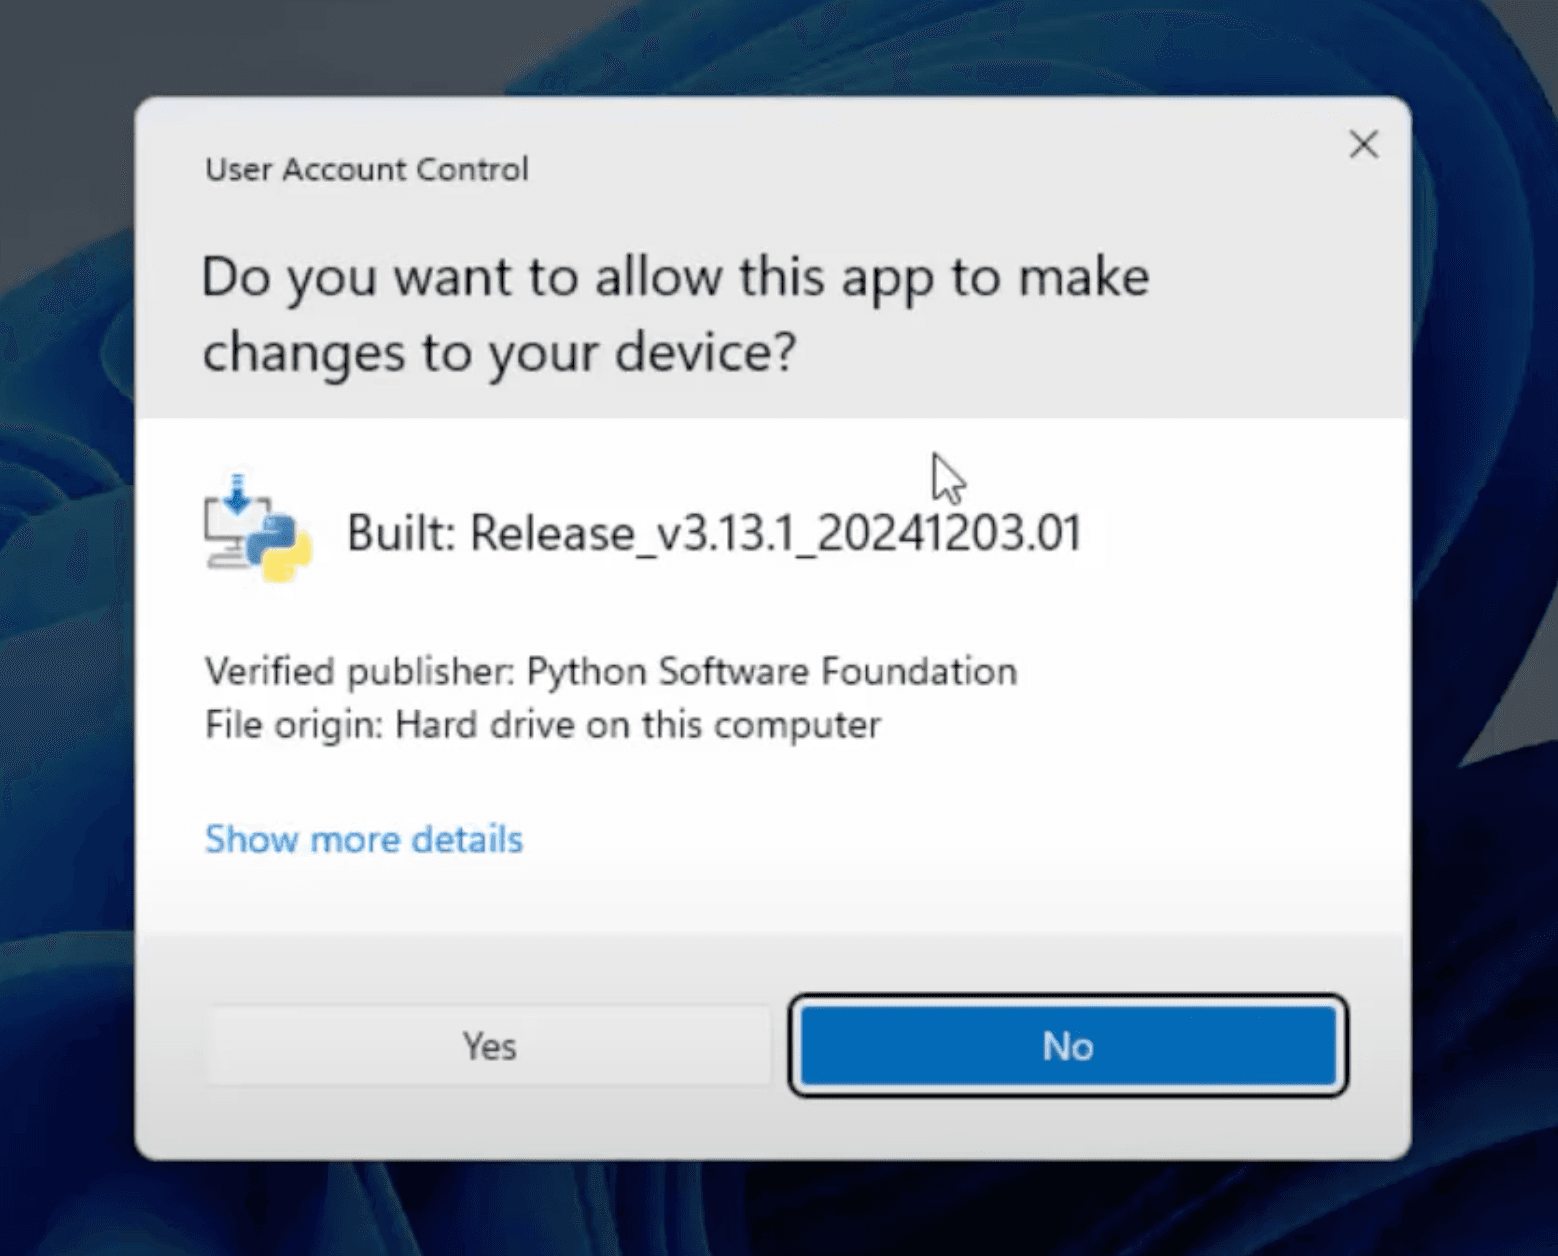
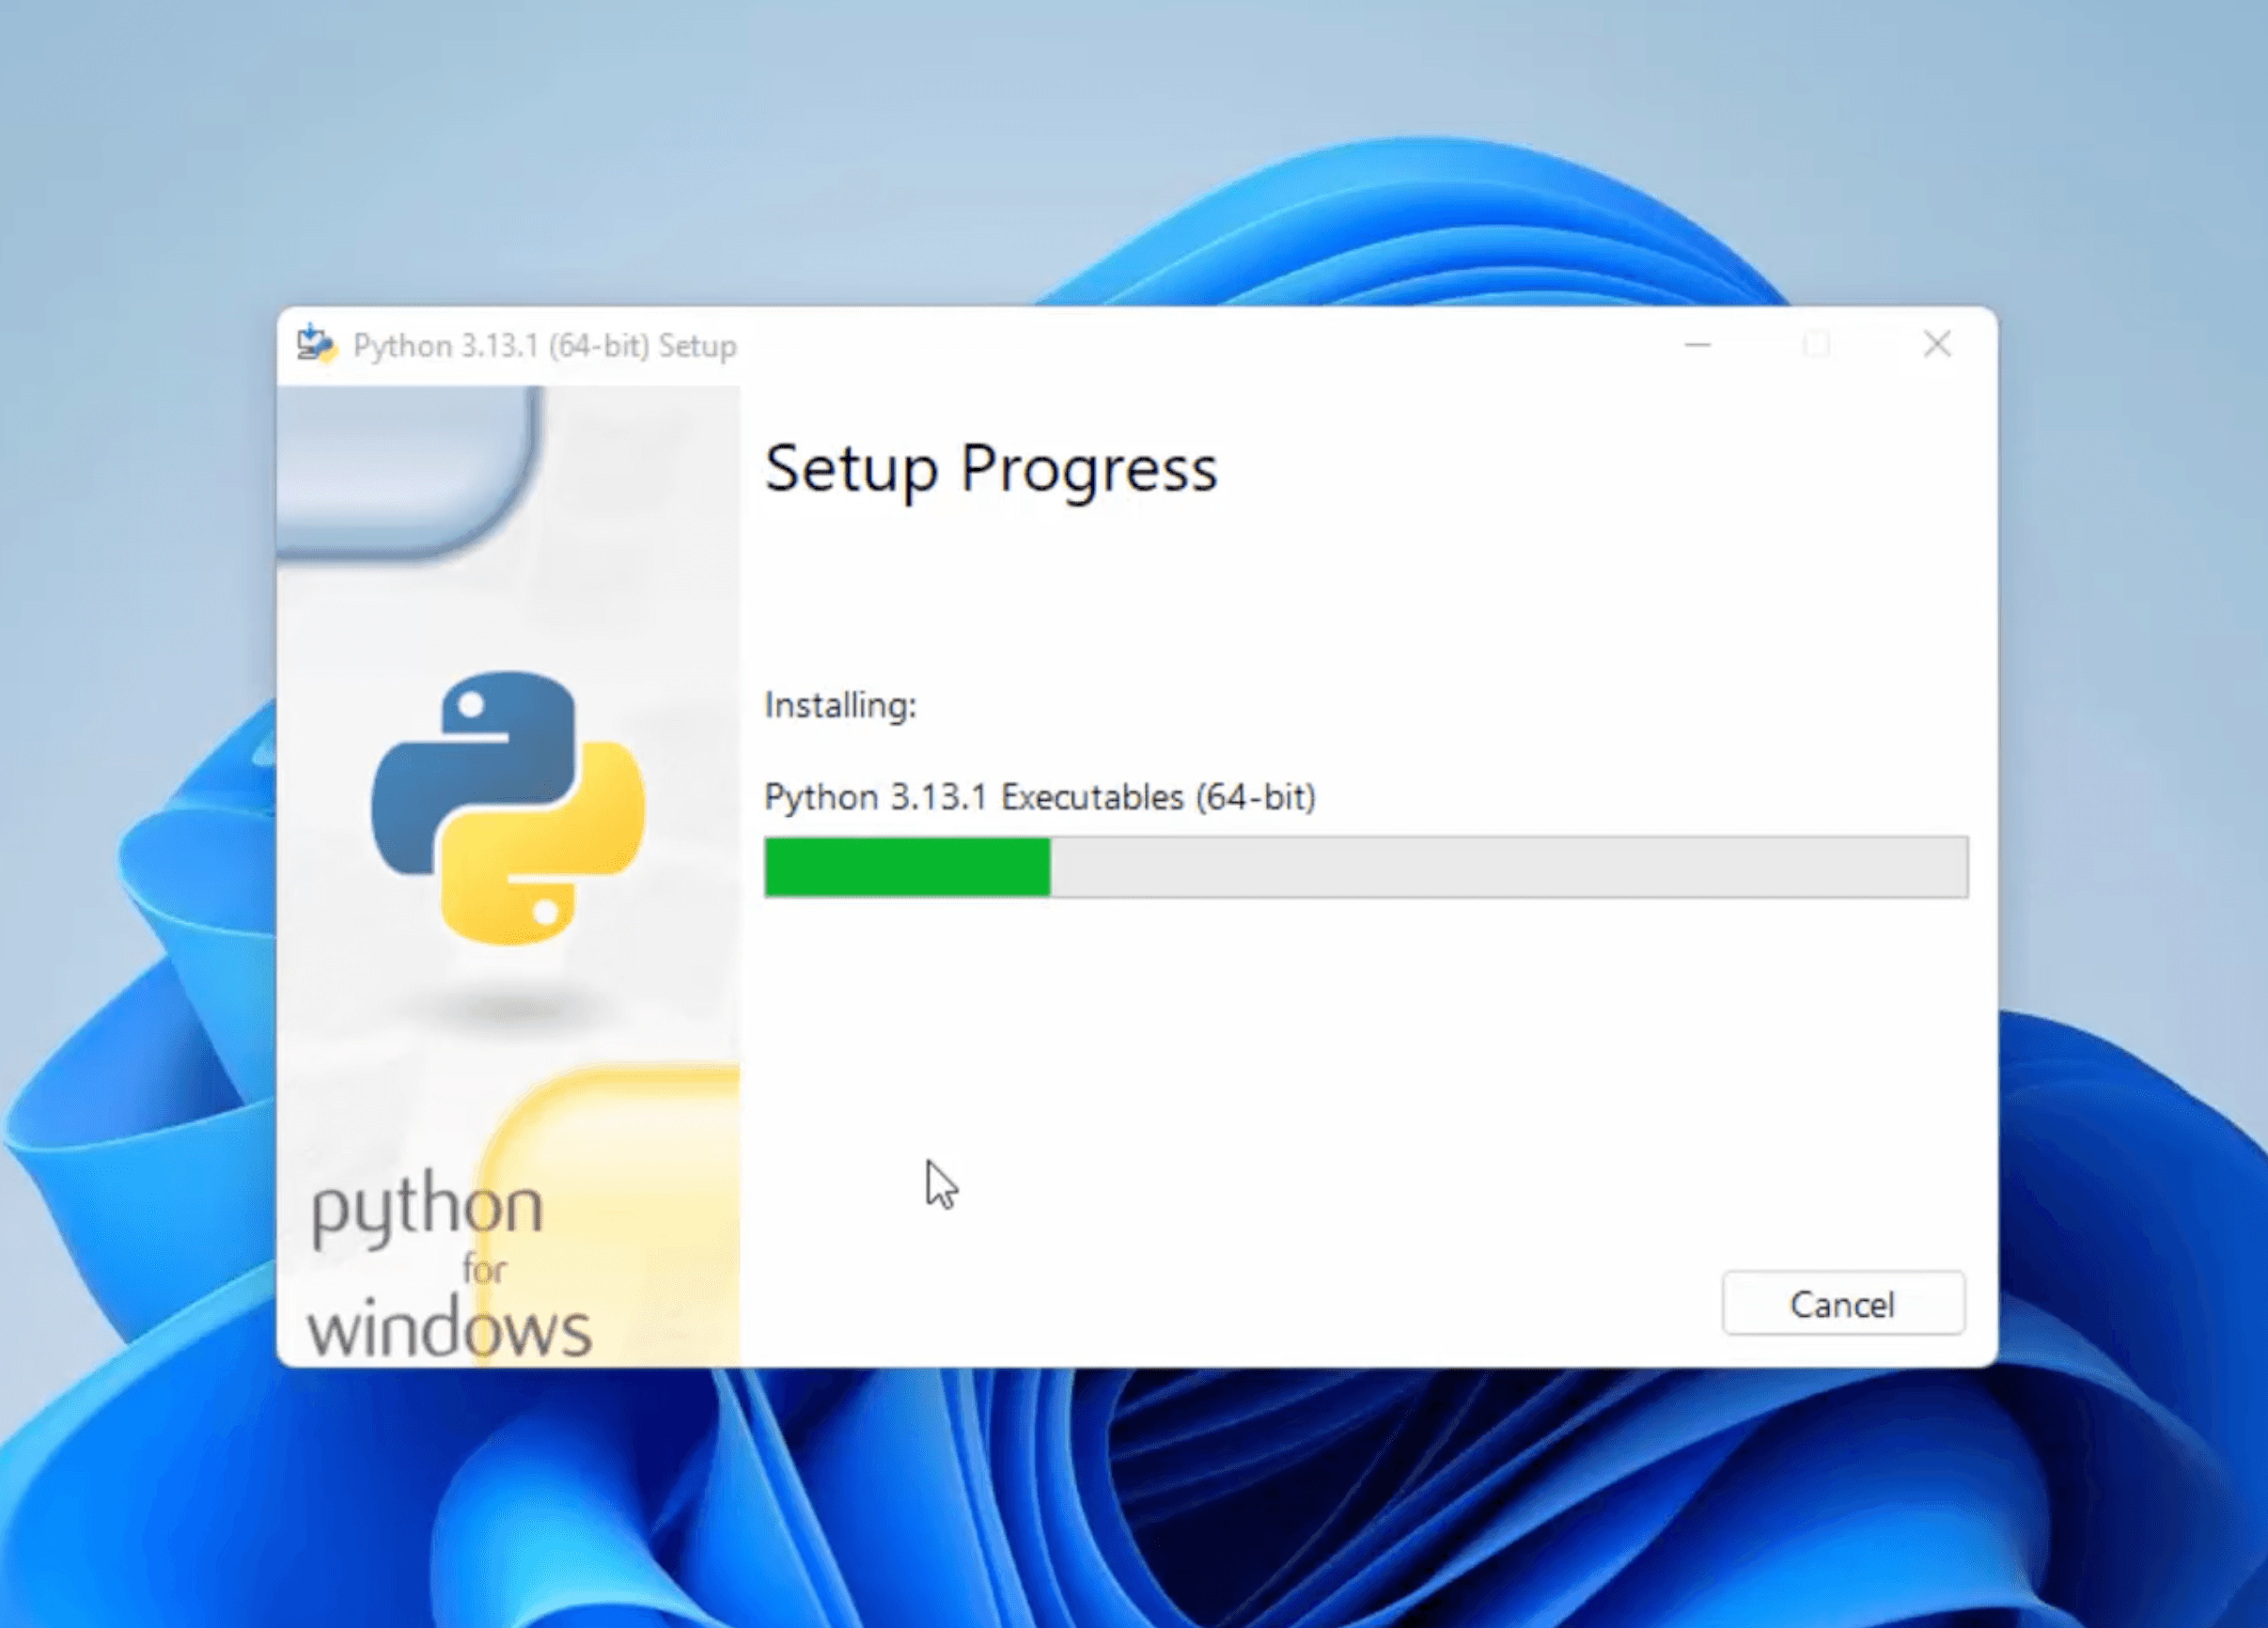
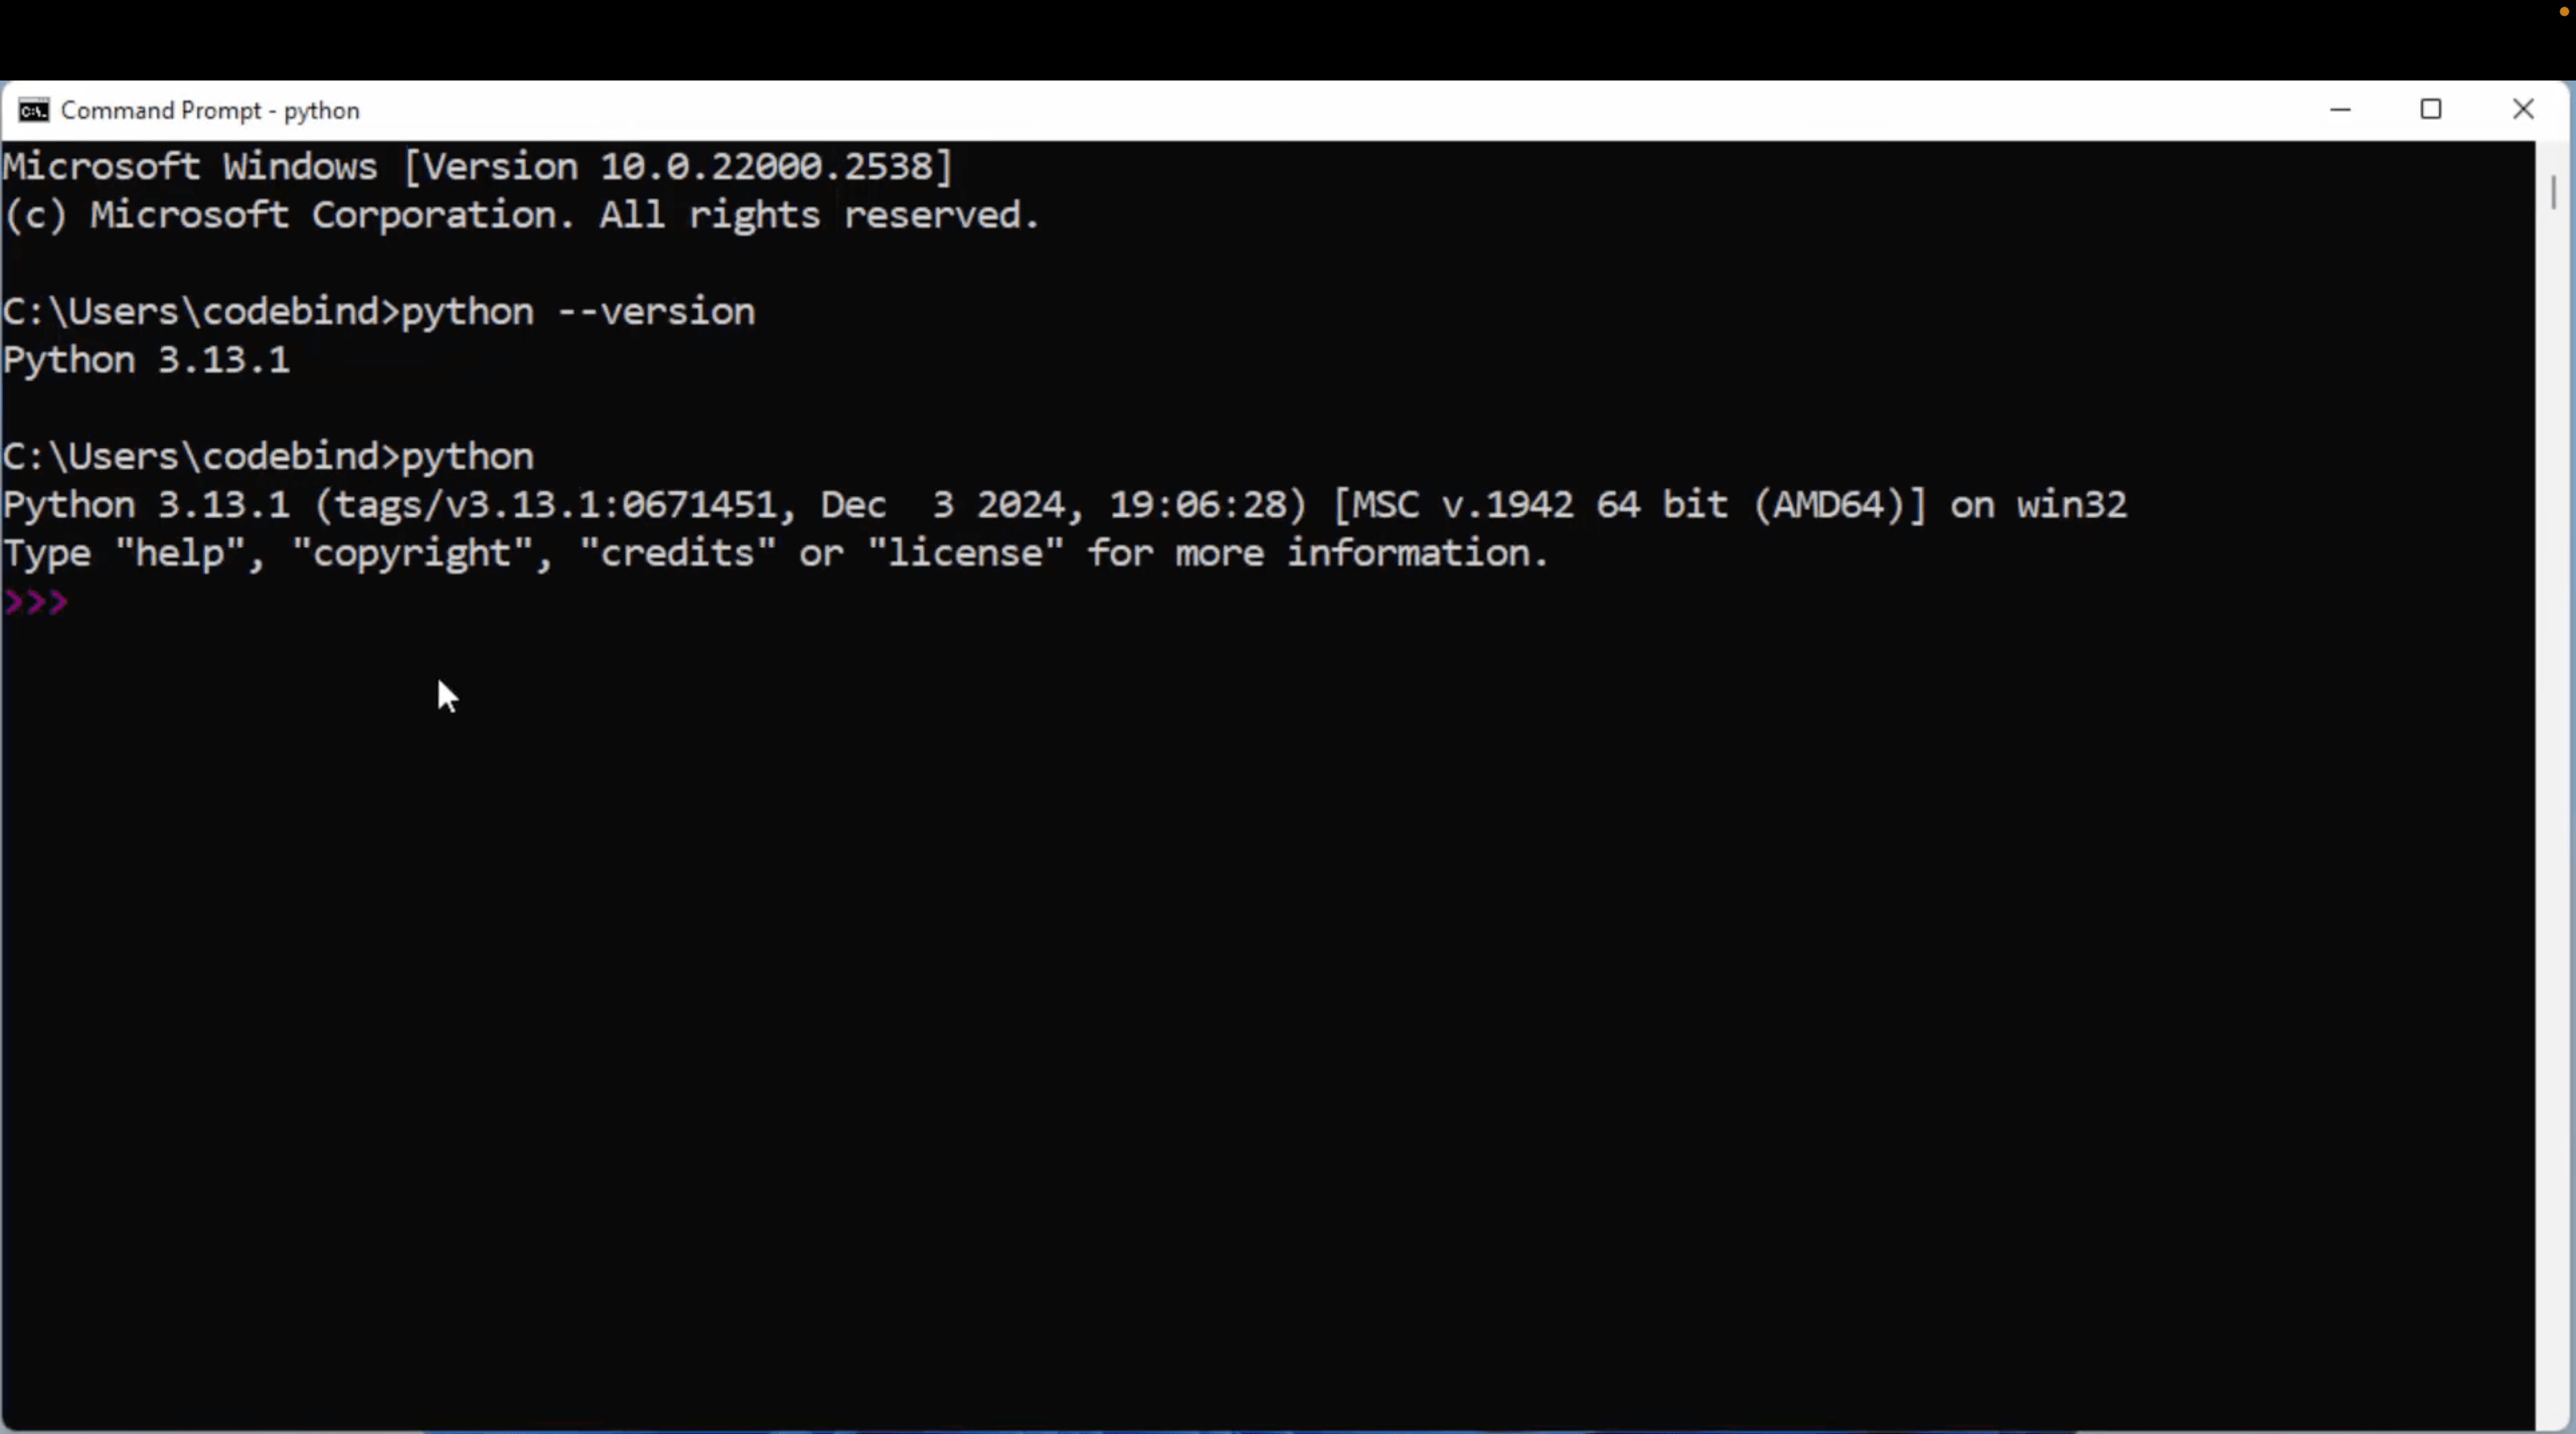
    To install Python on Windows, ensure your system runs Windows 7 or later with an internet connection. Download the latest Python installer from python.org, run the installer, and select “Add Python to PATH.” Follow the on-screen instructions and verify the installation through Command Prompt.

    an image with windows logo and python language logo

    Get Text Selenium Method

    In Selenium with Python, the text method retrieves the visible text from a web element. This is useful when you need to get the content of an element like a <div>, <span>, <p>, or any other HTML tag that contains text.

    Example:

    from selenium import webdriver
    from selenium.webdriver.common.by import By

    #
    Initialize the WebDriver (this example uses Chrome)
    driver = webdriver.Chrome()

    #
    Open a webpage
    driver.get("https://sqatools.in/dummy-booking-website/")

    #
    Locate the element containing the header of website
    element = driver.find_element(By.TAG_NAME, "h1")

    #
    Get the heading text from the element
    text_content = element.text

    #
    Print the text content
    print(text_content) # Dummy Ticket Booking Website

    #
    Close the browser
    driver.quit()

    Steps:

    1. Initialize the WebDriver: Start the WebDriver for the browser you want to use.
    2. Navigate to the webpage: Use driver.get() to open the page where the target element is located.
    3. Find the element: Use one of the find_element methods (e.g., find_element(By.ID, By.XPATH, By.CLASS_NAME)) to locate the element.
    4. Retrieve the text: Use the text method on the element to get its visible text.
    5. Display or use the text: The text attribute returns the text as a string, which you can print or use in your logic.

    Example using XPath:

    element =driver.find_element(By.XPATH,"//div[@class='example-class']")
    text_content = element.text
    print(text_content)

    Important Notes:

    • The text method only retrieves visible text: If the text is hidden via CSS (display: none, visibility: hidden;, etc.), Selenium will not retrieve it.
    • Whitespace handling: The text method preserves the text formatting as it appears in the browser, so you may get extra spaces or line breaks.